CR 3 A1
English - 93
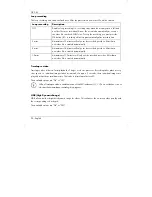
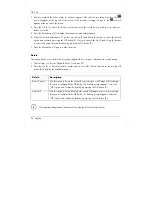
4. Make the desired adjustments. To do this, use the Up (2) and Down (4) buttons to select the desired
option and confirm by pressing the OK button (5). Next you can use the Up (2) and Down (4) buttons
to select the desired value and confirm by pressing the OK button (5).
5. Press the Menu button (3) again to hide the menu.
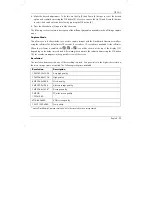
The following sections contain a description of the different parameters available in the still image capture
menu.
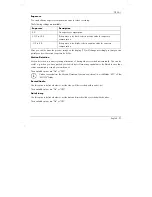
Capture Mode
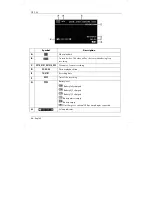
This allows you to define whether you wish to capture images with the Dashboard Camera normally or
using the self-timer. The delay times of 2 seconds, 5 seconds or 10 seconds are available for the self-timer.
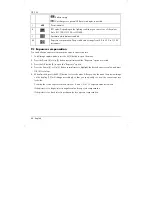
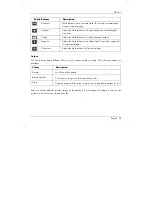
When the self-timer is enabled, the
,
or
icon will be shown at the top of the display (13)
depending on the delay time selected. After aiming the camera to the subject and pressing the OK button
(5), the countdown appears in the upper-left corner of the screen.
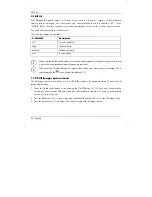
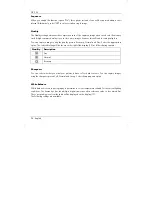
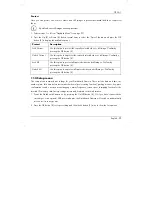
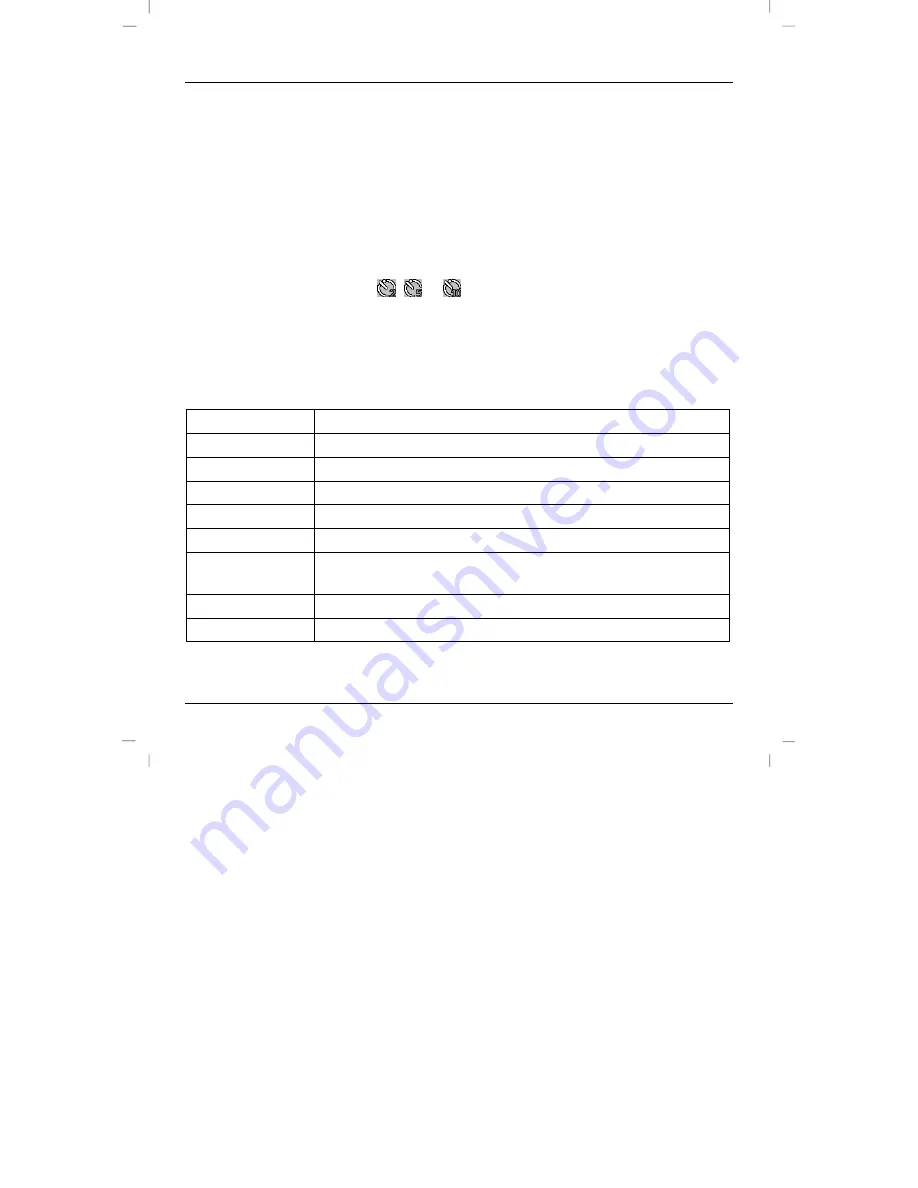
Resolution
The resolution determines the size of the recording in pixels. As a general rule: the higher the resolution,
the more storage space is required. The following settings are available:
Resolution
Description
12MP 4032x3024
Very high quality
10MP 3648x2736
High quality
8MP 3264x2448
Good quality
5MP 2592x1944
Above-average quality
3MP 2048x1536*
Average quality
2MP HD
1920x1080
PC widescreen quality
VGA 640x480
VGA screen quality
1.2MP 1280x960
Low quality
* native Dashboard Camera resolution. All other resolutions are interpolated.
Summary of Contents for CR 3 A1
Page 1: ......
Page 2: ......
Page 3: ...Deutsch 2 English 59 Fran ais 111 Nederlands 167 e tina 221 Espa ol 273 Portugu s 329 V 1 2...
Page 112: ...CR 3 A1 110 English...
Page 274: ...CR 3 A1 272 e tina...
Page 330: ...CR 3 A1 328 Espa ol...
Page 386: ...CR 3 A1 384 Portugu s...


