21
4:3 PS
4:3 LB
16:9 Wide
Press SETUP to exit
Current selection
Menu
Record Program
Video
Speaker
Press SETUP to exit
Play/Edit Disc
Setup Menu
Tuner Setup
DVD Control
General
Audio
Recording Setup
4:3 PS
4:3 LB
16:9 Wide
Press SETUP to exit
Current selection
Press SETUP to exit
Recording Setup
Recording Quatity
HQ(1hr)
SP(2hr)
Auto Chapter
LP(3hr)
Set Clock
EP+(8hr)
v
Current selection
v
Record Audio
Recording
This TARGA DVD recorder is making your life more convinient and more
colorful. You can make a record for the progarmmes what you are
interested in.
For your first start please use the eRW which is part of this
recorder.
Preparations
Turn on the TV and select the video input source. Refer to your
TV’s owner manual.
Switch the power bottom on the back panel of your DVD
recorder to ON.
Check that the disc has enough available space for recording.
Do not touch the disc tray while it is moving.
Never place anything except a disc on the disc tray. Foreign
objects can damage the unit.
Do not apply excessive force to the disc tray.
Only one disc must be placed on the disc tray at a time.
Only blank oneself recorder DVD can be used.
1.
Press STANDBY/ON to turn the unit on.
“TARGA ”logo appears on the TV screen.
“POWER ON ” —> “LOADING ” —> “NO DISC ” appears on
the FL display.
2.
Press OPEN/CLOSE to open the disc tray.
“OPEN ” appears on the TV screen.
Note :
To open or close the disc tray , be sure to press
OPEN/CLOSE . Do not press the disc tray with your
hand.
3.
Place a DVD+/-RW or DVD+/-R disc ( label facing up ) to be
recorded on the disc tray.
4.
Press OPEN/CLOSE again to close the disc tray.
If a blank disc is used for first time, “TARGA ” logo screen
remains.
If the disc is recorded once before, a title menu screen may
appear.
“DVD RW ”( or “DVD ”) and “ SP ”( or “HQ ”,“LP ”, “EP ”or
“EP+ ”) appear on the FL display.
Blank DVD+RW may take a while longer before “STOP ”
disappears on the TV screen.
Recording Setup
This is a setup for recording on a DVD+/-RW or DVD+/-R disc.
(Recording Setup —> Recording Quality & Auto Chapter)
1.
Press SETUP in no disc mode or full stop mode, “Menu” screen
appears on the TV screen.
2.
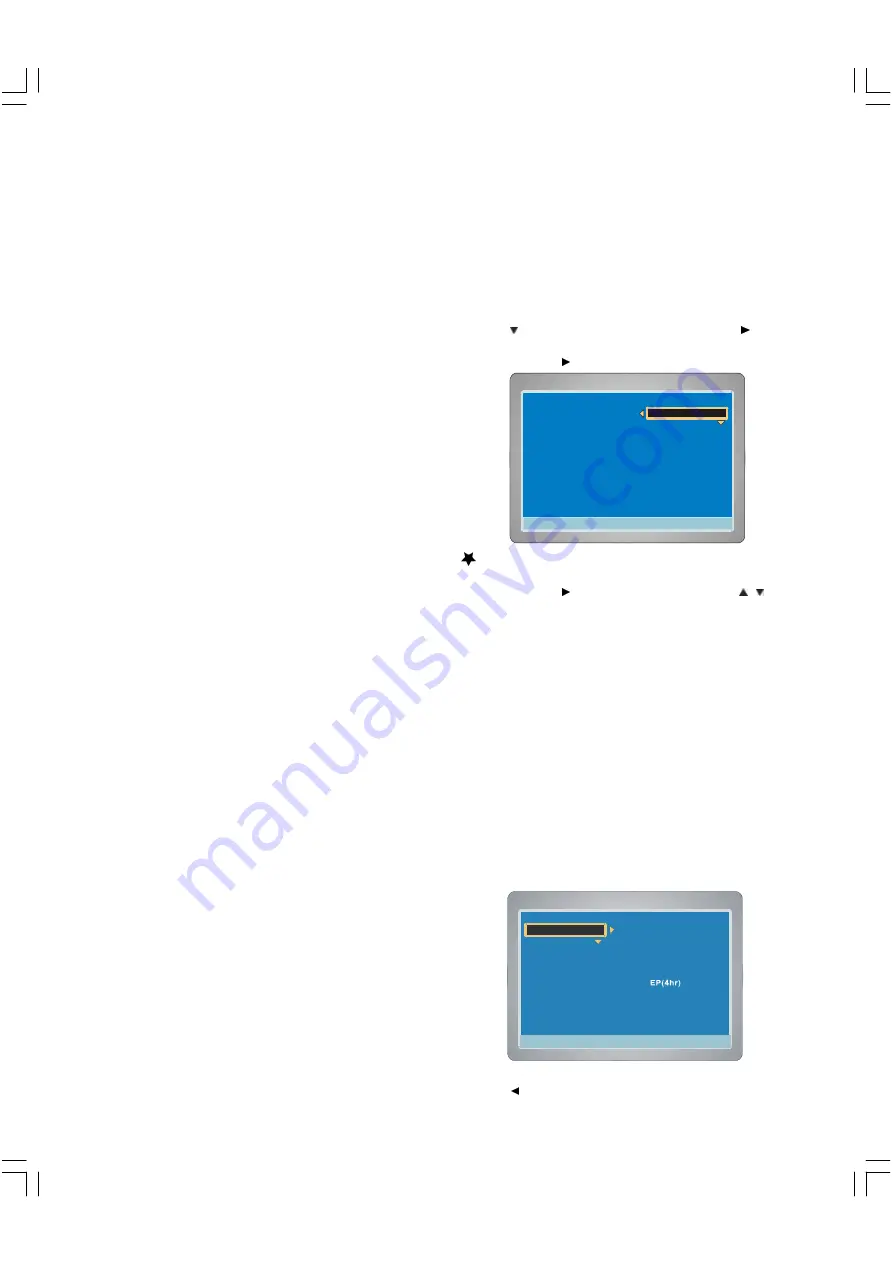
Press
to select “Setup Menu ”, then press ENTER or
,“Recording Setup” is highlighted.
3.
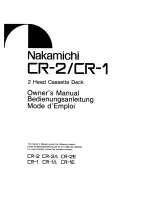
Press ENTER or again, “Recording Setup ”screen appears.
Setting Recording Quality
1.
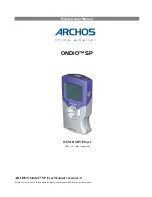
Select “Recording Quality ”.
2.
Press ENTER or
to select the sub menu, then press
/
to
select the desired quality.
Recording Quality
Record time (minutes)
HQ :
60
SP (Standard mode) :
120
LP :
180
EP :
240
EP+ :
360
Note :
HQ is the best quality and very close to a original DVD, SP
quality is very close to a S-VHS and a normal VHS recorder, LP
quality is a little bit worse than a normal VCR recorder. (This
note gives only a clue)
The record times are an estimate and actual times may
differ.
The record time may differ depending on the recording
conditions.
- Recording a program with poor reception, or a program or
video source of low picture quality
- Recording on a disc that has already been edited
- Recording only a still picture or just sound
3.
Press ENTER, “V ” appears, the Recording Quality is set.
4.
Press
to return to “Recording Quality ”.


