22
Before Operation (Continued)
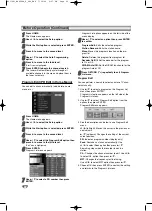
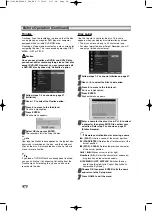
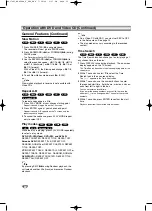
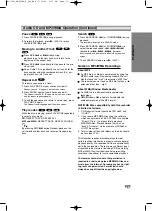
Auto Clock Set
When Channel auto search is completed the actual Time
and Date are also set automatically. If the time in the
recorder display is not correct, the clock must be set
manually.
11
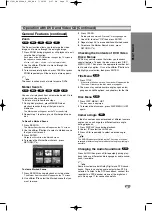
Press HOME.
The Home menu appears.
2
2
Use
b
/
B
to select the Setup option.
3
3
While the Start option is selected, press ENTER.
4
4
Press
B
to move to the second level.
5
5
Use
v
/
V
to select the Clock Set option.
6
6
Press
B
to move to the third level.
77
Use
v
/
V
to select the Auto option then press
ENTER.
8
8
Press HOME to exit the Setup menu.
ote
There are cases where the TV station does not send, or
sends wrong date and/or time information and the
Recorder sets the incorrect time.
If this happens, we recommend that you set the clock
manually.
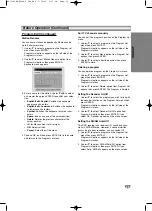
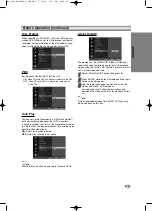
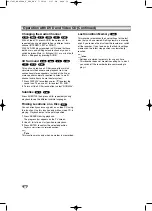
Manual Clock Set
11
Follow steps 1-6 as shown above (Auto Clock
Set).
2
2
Use
v
/
V
to select the Manual option then
press ENTER.
3
3
Enter the necessary information for date and
time.
b
/
B
(left/right): Moves the cursor to the previous
or next column.
v
/
V
(up/down): Changes the setting at the current
cursor position.
4
4
Press ENTER to confirm your setting, then
press HOME to exit the Setup menu.
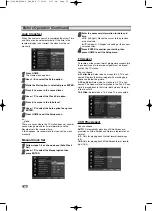
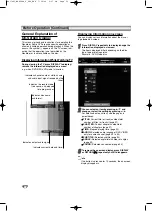
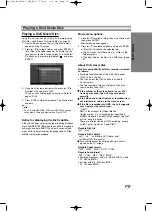
TV Aspect
To record a wide screen format programme successfully
the correct type of wide screen signal must be broad-
cast by the TV station.
You can choose:
4:3 Letter Box:
Select when a standard 4:3 TV is con-
nected. Displays theatrical images with masking bars
above and below the picture.
4:3 Pan Scan:
Select when a standard 4:3 TV is con-
nected. The video material formatted in the Pan & Scan
style is played back in that style (Both sides of the pic-
ture are cut off).
16:9 Wide:
Select when a 16:9 wide TV is connected.
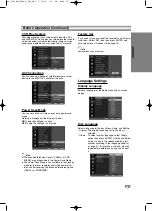
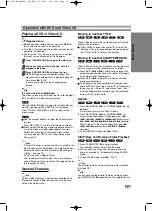
VCR Play Aspect
You can choose:
AUTO
: Automatically plays back Wide-Screen pro-
grammes as Wide-Screen and Normal programmes as
normal.
4:3
: Only for playing back Normal format recordings
(4:3).
16:9:
Only for playing back Wide-Screen format record-
ings (16:9).
RC174P1_NA4UTTA_S_48T_ENG 7/24/06 2:07 PM Page 22

