AVC0102 / 410-0825-001A
All trademarks and registered trademarks are the properties of their respective owners. All rights reserved.Features and specifications subject to change without notice. © 2006, Targus
Group International, Inc. and Targus, Inc., Anaheim, CA 92806 USA.
Quick Start
WebCam with
Built-in Microphone
Technical Support
For technical questions, please visit:
US
Internet: www.targus.com/support.asp
Australia
Internet: www.targus.com.au
Email: infoaust@targus.com
Telephone: 1800-641-645
New Zealand
Telephone: 0800-633-222
Product Registration
Targus recommends that you register your Targus accessory shortly after purchasing it. Go to:
http://www.targus.com/registration.asp. You will need to provide your full name, email address, phone number, and company
information (if applicable).
Warranty
Targus warrants this product to be free from defects in materials and workmanship for one year. If your Targus accessory is found
to be defective within that time, we will promptly repair or replace it. This warranty does not cover accidental damage, wear and tear,
or consequential or incidental loss. Under no conditions is Targus liable for loss of, or damage to a devices nor loss of, or damage
to, programs, records, or data; nor any consequential or incidental damages, even if Targus has been informed of their possibility.
This warranty does not affect your statutory rights.
Intel and Pentium are registered trademarks of Intel Corporation. Windows is a
registered trademark of Microsoft Corporation. All other trademarks are the property of their respective owners. © 2006, Targus Group International, Inc. and Targus, Inc.,
Anaheim, CA 92806 USA.
1. About Your WebCam
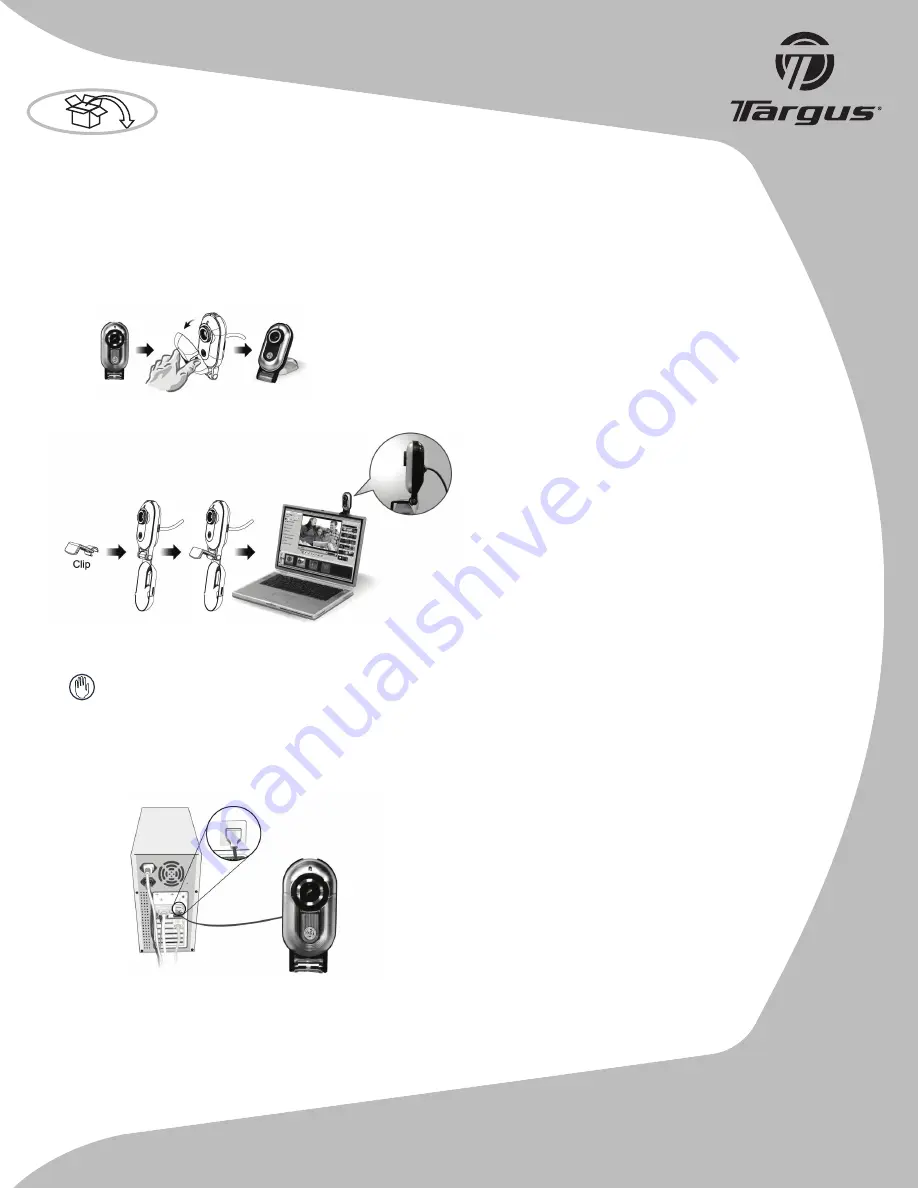
Place your webcam on top of your computer or other flat surface by swinging the cover backwards.
For fixing the webcam onto a LCD panel or notebook monitor, use the clip and attach it to the webcam hinge as shown in the diagram below.
2. Start Installation
1)
Install Camera Driver
a) Insert CD in your CD-ROM drive.
b) Wait for autorun screen appearing, then click “Install Device Driver” to start installation.
- or -
For “Plug & Play” installation, please refer to Camera User’s Manual.
2)
Connect the PC Camera to your PC
3)
Install application software
To install application software, check the selection box, then click “Install App. Software” on the welcome screen to
start installing.
List of Contents
•
PC Camera
•
Quick Start Guide
•
Driver CD
•
Clip
Do not connect the camera to your computer yet!


