background image

Targus Soft-Touch Cordless Laser Mouse

6

Targus Soft-Touch Cordless Laser Mouse

7

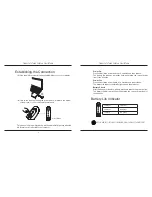
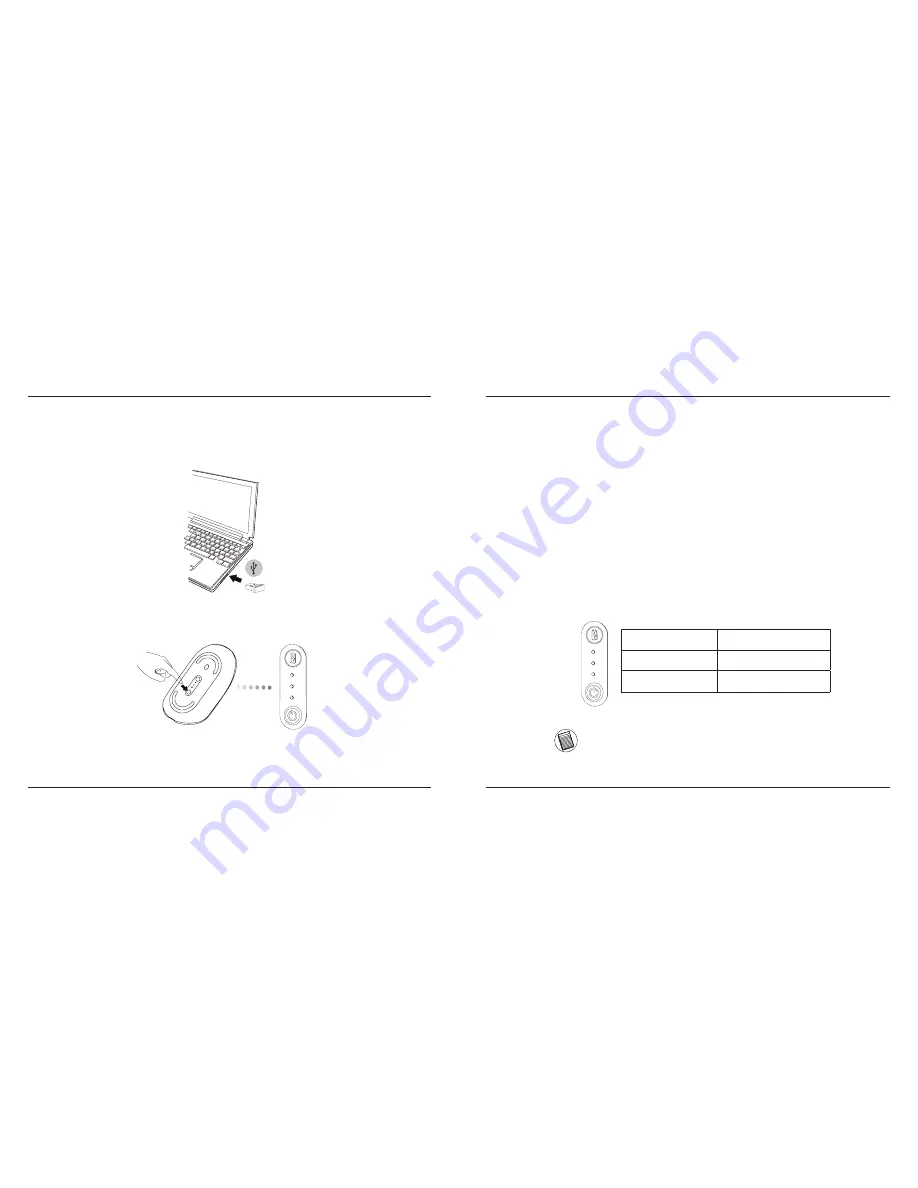
(B) Turn on the mouse pressing the power button, located on the bottom 

of the mouse, for 3 seconds and then release.

This mouse is a plug-n-play device. It will automatically operate when the 
USB receiver is connected to the computer.

(A) Plug the USB receiver into an available USB port on your computer.

Establishing the Connection

Power Button

Power On:

Press and hold the power button for 3 seconds and then release.
The  battery  life  indicator  will  briefly  light  up  showing  the  current  power 
level of the batteries.

Power Off:

Press and hold the power button for 3 seconds and then release.
The battery life indicator will briefly light up and then fade out.  

Battery Check:

After the mouse is turned on, quickly press and release the power button. 
The battery life indicator will light up showing the current power level of 
the batteries.

Battery Life Indicator

NOTE: WHEN THE FIRST LIGHT IS BLINKING, PLEASE REPLACE THE BATTERIES

3 LEDs lit

Full power

2 LEDs lit

Half power

1 LED lit

Low power

Summary of Contents for Soft-Touch

Page 1: ...s com Features and specifications are subject to change without notice All trademarks and registered trademarks are the property of their respec tive owners All rights reserved 2009 Manufactured or imported by Targus Group International Inc for U S sales 1211 North Miller Street Anaheim CA 92806 USA whose Australian sales representative is Targus Australia Pty Ltd 117 119 Bowden Street Meadow bank...

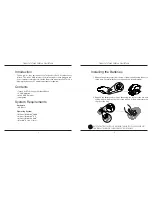
Page 2: ...t Windows 2000 Microsoft Windows XP Microsoft Windows Vista Mac OS X 10 4 or later Contents Targus Soft Touch Laser Cordless Mouse 2 x AA batteries Micro USB Receiver User guide 1 Remove the battery cover from the top of the mouse by using the notch on the back Carefully lift the cover up as shown in the diagram Installing the Batteries 2 Remove the battery safety clip by squeezing the center of t...

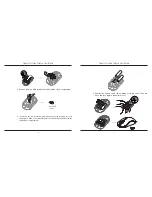
Page 3: ... inside the center compartment Micro USB receiver 4 Insert the two AA batteries making sure that the positive and negative ends of each battery match the polarity indicators inside the battery compartment 5 Replace the battery safety clip by sliding it forward until it clicks into place and then replace the battery cover ...

Page 4: ...Press and hold the power button for 3 seconds and then release The battery life indicator will briefly light up showing the current power level of the batteries Power Off Press and hold the power button for 3 seconds and then release The battery life indicator will briefly light up and then fade out Battery Check After the mouse is turned on quickly press and release the power button The battery l...

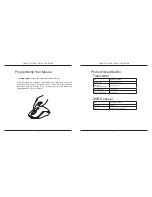
Page 5: ...ax Transmitter USB Receiver RF 2 402GHz 2 482GHz Interface USB 1 1 Power USB Bus Powered 5V DC Product Specification Programming Your Mouse Visit www targus com to download and install the driver Once installation is complete open the driver software and select the desired setting for the scroll wheel button Close the driver software application and you re ready to go Activate your selected featur...

Page 6: ...y with the limits of a Class B digital device pursuant to Part 15 of the FCC Rules These limits are designed to provide reasonable protection against harmful interference in a residential installation This equipment generates uses and can radiate radio frequency energy and if not installed and used in accordance with the instructions may cause harmful interference to radio communications However t...

Page 7: ...ON S EYES OR VIEW A LASER BEAM DIRECTLY AS PROLONGED EXPOSURE CAN BE HAZARDOUS TO THE EYES MOMENTARY EXPOSURE FROM A LASER POINTER SUCH AS AN INADVERTENT SWEEP OF THE LIGHT ACROSS A PERSON S EYES MAY CAUSE TEMPORARY FLASH BLINDNESS SIMILAR TO THE EFFECT OF A CAMERA FLASH BULB ALTHOUGH THIS CONDITION IS TEMPORARY IT CAN BECOME MORE DANGEROUS IF THE EXPOSED PERSON IS ENGAGED IN A VISION CRITICAL ACT...

Reviews: