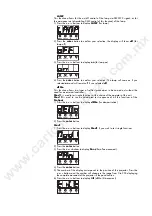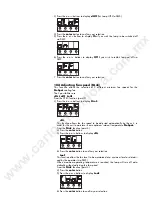
4) Press the
+
or
–
buttons to display
PAn
,
Tilt
,
SPEd
,
Colo
,
EFEC
,
Prot
,
rGOB
,
Grot
,
Foc
,
Stro
and
dimr
, via which it is possible to adjust the position of the
ProSpot
to where required, with the dimmer open and any effect, colour or
gobo in place.
5) Press the
enter
button to confirm your selection of motor which you wish to
adjust to position.
6) Press the
+
or
–
buttons to vary the level from 0 to 255 thereby adjusting the
particular motor selected above.
7) Repeat points 3,4 and 5, to adjust your
ProSpot
to the desired position.
8) Press the
+
or
–
buttons to display
FCAL
(for calibration)
9) Press the
enter
button.
10) Press the
+
or
–
buttons to display
Colo
,
EFEC
,
rGob
,
Grot
.
11) Press the
enter
button.
12) Press the
+
or
–
buttons which will allow an adjustment from 0 to 255 correspon-
ding to an adjustment in the position of the particular motor being calibrated.
Centre the wheels in the optical path of the projector.
11) Press the
+
or
-
buttons until
ArES
(for registering the new calibrated settings
into memory) is displayed.
12) Press the
enter
button to confirm your selection.
13) After completing the calibration procedure, restart the projector and ensure that
all settings are as required.
menu enter
+
--
menu enter
+
--
www.carlosmendoza.com.mx

