40
TASCAM Model 24
6 – Recorder functions
Locate function
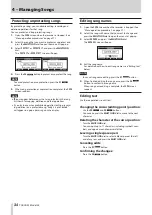
When the Home Screen is open, you can use the
MULTI JOG
dial
to set the locate point.
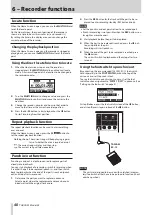
On the Home Screen, the current position of the recorder is
shown as a time in hours (h), minutes (m) and seconds (s).
By setting the time in this display area, you can change the
current position of the recorder.
Changing the playback position
When the Home Screen is open and the recorder is stopped or
playing back, you can use the
MULTI JOG
dial to set the locate
point.
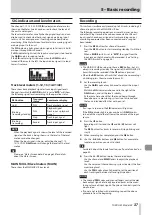
Using the direct locate function to locate
1.
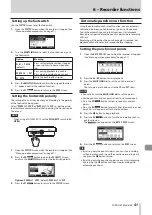
When the Home Screen is open and the recorder is
stopped, press the
MULTI JOG
dial to enable direct locate
mode. A cursor will appear at the location to be changed in
the recorder counter.
2.
Turn the
MULTI JOG
dial to change a value, and press the
MULTI JOG
dial to confirm it and move the cursor to the
next item.
3.
Change the seconds, minutes and hours in that order to
move to that time as the current recorder position.
4.
Press the
7
/
9
button to start playback or the
0
button
to start recording from that position.
Repeat playback function
The repeat playback function can be used to play something
over and over.
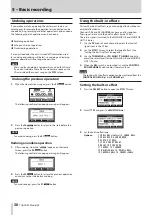
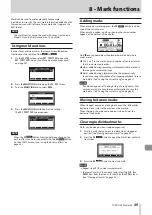
When the Home Screen is open, press the
F2
button to
set the repeat playback function.
Nothing shown: The current song will keep playing regard-
less of whether the area is recorded or not.
: The current song will play and then stop.
: The current song will play repeatedly.
Punch in/out function
Punching in and out is a technique used to replace parts of
already recorded tracks.
You can start playback of a recording, switch to recording when
it reaches the part to be replaced (punch in), and then switch
back to playback when the end of that part is reached (punch
out) and stop after two seconds.
1.
Determine the part you want to replace in advance.
Select a point where the replacement audio can be com-
bined well with the original track audio.
2.
Press the
REC
button for the track with the part to be re-
placed to enter recording standby (REC button blinks).
NOTE
i
Set the punch in and out points at least one second apart.
i
Punch in recording is not possible when the
REC
button is on
for eight or more channels.
3.
Start playback before the part to be replaced.
4.
When the part to be replaced is reached, press the
0
but-
ton, and perform the part.
Recording will start (punch in).
5.
When the end of the part to be replaced is reached, press
the
8
button.
The unit will switch to playback and then stop after two
seconds.
Using the footswitch to punch in/out
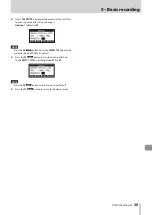
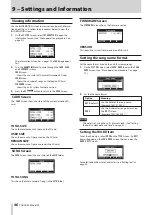
By connecting the recommended TASCAM RC-1F footswitch
(sold separately) to the
FOOTSWITCH
jack on the top of the
unit, you can use it to punch in/out.
To use a footswitch to punch in/out, you must set the foot
switch function assignment to “
PUNCH IN/OUT
” in advance. (See
“Setting up the footswitch” on page 41.)
At step
4
above, press the footswitch instead of the
0
button,
and at step
5
press it again instead of the
8
button.
TASCAM
RC-1F
NOTE
This unit was designed to be used with unlatched (momen-
tary) footswitches that have to be pushed to function (short-
ed when pushed).
Summary of Contents for 24
Page 160: ...160 TASCAM Model 24 Block diagram Sch ma fonctionnel Diagrama de bloques...
Page 162: ......


