30
TASCAM US-20x20
8 – Application Guide
In this chapter, we explain how to set some audio applications
for use with this unit.
DAW software
The ways that settings are made differ among DAWs.
When using a DAW, consult its operation manual.
Windows Media Player
Windows 10
1. Quit all applications, right-click the Start button menu and
open the Control Panel.
2. Open “Sound”.
NOTE
If you do not see this item, click Hardware and Sound.
3. On the Playback page, right-click “Speakers TASCAM
US-20x20", and click “Set as Default Device” in the pop-up
menu that appears.
When you do this, the green check mark (
ü
) appears next to
“Speakers TASCAM US-20x20”.
NOTE
To use this unit as the recording device, open the
“Recording” page and use “Set as Default Device” for “Line
In TASCAM US-20x20”.
4. After completing the setting, click the OK button.
5. Start Windows Media Player, select an audio file and begin
playback.
NOTE
•
If you change the setting while Windows Media Player is
running, the software will not recognize that the device has
been changed. In this case, restart Windows Media Player.
•
If you still cannot hear sound after making the settings and
completing the procedures above, restart the computer.
•
If you make this setting, sound will be output through this
unit, but no sound will be output by the computer’s speakers
or headphone jack.
Windows 8
1. Quit all applications and right-click the Start screen and then
click the All apps button to open the Apps screen.
NOTE
In Windows 8.1, click the
icon that appears at the bottom
left of the start screen to open the Apps screen.
2. Click Control Panel.
3. Click “Hardware and Sound", and then open the “Sound”
window.
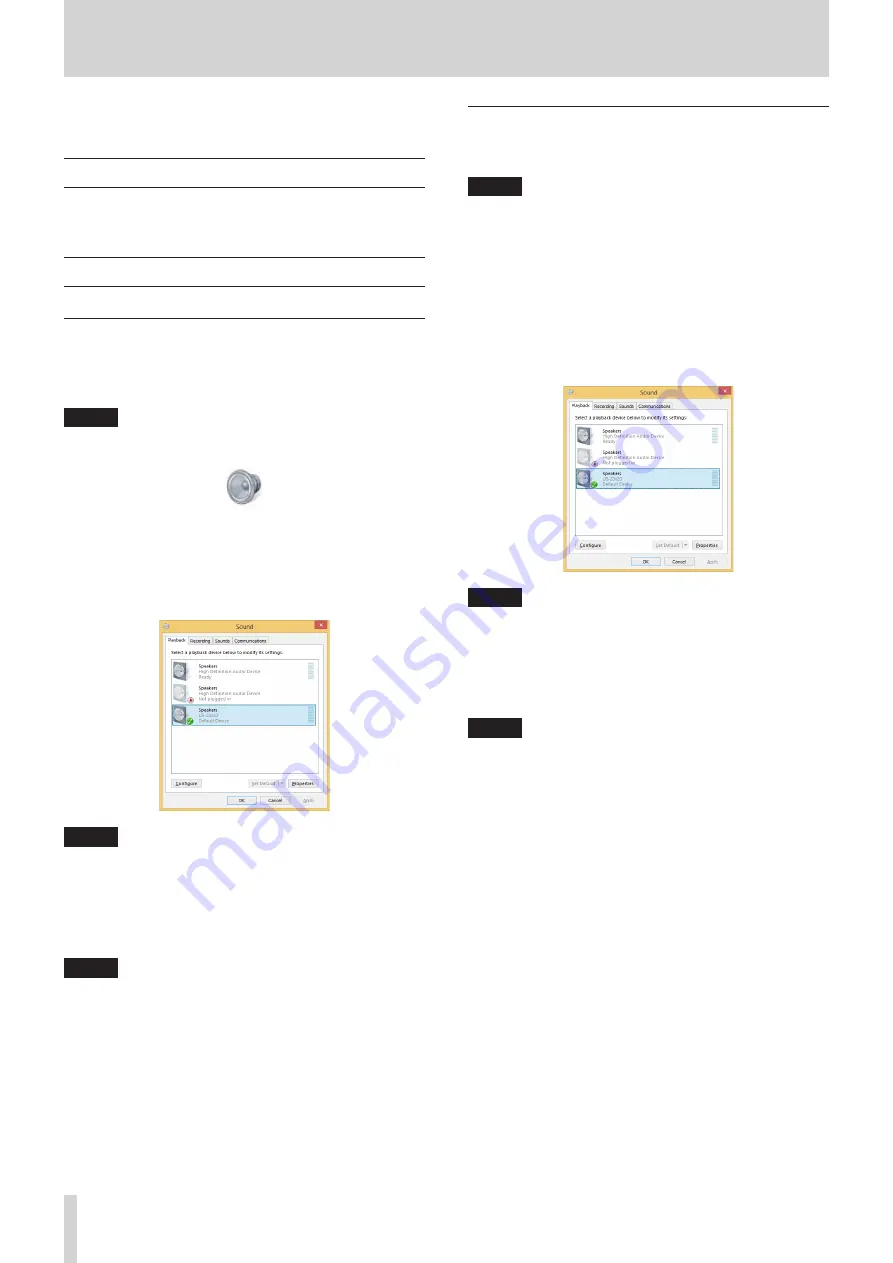
4. On the Playback page, right-click “Speakers TASCAM
US-20x20", and click “Set as Default Device” in the pop-up
menu that appears.
When you do this, the green check mark (
ü
) appears next to
“Speakers TASCAM US-20x20”.
NOTE
To use this unit as the recording device, open the
“Recording” page and use “Set as Default Device” for “Line
In TASCAM US-20x20”.
5. After completing the setting, click the OK button.
6. Launch Windows Media Player, select an audio file and start
playback.
NOTE
•
If you change the setting while Windows Media Player is
running, the software will not recognize that the device has
been changed. In this case, restart Windows Media Player.
•
If you still cannot hear sound after making the settings and
completing the procedures above, restart the computer.
•
If you make this setting, sound will be output through
this unit, but no sound will be output from the computer’s
speakers or headphone jack.


