


10–Editing Tracks
TASCAM DP-004
89
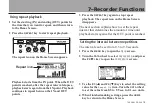
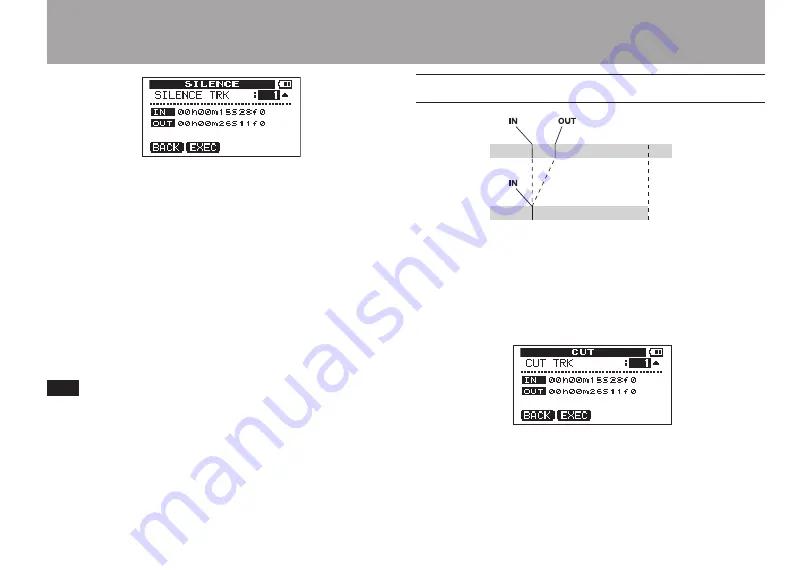
There is only one parameter. The IN and OUT points
appear on the screen, but they cannot be changed
here.
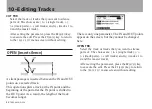
SILENCE TRK
Select the track or tracks that you want to silence
parts of. The choices are
1
to
4
(single track),
1/2
,
3/4
(track pairs) and
1–4
(all tracks).
After setting the parameter, press the
F2 (
EXEC
)
key
to execute the edit. Press the
F1 (
BACK
)
key to return
to the
TRACK EDIT
menu screen without editing.
TIP
This function can be used to remove short noises,
for example.
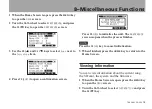
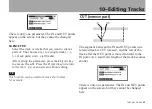
CUT (remove part)
The segment between the IN and OUT points on a
selected track is CUT (erased), and the rest of the
track after the OUT point is moved forward to the
IN point. As a result, the length of the track becomes
shorter.
There is only one parameter. The IN and OUT points
appear on the screen, but they cannot be changed
here.


