14
TASCAM DR-70D
3 – Preparation
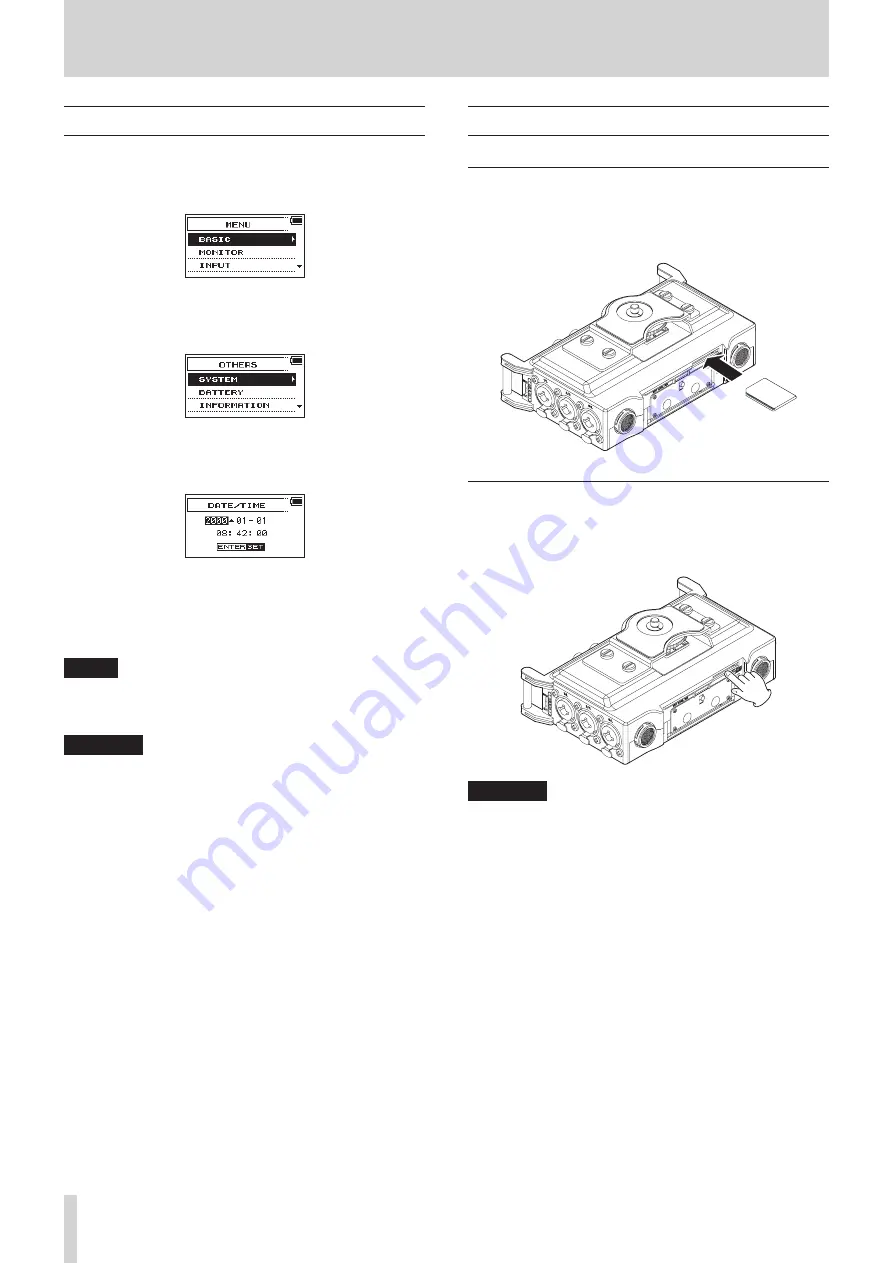
Setting the date and time
Using its internal clock, this unit adds the date and time to files
when they are recorded.
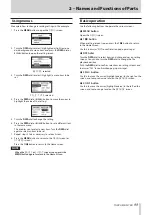
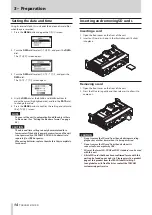
1. Press the MENU button to open the
MENU
screen.
2. Turn the DATA dial to select
OTHERS
, and press the DATA
dial.
The
OTHERS
screen opens.
3. Turn the DATA dial to select
DATE/TIME
, and press the
DATA dial.
The
DATE/TIME
screen opens.
4. Use the DATA dial or the 4/
.
and 3/
/
buttons to
move the cursor (highlighted area), and turn the DATA dial
to change the value.
5. Press the MENU button to confirm the setting and return to
the
OTHERS
screen.
NOTE
You can set the unit to automatically add the date set here
to file names. (See “Setting the file name format” on page
CAUTION
The date and time setting can only be maintained for a
few minutes if the battery power becomes low and the unit
is not powered by a TASCAM PS-P515U AC adapter (sold
separately) or USB bus power.
When using batteries, replace them before they completely
lose power.
Inserting and removing SD cards
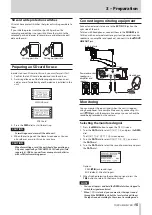
Inserting a card
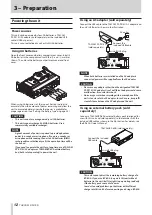
1. Open the front cover on the front of the unit.
2. Insert an SD card as shown in the illustration until it clicks
into place.
Removing a card
1. Open the front cover on the front of the unit.
2. Press the SD card in gently and then release it to allow it to
come out.
CAUTION
•
Do not remove the SD card from the unit during recording,
playback or at other times when it is being accessed.
•
Do not remove the SD card from the unit when it is
connected to a computer by USB.
•
SD cards that meet SD, SDHC or SDXC standards can be used
with this unit.
•
A list of SD cards that have been confirmed for use with this
unit can be found on our web site. Please access to a product
page of this product from the TEAC Global Site (http://
teac-global.com) to find the list or contact the TASCAM
customer support service.


