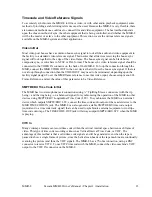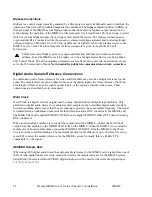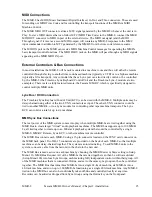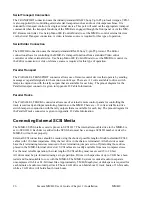
MMR-8
Tascam MMR-8 Owner’s Manual • Chapter 2 • Installation
29
4.
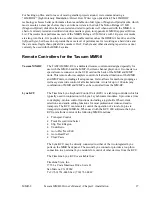
Connect the MMR-8 to the applicable timing reference source and to the appropriate remote
control interface
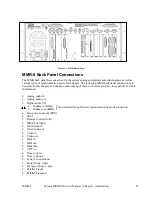
a. To connect the MMR-8 to a film transport, connect the biphase sync output from the projector
to one of the four biphase inputs. The four biphase inputs are numbered 1 - 4 from top to bottom.
Any, or all, of the inputs can be connected. Use Setup Menu 100, Sync Group, to select which of
the four Biphase inputs (Sync Groups) will control the system. If the MMR-8 will function as
the master for a biphase device, then the biphase output must be connected to the biphase
device’s control input.
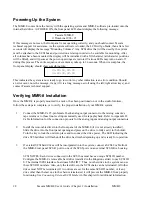
b. To connect the MMR-8 as a slave to a video machine, first connect a source of Video Frame
synchronization to the MMR-8’s VIDEO IN (either the Video Reference out from a video deck,
or a Video black burst signal). This is normally a loop-through connection so the MMR-
8’sVIDEO OUT jack should be terminated if it is not connected to another machine. Next
connect the Time Code signal from the video to the MMR-8, using either the VITC IN
connector, or the SMPTE/EBU TIME CODE IN (LTC) connector, whichever is appropriate.
Use the RS422 Sony 9-Pin Editor port to control the MMR-8 via Sony protocol. To connect the
MMR-8 as a master for a video deck, connect the TRANSPORT connector to the video deck’s
Sony P2 protocol-compatible remote control connector.
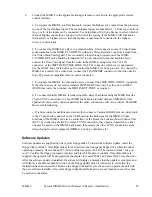
c. To connect the MMR-8 to other audio devices, connect the TIME CODE IN/OUT connectors.
If the other devices do not read or transmit SMPTE/EBU time code, but they do read MTC
(MIDI time code), then connect the MIDI IN/OUT/THRU as required.
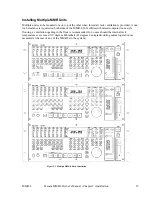
d. To connect multiple MMR-8 recorders together, daisy chain them using the MMR Bus (the
15-pin SYNC connectors). A 3-foot MMR bus cable is provided with each MMR-8 for this
application. Since each connector parallels the other, connection order is not critical. The MMR
Bus is self-terminating.
e. If remote control capabilities are desired, then connect a Tascam MM-RC remote control unit
to the 25 pin D-sub connector on the UI/B board on the back panel of the MMR-8. Some
functions of the MMR-8 can also be controlled via the TimeLine Lynx Keyboard Control Unit
(KCU) by connecting the KCU to either LYNX connection (they operate in parallel, so either
one may be used) on the MMR-8 back panel. If necessary the other LYNX connection can be
daisy-chained to other equipment (MMR-8, a Lynx-2 controller, etc.).
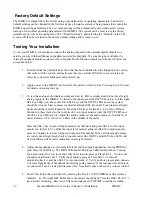
Software Updates
Software updates are supplied on one or more floppy disks. To install the software update, insert the
floppy disk (or Disk 1, if multiple disks are received) into the front panel floppy drive while the unit is
operating normally. Access Menu 995 (Load Software) and press STO. The system will ask “Are you
sure?” Confirm the floppy is properly inserted and press STO again to confirm. If multiple disks are
supplied, the operator will be prompted via the display to remove Disk 1 and place Disk 2 into the drive.
After the software update is installed, the system will display a message that the update is complete, and
will display a checksum number (written on the floppy update disk for reference) to verify that the
installation has been successful. Remove the floppy disk and recycle the power to operate the unit with
the new software installed. All system floppy disks should be kept in a secure location in case they may
be needed in the future.
Summary of Contents for MMR-8
Page 5: ......
Page 6: ......
Page 7: ......
Page 8: ......
Page 9: ......
Page 38: ...32 Tascam MMR 8 User s Guide Chapter 3 MMR 8 Operation MMR 8...
Page 42: ...36...
Page 94: ...Tascam MMR 8 Owner s Manual Appendix A Control Panel Summary 88...
Page 110: ...Tascam MMR 8 Owner s Manual Appendix E Glossary 104...

