- 50 -
Selecting a Frame Rate
1) Press [
SETUP
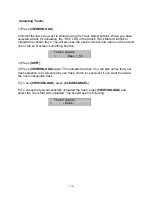
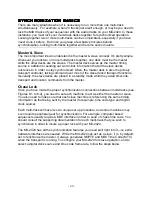
] and access Menu #004. You will see something like this,
004 TimeCode
Type
* 30/NDF
2) Press [
TRIM
] and use the Arrow buttons to select the frame rate you want.
3) Press [
STORE/YES
] and that's it.
•
HOT TIP!
— The time code type selected here should be the same as that selected
on other machines to be synchronized.
Choosing the Digital Clock Source
1) Press [
SETUP
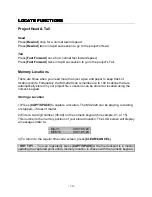
] and access Menu #002. You will see something like this,
002 Sample
Reference
* Internal/Frame
2) Press [
TRIM
] and select the digital clock source you want your MX-2424 to
reference.
3) Press [
STORE/YES
] to lock the setting in.
4) If you have selected a valid external digital clock source that is connected to the MX-
2424, the "SAMPLE LOCK" LED will light. If the "SAMPLE LOCK" LED is blinking, it
means that the MX-2424 is not receiving the digital clock source set in Menu 002.
Chasing Timecode
1) Press [
SETUP
] then the [
0
] button on the numerical keypad.
2) Press [
TRIM
] and select Timecode Chase
3) Press [
STORE/YES
] to lock the setting in.
4) Press the [
ONLINE
] button.
The MX-2424 will start chasing incoming time code as soon as it is received.
•
HOT TIP!
— The SAMPLE LOCK and TC CHASE LED’s will blink until time code is
received.
Summary of Contents for MX-2424
Page 15: ...15 Load...
Page 16: ...16 Delete...
Page 17: ...17 Rename...
Page 18: ...18 Smart Copy TapeMode Convert Convert Copy Abort...

