Section IV, Continued
Section IV, page 2
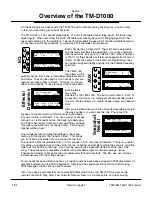
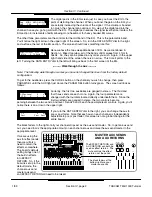
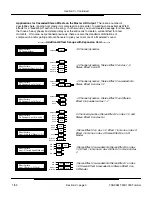
The digital pad is in the EQ screen just in case you boost the EQ to the
point of distorting the channel. When you boost the gain on the EQ, you
are actually increasing the volume of the signal. If the volume is boosted
too much, the channel can overload. So, we put the digital pad into the
LOW-f LOW-G
HI-f
HI-G
81Hz
0 12.3kHz
0
Pad
MID-f MID-G MID-Q
0dB
1.0k
0
1.71
TASCAM
TM-D1000
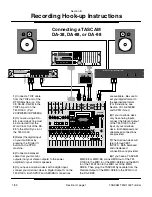
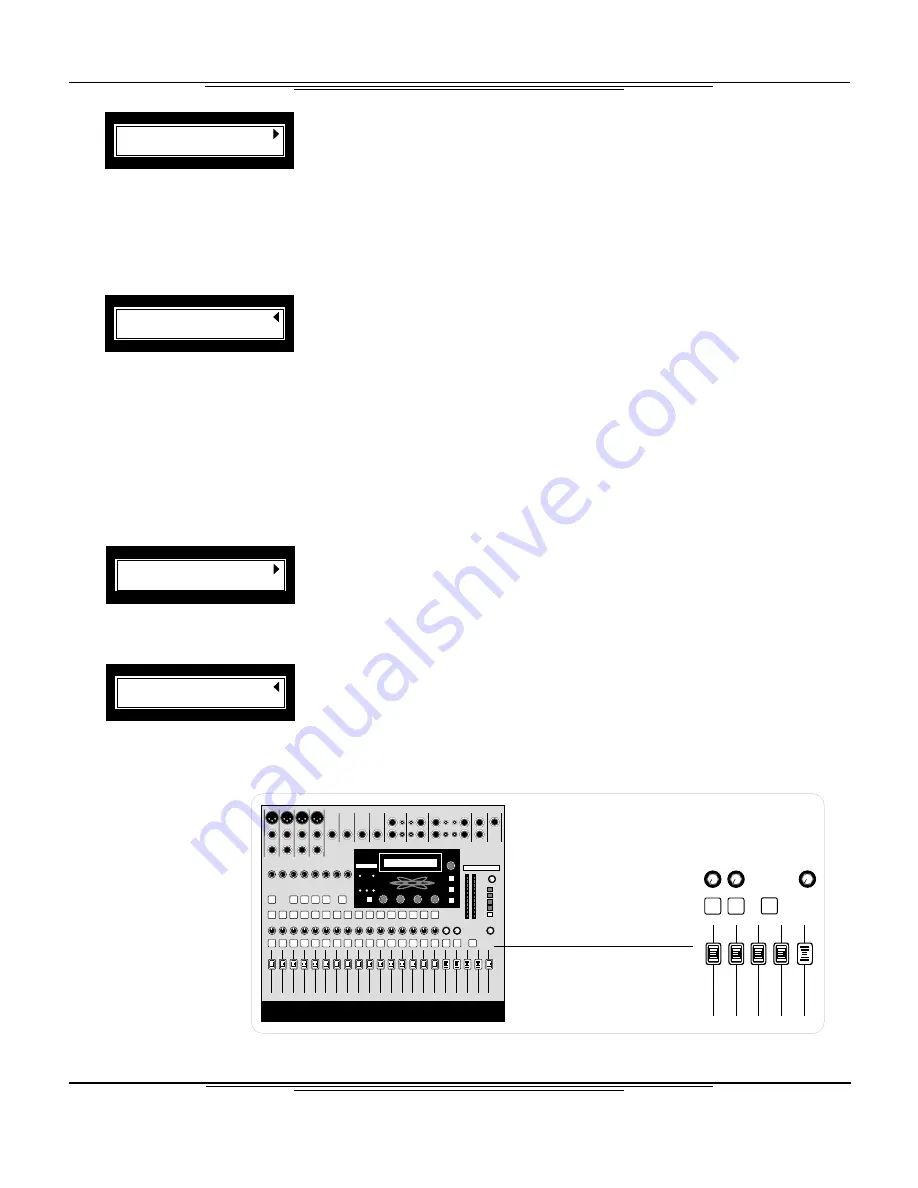
The black faders at the
bottom right are your
master aux sends.
The EFFECT RETURN and
AUX RETURN can both be
used as effect returns. The
mute controls the effect
returns, not the sends.
EFFECT
RETURN
AUX
RETURN
L-R
4
3
2
1
MUTE
MUTE
SOLO
MASTER AUX SENDS
AND AUX RETURNS
channel in case you go hog wild with the EQ. The digital pad reduces the signal level before it enters the
EQ section in increments of 6dB, allowing more headroom for heavy handed EQ curves.
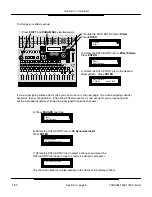
The other three parameters are the controls for the mid band of the EQ. This is the parametric band.
You'll notice the right arrow in the upper right of the screen. So, turn the DATA ENTRY dial to the right,
and we'll see the rest of the EQ section. The screen should look something like this:
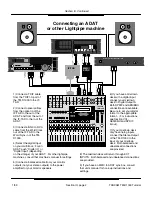
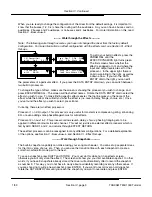
Here we have the two sweepable bands of EQ. As we mentioned in
Section I - Mixer Overview, all of the bands of EQ sweep from 41Hz to
16kHz. So, they can be placed in any order you wish. Again, in the upper
right hand side of the screen, there is an arrow. This time it points to the
left. Turning the DATA ENTRY dial to the left will bring us back to the first screen of the EQ.
Note: The following walk-through assumes you have not changed the mixer from the factory default
configuration.
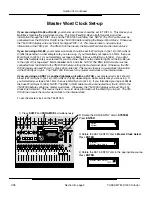
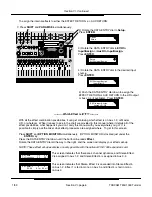
To get to the Auxiliaries, press the CH SEL button on the channel you wish to change, then press
PARAM SEL until the AUX light just above the PARAM SEL button turns green. The screen will look as
follows:
---------- Walk through the Aux ----------
1-2 Pan-Level
3
4
CTR
0
0
0
1-2
3
4
Post
Post
Post
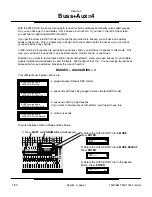
Currently, the first two auxiliaries are ganged in stereo. The third and
fourth aux sends are each mono. Again, the four parameters are
changed with the four dials located directly underneath them. Since the
first two effects are ganged in stereo, the two controls become
panning between the two sends, and level. Sends 3 and 4 each have simple level controls. Again, you'll
notice there is an arrow in the upper right.
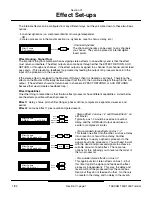
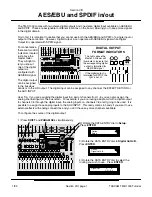
If you turn the DATA ENTRY dial to the right, you can change the aux to
pre or post fader. Note that each aux on each channel is independently
adjustable to pre or post fader; this screen is not a global change for the
entire board.
The black faders to the right of all your channel strips act as the aux send master. So, to get an aux send
out, you need to mix the appropriate amount on each channel aux and raise the aux send master to the
appropriate level.
If we are using the
aux for effect sends,
then we will also
need to return the
effects somewhere.
The board’s default
setting brings one of
the built-in effects
into EFFECT
RETURN. So, if the
board is set up in the
default mode, the
channel aux send,
master aux send,
and EFFECT RETURN all need to be raised.
TASCAM TM-D1000 Tutorial
1/99

