TASCAM TM-D1000 Operations Manual
16
6 - Word synchronization
When you have a digital audio setup, it is most
important that all equipment in the setup shares the
same word clock. This is not at all related to time-
code synchronization, but refers to a digital signal at
the sampling frequency which marks the beginning
and the end of digital data “words”. If this clock is
not present, or is distorted, the resulting signals
passed between different pieces of equipment will
not be synchronized, with audible noise which may
even be high-frequency noise which will damage
amplifiers, speakers, etc.
The proper setup of a word clock in a digital audio
system is therefore essential.
We refer to devices as word clock masters or slaves,
depending on whether the word clock is originated
by them, or received from another device.
NOTE
There must be one, and only one, word clock
master in a system.
Furthermore, each device in a digital audio setup
must be set up to work at the same sampling fre-
quency. You cannot have a system in which a CD
player (with a fixed sampling frequency of 44.1 kHz)
can be used to provide digital audio signals to a
recorder or mixer whose sampling frequency has
been set to 48 kHz.
The standard stereo digital signals (AES/EBU and
SPDIF) that are marked as “DIGITAL” from DAT
recorders, CD players, etc. carry their own clocks as
part of the signal. Most “domestic” CD players and
DAT recorders will expect to be the word clock mas-
ter when playing back, and (in the case of a DAT
recorder) when recording, will become a word clock
slave.
Professional equipment (DAT recorders, CD players,
digital multitrack and hard disk recorders, and digital
mixers such as the TM-D1000) can usually be con-
figured to act as either a word clock master or slave.
6.1 Setting up the TM-D1000 as a
word clock master
The TM-D1000 can be configured as a word clock
master at either 44.1 kHz or 48 kHz.
NOTE
If the TM-D1000 is configured as a word clock
master, you cannot use any varispeed facili-
ties on any digitally connected devices (multi-
track systems, CD players or DAT recorders).
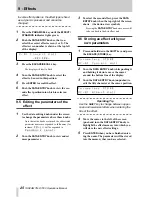
1
Press and hold down the
SHIFT
key and press
the
OPTION
key.
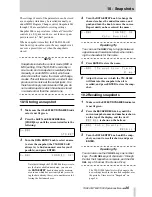
2
Turn the
DATA ENTRY
knob until the bot-
tom line of the display shows
System
and
press
ENTER
.
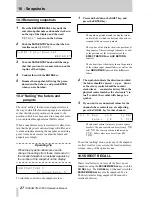
3
Turn the
DATA ENTRY
knob until the bot-
tom line of the display shows
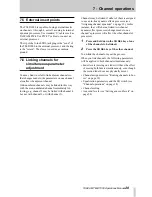
Master
Clock Select
, and press
ENTER
:
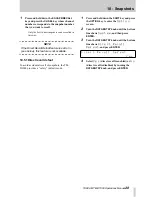
4
Use the data entry knob to choose either 48
kHz or 44.1 kHz as the internal clock.
5
Make sure that any other devices which can
accept external word clocks are set to do so.
NOTE
The TDIF-1 standard allows any DTRS or
other TDIF-1-equipped device to take its clock
through the TDIF-1 connector. However, we
recommend that if you are using the TMD-
1000 as a word clock master, that you con-
nect the TM-D1000’s
WORD SYNC OUT
to the
WORD SYNC IN of the DTRS recorder (not
DA-38 models), and use the CLOCK key of
the DTRS recorder to select WORD as the
clock source.
6.2 Setting up the TM-D1000 as a
word clock slave
The TM-D1000 can accept a word clock from any of
the digital audio inputs (including the TDIF-1 input,
or inputs, if the optional expansion board is fitted) or
the
WORD SYNC IN
connector.
1
Press and hold down the
SHIFT
key and press
the
OPTION
key.
2
Turn the
DATA ENTRY
knob until the bot-
tom line of the display shows
System
and
press
ENTER
.
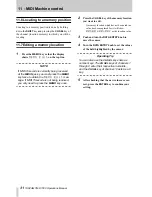
M a s t e r
C l o c k
S e l e c t
I n t e r n a l [ 4 4 . 1 k ]


