29
TASCAM TM-D1000 Operations Manual
11 - MIDI Machine control
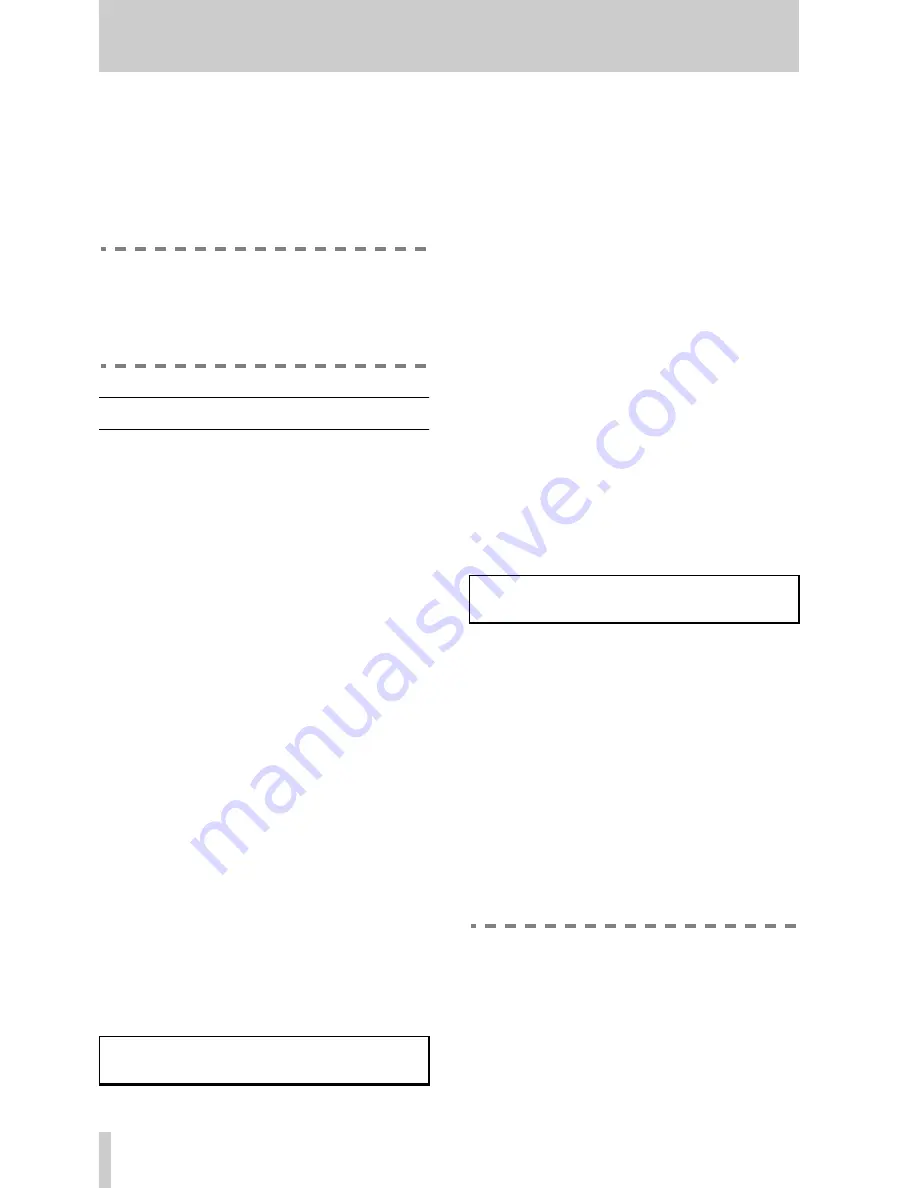
The TM-D1000 can be used together with any
recorder or other device that supports MIDI Machine
Control commands, such as the TASCAM DA-88
with the optional SY-88 synchronizer board, the
TASCAM DA-38 with the optional MMC-38, or the
TASCAM DA-98, as well as the TASCAM MMR-8
and MMR-16 disk recorders.
NOTE
MIDI Machine Control must be implemented
on your external device in order for the TMD-
1000 to control it. Not all MMC functions may
be available with all units.
11.1Connections
To use the TM-D1000 with MIDI Machine Control,
you have the choice of a closed-loop (where the con-
trolled device is constantly informing the TM-D1000
of its status) or an open-loop system, which may be
regarded as a “command and forget” system.
You should consult the documentation of your device
to discover which method is more appropriate for
your system.
The connections for these are made in the following
way:
A closed-loop system should be connected with the
TM-D1000’s
MIDI OUT
connected to the MIDI IN
of the remote device, and the remote device’s MIDI
OUT connected to the TM-D1000’s
MIDI IN
.
An open-loop system needs the TM-D1000’s
MIDI
OUT
connected to the remote device’s MIDI IN.
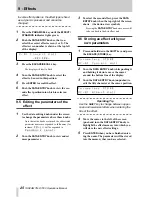
To choose the software setting appropriate to your
configuration:
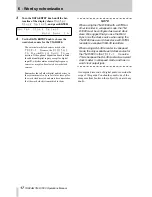
1
Press and hold down the
SHIFT
key and press
the
OPTION
key.
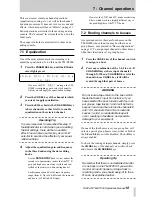
2
Turn the
DATA ENTRY
knob until the bottom
line of the display shows
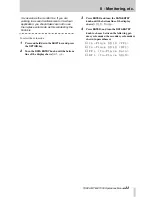
MIDI
, and then
press
ENTER
:
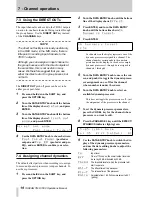
3
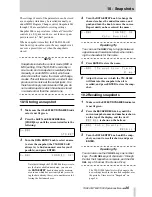
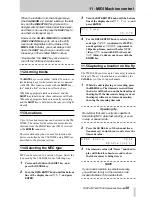
Turn the
DATA ENTRY
knob until the bottom
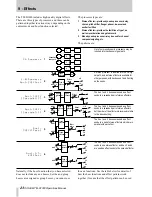
line shows
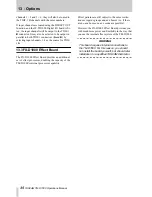
MMC Communication
,
and press
ENTER
:
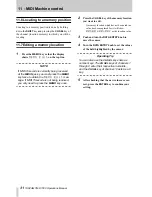
4
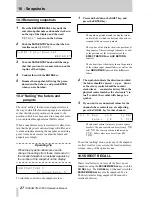
Turn the
DATA ENTRY
knob to choose
between
Closed-loop
and
Open-
loop
, and press
ENTER
to confirm your
choice.
If you select the closed-loop option, and the
MIDI setup is not correctly connected, a message
will appear on the display to warn you of this.
11.1.1Setting up the device IDs
Consult the documentation of the other unit for
details of how to set it up for use with MIDI Machine
Control, including the setting up of the MMC Device
ID.
To set up the TM-D1000:
1
Press and hold down the
SHIFT
key, and
press the
OPTION
key.
2
Turn the
DATA ENTRY
knob until the bottom
line of the display shows
MIDI
, and then
press the
ENTER
key.
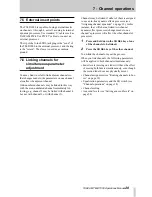
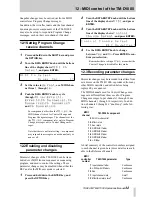
3
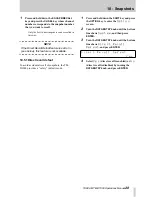
Turn the
DATA ENTRY
knob until the bottom
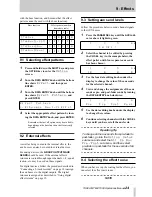
line of the display shows
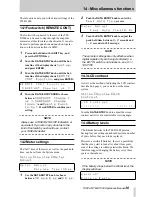
MMC Device
ID
, and press
ENTER
:
4
Use the
DATA ENTRY
knob to set the MMC
Device ID to a value between
1
and
127
,
and use
ENTER
to confirm your selection.
11.1.2Transport control
Once the TMD-1000 and the other unit are set up,
pressing and holding the
SHIFT
key will enable the
shifted (blue) functions of the keys immediately
below the
TRIM
controls (
CH ASSIGN
,
EQ
and
DIRECT OUT
).
These keys work in much the same way as the stan-
dard transport control keys on TASCAM equipment.
If you are in any doubt as to how these work, consult
the TM-D1000 Reference manual.
Operating Tip
You can “lock” the
SHIFT
key into transport
control mode (similar to a SHIFT LOCK or
CAPS LOCK key on a keyboard) by pressing
it twice in quick succession (similar to a
mouse double-click). The
LOCK
indicator by
the
SHIFT
key lights to remind you of the cur-
rent status.
M M C
C o m m u n i c a t i o n
C l o s e d - l o o p
M M C
D e v i c e
I D
1


