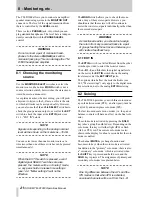
2 - The TM-D1000 menu system
TASCAM TM-D1000 Operations Manual
6
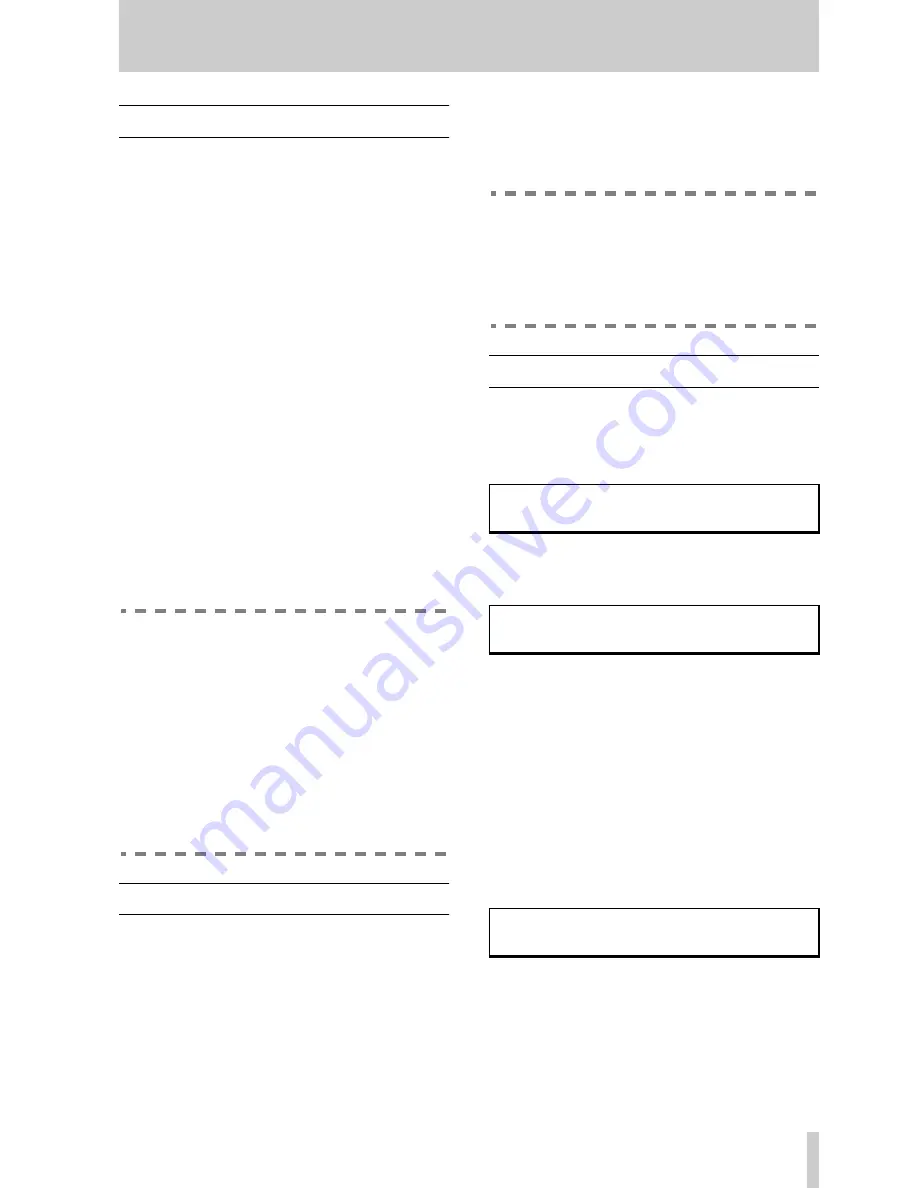
2.5 The display screen
The display screen is typically used in the following
way:
The top line of the display screen is used to show the
sub-menu or the parameter to be edited which is cur-
rently selected. The right side of the top line shows
you if there are other sub-menus or parameters avail-
able (see “DATA ENTRY” on page 6 for details).
The bottom line of the display is used to show the
sub-menu or value of the parameter or parameters
which may be edited. If the sub-menu is one of a
number of sub-menus to be selected, or if there is
only one parameter whose value must be set, the bot-
tom line of the display will blink.
If the value displayed on the screen is the currently-
loaded value, the value alone will be shown. If the
value is not currently loaded, the line will end with a
question mark (
?
). When the value is selected with
the
ENTER
key, the
?
will disappear, to show that
the displayed value is the current value.
To set the value, press the
ENTER
key. To escape
from the menu without setting the value, press the
ESCAPE/RECALL
key.
Operating Tip
To change the contrast of the display screen:
1
Press and hold down the
SHIFT
key and press
the
ENTER – FDR/PAN NULL
key (you will
enter the fader/panpot adjustment screen).
2
Turn the
DATA ENTRY
knob to adjust the dis-
play screen contrast.
There is also an Option setting screen which
allows you to adjust the contrast, described in
“LCD contrast” on page 36.
2.6 Data editing knobs
These knobs, which are not labeled, are used to
change the values of the parameters which are dis-
played on the LCD screen immediately above them.
There may be up to four parameters displayed on the
screen at any one time. Turning the knob immedi-
ately below a parameter will change that parameter.
Notice that there is no “beginning” or “end” when
you turn the knobs—these are continuously variable
controls. However, when you come to the maximum
or minimum value permissible for a parameter, turn-
ing the knob clockwise or counterclockwise respec-
tively will have no further effect.
Operating Tip
When you are changing values using the data
editing knobs or the
DATA ENTRY
knob (see
below), you can speed up the rate at which
the value is changed by pressing and holding
down the
SHIFT
key while turning the knob.
2.7 DATA ENTRY
When you turn this knob, the different sub-menu
options available from each main menu are dis-
played. The availability of different menus is shown
in the top right of the display:
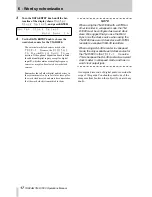
The
©
in the top right of the display indicates that if
you turn the
DATA ENTRY
knob clockwise, another
sub-menu is displayed:
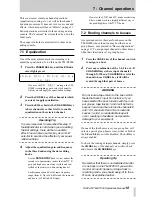
Here, the
Ä
in the top right shows that another menu
is available if you turn the
DATA ENTRY
knob coun-
terclockwise.
Occasionally, a menu will appear which has both the
Ä
and
©
symbols displayed in the top right corner.
This means that additional menus are available by
turning the
DATA ENTRY
knob either clockwise or
counterclockwise.
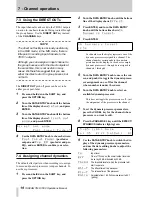
Sometimes identical menus are available for similar
parameters. In the example below, the format of the
signals output from the
DIGITAL OUT
jacks (
A
and
B
) can be changed between SPDIF and AES/EBU.
The
Ã
symbol on the right of the display shows that
an additional menu is available by pushing the
DATA
ENTRY
knob. This will change the
Digital
Out
parameter between
A
and
B
.
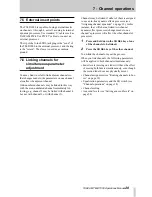
The
DATA ENTRY
knob is also used to enter and edit
the names of snapshot, effect settings, etc.
L O W - G
M I D - f
M I D - G
H I - G ©
+ 1 2 . 0
1 0 k
+
0 . 5
+
1 . 0
L O W - f
M I D - f
M I D - G
H I - f Ä
1 0 0 H z
1 0 k
+
0 . 5
1 6 k
D i g i t a l
O u t
A / B
F o r m a t
Ã
A :
S P D I F


