Tutorial–Simple recording session
Tutorial T–3
T3 Basic Routing
1. Plug the outputs of the drum machine into line inputs 1&2. (Analog connections to the mixer may be made
with the power on, just be sure that the speakers are turned down!)
2. Plug the electric bass through a direct box into mic input 3. (It can also be connected directly to the line
input.)
3. Recall Snapshot 000 to “zero” the mixer: First, press the - or + keys in the Library section on the angled
surface of the mixer until a small “00” appears in the upper left corner of the screen, then press RECALL.
A box confirming “Snapshot00 Recalled” will appear briefly on the LCD. Next, pull the faders all the way
down for channels 1-32 (fader layers 1 & 2, leave up the master faders). Now we can start from scratch with the
TM-D4000's default settings.
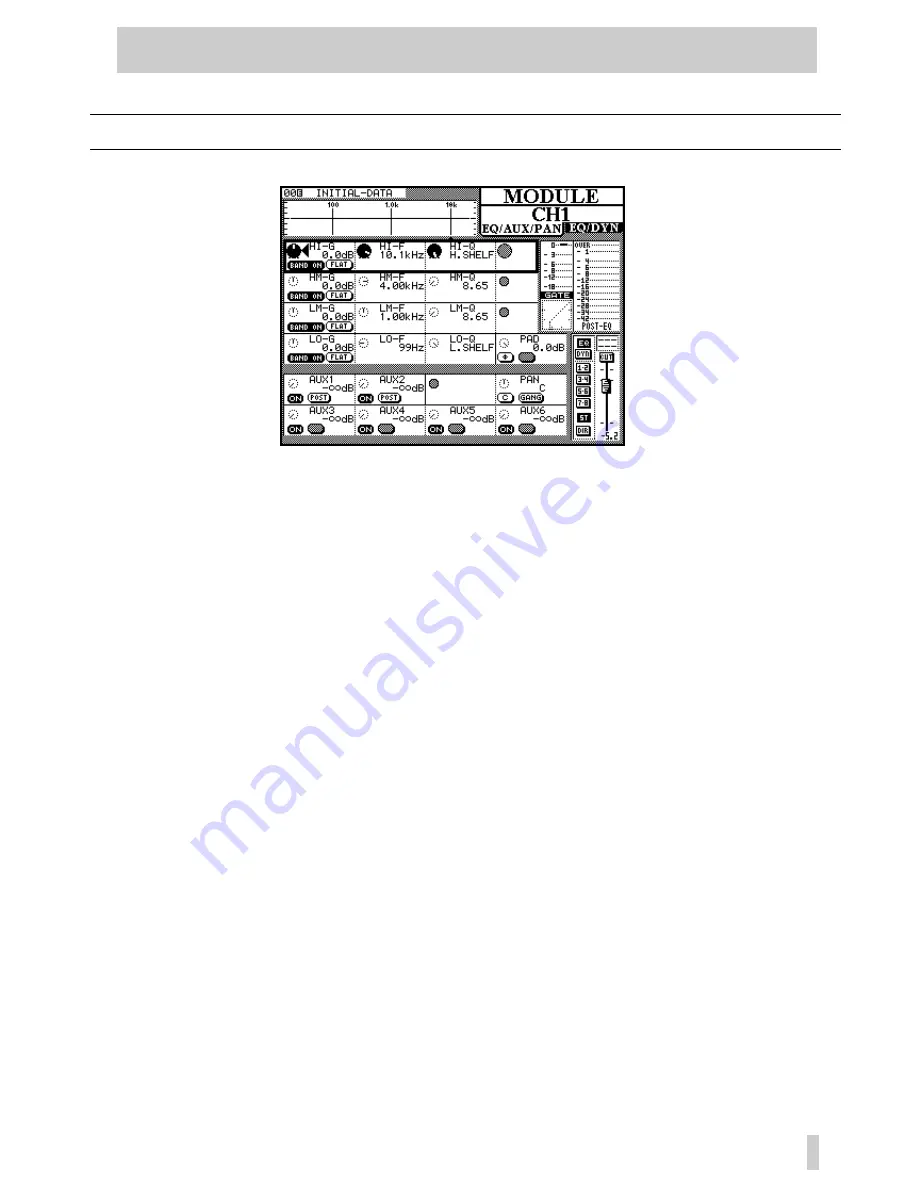
4. Press the key labeled MODULE, be sure you have CH 1-16 selected in Layer Status, then press the SEL button
on channel 1 to display that channel’s information in the LCD screen.
5. Since the output of the drum machine is stereo link inputs 1&2 as a stereo pair so that fader levels, EQ
adjustments, etc. can be applied to both channels simultaneously. Press and hold the SEL button on channel 1
and press the SEL button on channel 2. A box will appear asking you to confirm the stereo link on channels
1&2. Press ENTER to confirm. (When moving a pair of motorized faders it is only necessary to move one of
them, it doesn’t matter which one, the other will follow. Attempting to move both faders may damage the
motors.)
6. Press the Line button just above the Trim pot for channels 1&2 to select line input instead of mic.
7. Turn the volume control for your speakers (CR LEVEL) all the way down.
8. Make sure the Trim Pots on channels 1&2 are all the way down. Press and hold the CLR button under the
numeric keypad and press either channel’s SEL button. This automatically moves the faders to unity gain for
recording.
9. Begin playing the drum machine, set it to loop so that you can make mixer adjustments while it is playing.
Slowly turn up the CR LEVEL control, you should hear the drum machine and see level on the stereo meters.
(Make sure your power amp or speakers are turned on!)
10. Press the REC buttons on channels 9&10 to arm tracks 1&2 on the DA-38 for recording. The REC indicators
will blink. (NOTE: Track arming is not part of the stereo link, each track will have to be armed separately.)
11. The SEL indicators on channels 1&2 should still be lit, if not, press the SEL button for either channel to select
the linked pair. To the right of the LCD, under the contrast control is a vertical strip of buttons. Press the button
labeled STEREO to take the drum machine inputs out of the stereo buss. Press the button labeled BUSS 1-2 to
assign the drum machine inputs to busses 1&2 which feed tracks 1&2 of the DA-38. You should now see
level on meters 1&2 of the DA-38.
12. Make a stereo link for channels 9&10. (Remember how? See #5 above!) Slowly raise the linked faders
9&10. You should again hear the drum machine and see it on the stereo meters. (The point of all this is to be
listening from the tape machine, not the inputs that get sent to it.)


