Infrared Refrigerant Leak Detector
16
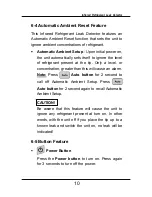
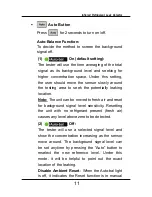
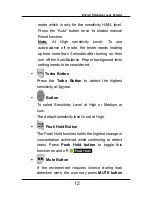
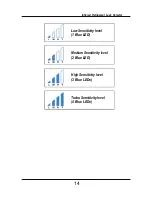
When the instrument detects a leak source, the
audible tone will alarm. Additionally, the visual
indicators will light from lower to higher; green LED
then yellow LED then red LED (highest
concentration) as increasing of level indicate that
the location is close to the source.
When the Instrument signals a leakage, pull the
probe away from the leak for a moment, then bring
it back to pinpoint the location. If the refrigerant leak
is large, setting the sensitivity switch to LOW will
make it easier to find the exact site of the leak.
Return the sensitivity switch to Turbo before
searching for additional leaks.
When you've finished leak-testing, turn off the
instrument and store it in a clean place, protect the
leak detector from possible damage.
(3) Leak Detection Procedure
Press the
Power button
for one second.
The warm-up and calibration sequence takes
approximately 45 seconds. The sensitivity level
defaults to High at startup.
The most likely place for a refrigerant leak is at
soldered joints in refrigerant lines and changes in
cross section or direction of these lines. The detect
changes in concentration of refrigerant, not the
absolute concentration of refrigerant. This makes

