background image

13. ALWAYS keep tool clean and in good working order.

14. Check for proper alignment of moving parts, binding, breakage, or any other

      conditions that may affect the tool’s operation. Any part that is damaged

15. DO NOT operate tool if you are under the influence of any drugs, alcohol

or medication that could affect your ability to use the tool properly.

16. Do not use solvents, brake fluids, gasoline, or other petroleum products to

      clean the tool, they may damage plastic parts.

4

should be properly repaired or replaced before use.

GENERAL SAFETY RULES-CONTINUE

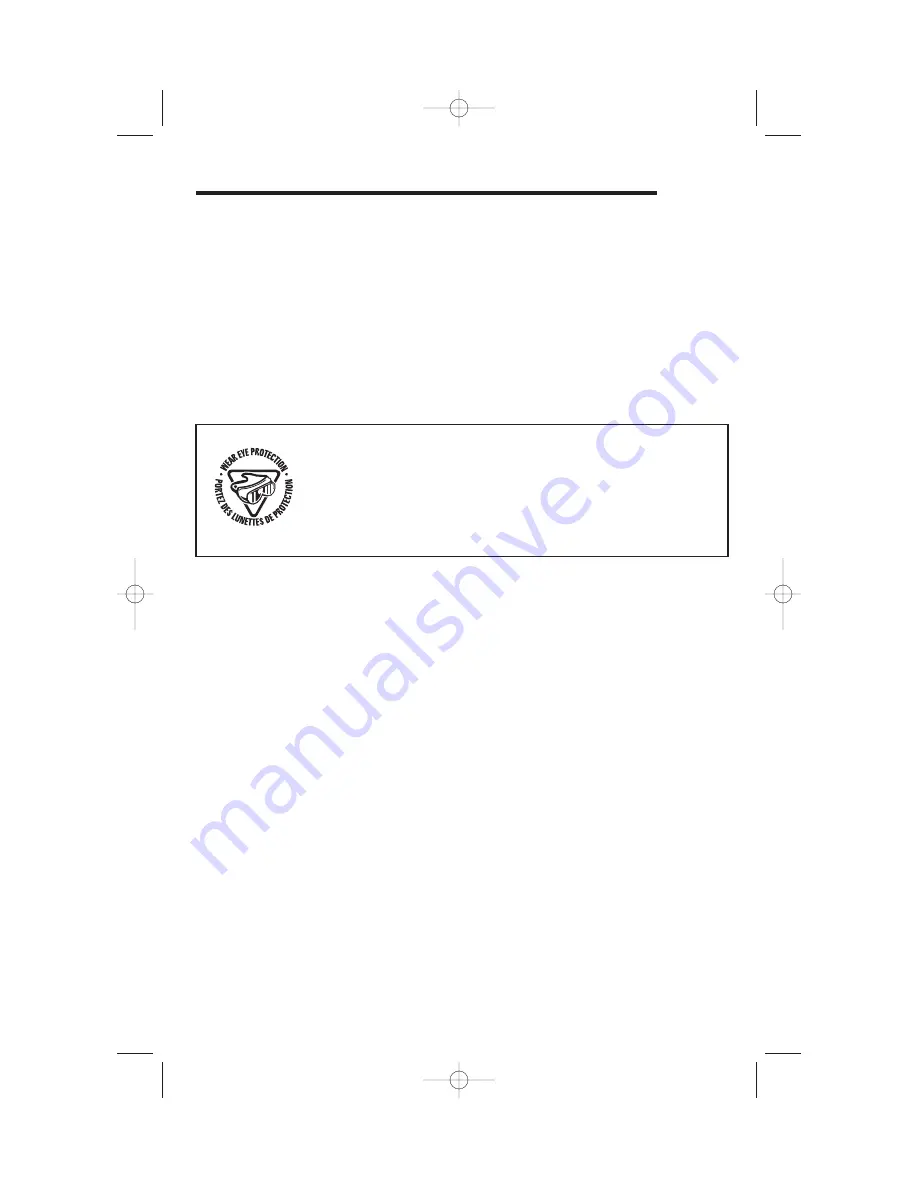
ALWAYS WEAR EYE PROTECTION.

A yard chipper can throw foreign objects into your eyes which could 

cause permanent eye damage.

ALWAYS wear safety goggles (not glasses). Ordinary eyeglasses 

have only impact-resistant lenses—they are

NOT safety goggles.

Summary of Contents for 26093

Page 1: ... MANUAL BEFORE USE CAUTION FOR YOUR SAFETY NOTICE On the nameplate of your machine you will find the serial number and MFG date code of your unit Please record these numbers on this manual cover for future service reference MFG DATE ________ PURCHASE DATE _________ PRINTED IN CHINA Questions problems missing parts Before returning to your retailer call our customer service department at 1 800 444 ...

Page 2: ... 12 Maintenance 14 Warranty 16 Parts lists 17 YARD CHIPPER ITEM NUMBER 241482 MODEL NUMBER 26093 MOTOR 120V AC 60 Hz 15A SPEED 4 000RPM CHIPPER CAPACITY 1 3 8 in 35 mm DIAMETER 1 3 8 in 35 mm HEIGHT 37 1 2 in 950 mm WEIGHT 31 lb 6 oz 14 35 kg TABLE OF CONTENTS PRODUCT SPECIFICATIONS Assembling this YARD Chipper need as follows tools 1 L wrench 2 13mm wrench 3 screwdriver ...

Page 3: ...clothing can get caught and pull you into moving parts 7 ALWAYS WEAR EYE PROTECTION 8 ALWAYS remove the power cord plug from the electric outlet when making adjustments changing parts cleaning or working on the tool 9 AVOID ACCIDENTAL START UPS Make sure the power switch is in the OFF position before plugging in the power cord 10 DO NOT abuse the power cord Do not use it to carry the tool Keep cor...

Page 4: ...could affect your ability to use the tool properly 16 Do not use solvents brake fluids gasoline or other petroleum products to clean the tool they may damage plastic parts 4 should be properly repaired or replaced before use GENERAL SAFETY RULES CONTINUE ALWAYS WEAR EYE PROTECTION A yard chipper can throw foreign objects into your eyes which could cause permanent eye damage ALWAYS wear safety gogg...

Page 5: ...o other persons or animals within a radius of 10 feet Stop using the machine while people especially children or pets are nearby 8 NEVER reach under the chipper until it has completely stopped The blade may continue to rotate for a time after being switched OFF 9 MAKE all adjustments with the power OFF and the chipper disconnected from the power source 10 ALWAYS use accessories provided or recomme...

Page 6: ...ARDS OR DAMAGE TO THE TOOL USE PROPER CIRCUIT PROTECTION YOUR CHIPPER IS WIRED AT THE FACTORY FOR 12OV OPERATION CONNECT TO 120 V 15 A CIRCUIT AND USE A 15 A CIRCUIT BREAKER TO AVOID SHOCK OR FIRE WHEN THE POWER CORD IS WORN CUT OR DAMAGED IN ANYWAY REPLACE IT IMMEDIATELY DOUBLE INSULATED WARNING TO AVOID INJURY WHEN SERVICING THE CHIPPER USE ONLY IDENTICAL REPLACEMENT PARTS 1 800 444 6742 WARNING...

Page 7: ...ied person before using it Keep your extension cords away from sharp objects excessive heat and damp or wet areas Use a separate electrical circuit for your tools This circuit must not be less than 12 gauge cord and should be protected with a 15 amp time delayed fuse Before connecting the motor to the power line make sure the switch is in the OFF position and the electric current is rated the same...

Page 8: ...g 4 Motor Housing 5 Release Knob 6 Power Switch 7 Discharge Chute 8 Stand with Wheels 9 Circuit Breaker 10 Clip Holder 11 Bag Clip 2 5 6 4 8 7 3 9 10 11 KNOW YOUR YARD CHIPPER 12 14 12 Push Bar Holder 14 Push Bar 13 Underlay 13 1 ...

Page 9: ...with hopper 1 pcs 2 Push Bar 1 pcs 3 Wheel 2 pcs 4 Axle 1 pcs 5 Clip Holder 2 pcs 6 Screw 4 pcs 7 Collecting Bag not show 1 pcs 8 L wrench 1 pcs 9 13mm wrench 1 pcs 10 Wheel Nut 2 pcs 11 Inner Washer 2 pcs 12 Outer Washer 2 pcs 13 Stand Assembly 1 pcs IF ANY PART OF THE CHIPPER IS MISSING OR DAMAGED DO NOT PLUG THE TOOL IN UNTIL THE DAMAGED PART IS REPAIRED OR REPLACED Fig B WARNING ASSEMBLY AND A...

Page 10: ...axle 2 into the hole on the leg 1 as shown in Fig 1 Spread legs slightly to allow the other end of the axle into the opposite hole 2 Place large washer 3 onto axle 3 Place wheel 4 onto axle followed by the small washer 5 and wheel nut 6 as Fig 2 4 Repeat steps 2 and 3 for the opposite side 5 Place the L wrench 7 through the hole in the axle and then using the 14mm wrench 8 tighten each wheel nut i...

Page 11: ...own Step 1 Fig 4 2 Place the leg assembly into the holes on the housing Step 2 Fig 5 3 Push firmly into place 4 Position a clip holder Step 3 Fig 6 on the side of the housing and screw Step 4 Fig 6 into place Repeat for the opposite side 5 Make sure the chipper is properly assembled and then turn the right way up Fig 4 Step 1 Fig 5 Step 2 Fig 6 Step 4 Step 3 ASSEMBLY AND ADJUSTMENTS ...

Page 12: ... Overload protection Fig 7 This yard chipper has a reset overload feature The reset button will restart the motor after it shuts of f due to overloading or low voltage If the motor stops during operation 1 Turn the ON OFF 1 switch to the OFF position 2 Wait about five minutes for the motor to cool 3 Push in on the reset button 2 4 Turn the switch 1 to the ON position 12 ALWAYS ALLOW 5 SECONDS OR M...

Page 13: ...ity of t he chipper 1 Turn ON the chipper 2 Place sticks in the narrow opening of the hopper Do not place your hands inside the hopper 3 Do not feed sticks that are greater than 1 3 8 in 35mm in diameter 4 Turn the chipper OFF and allow it to come to a complete stop 13 DO NOT TRY TO CHIP ANY MATERIAL THAT EXCEEDS THE CAPACITY OF THIS TOOL DOING SO MAY CAUSE THE MOTOR TO JAM AND OVERHEAT NEVER PUTY...

Page 14: ... out the old blade Either reinsert the blade with the sharp edge in position as the cutting surface or insert a replacement blade 7 Replace and tighten the two screws to secure the new blade to the support GENERAL MAINTENANCE 1 Keep the chipper clean and in good repair for maximum performance and machine longevity 2 Before each use inspect the switch and cord for damage 3 Check for damaged missing...

Page 15: ...h the tool with water TO AVOID INJURY ELECTRIC SHOCK OR DAMAGE TO THE CHIPPER NEVER ALLOW A LIQUID TO FLOW INSIDE THE TOOL 15 TO AVOID DAMAGE OR ELECTRIC SHOCK DO NOT USE STRONG SOLVENTS OR DETERGENTS ON THE PLASTIC HOUSING OR PLASTIC COMPONENTS CERTAIN HOUSEHOLD CLEANERS MAY CAUSE DAMAGE AND MAY ALSO CAUSE A SHOCK HAZARD MAINTENACE WARNING WARNING CLEANING ...

Page 16: ...accessories and or attachments not specifically recommended Repairs necessary because of operator abuse or negligence or the failure to install operate maintain and store the product according to the instructions in the owner s manual Damage caused by cold heat rain excessive humidity corrosive environments and materials or other contaminants Expendable items that become worn during normal use Cos...

Page 17: ... 10 11 12 13 14 15 16 17 18 19 20 21 22 23 24 25 26 27 28 29 30 31 32 33 34 35 36 37 38 39 40 41 42 43 44 45 46 47 48 49 50 51 52 53 54 55 56 57 58 59 60 61 62 63 64 65 66 67 68 69 70 71 72 73 74 75 76 77 78 79 80 81 82 83 84 85 6 ...

Page 18: ...ning label Feeder hopper Flat push stick Flap Spring Steel ball Push stick holder Clamp block Screw Washer 5 Upper housing Up housing Bolt frame plate Screw Spring washer 2 Switch pin Hex type screw Screw Spring washer 1 Clamp block Hex nut Blade Blade plate Drive block Blade cover plate Latch rod Washer 3 Hex nut Screw Lower housing Knob Spring Retaining ring Fixup nut Nut frame plate Hex nut Ove...

Page 19: ...ponge Connecting wire 1 Connecting wire 2 On Off switch Trip switch Label Motor housing Capacitor Fan Bearing sheath Bearing Screw Motor support Field Screw Right hook clip Hook Armature Bearing Small belt wheel Left hook clip Wind defend board Plastic pin Lower gearbox cover Bearing Eccentric wheel Rolling wheel Washer 4 Big belt wheel Belt Upper gearbox cover Bearing Hex wrench Hex nut Washer 1 ...

Reviews: