
40
Service intervals
TASKI machines are high quality machines that have been checked for safety
at the factory by authorised inspectors. Electrical and mechanical components
are subject to wear and/or ageing after longer periods of use.
Service centre
Should you contact us due to a malfunction or for placing an order, please
always state the type, description and the serial number of your machine.
You can find this information on the name plate of your machine, and the
address of your nearest TASKI partner can be found on the last page of this
manual.
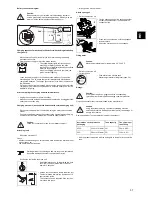
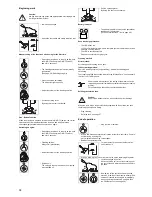
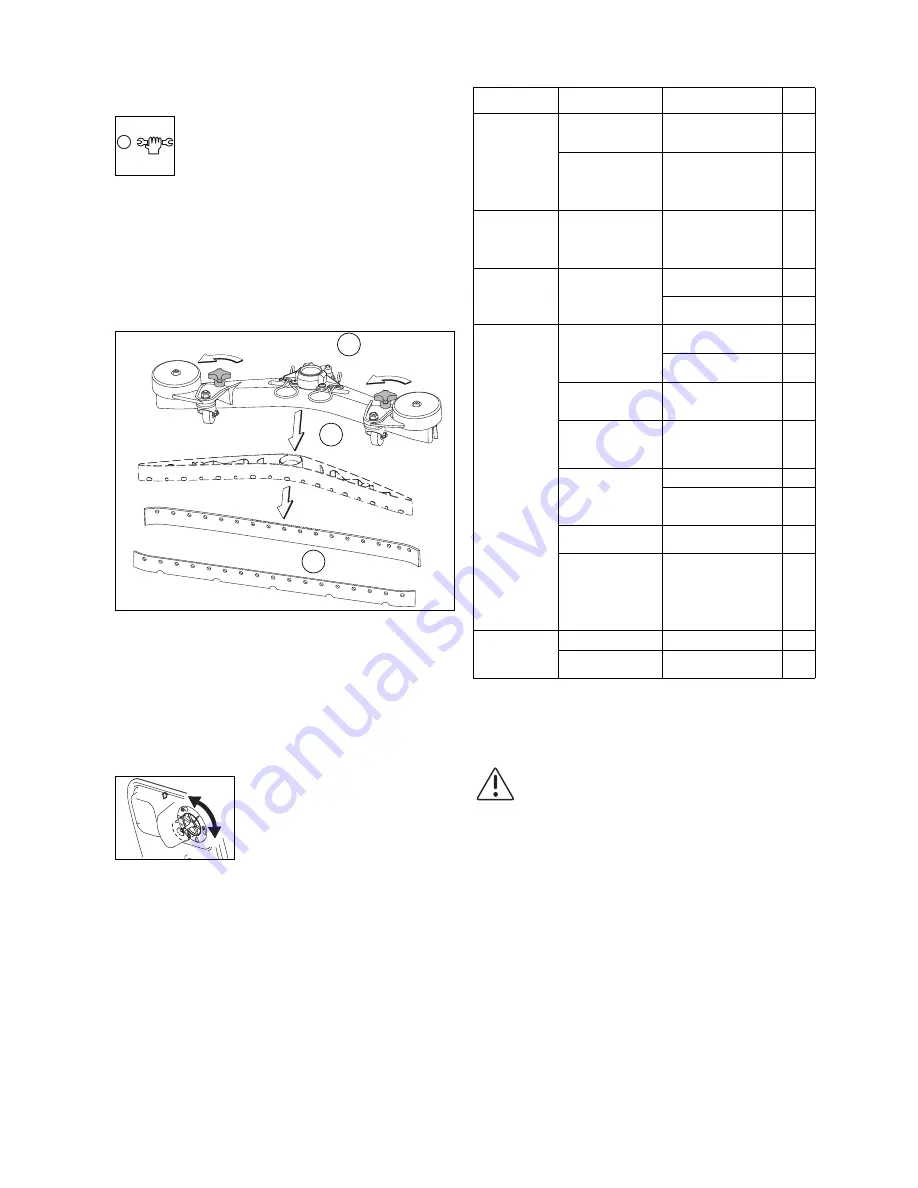
Blade replacement
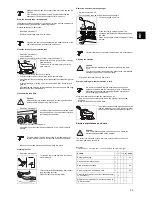
Cleaning or replacing the float (Indication for full recovery tank)
Disassembly:
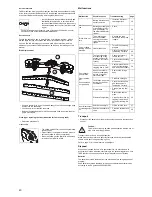
Malfunctions
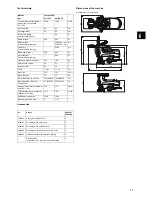
Transport
• Disconnect the battery from the machine using the battery disconnection
socket.
Transport the machine in an upright position.
Make sure that the machine is securely fastened within the transportation
vehicle and is secured against tipping over.
Refer to page 41 for the dimensions and weights.
Disposal
When it has reached the end of its operational life, the machine and its
accessories must be disposed of according to the national regulations. Your
TASKI partner can support you with proper disposal upon notification.
Batteries
The batteries must be removed from the machine before being disposed of
properly.
Used batteries must be disposed of in an environmentally appropriate way
according to the EU guidelines 2006/66//EEC
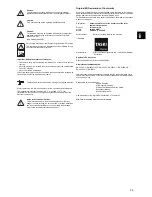
• In order to ensure the operational reliability and
availability of the machine, a service must be
carried out after 450 working hours (option: only
with an integrated hour counter) or at least once
a year.
Shorter intervals are necessary in case of rough environments or special
conditions of use and/or inadequate maintenance.
• Unscrew the star grip (1), pull the blade body (2) out of the squeegee body
and remove the blades (3).
• You can now turn or replace the blade.
• Reinsert the blade body back into the squeegee body and screw the star
grip in place again.
• Switch the machine off.
• The yellow suction filter can be easily removed
(quick-fit seal).
• Clean it under running water with the help of a
soft brush (allow to dry out completely).
• Brush the yellow suction filter with a soft brush
or remove the fluff with a cloth.
3
1
2
Malfunction
Possible causes
Troubleshooting
page
Machine does not
run
Battery disconnection
socket removed
• Insert the disconnec-
ted charger jack
36
Batteries not charged
or insufficiently char-
ged. (red display on
the battery indicator at
turn-on)
• Check
36
Brush does not
turn
The machine has
been overloaded,
causing the overcur-
rent protection to be
tripped
• Release the drive
switch and then press
it again.
36
Foam or liquid
leaking from the
machine
Float malfunction
• Turn off the suction ag-
gregate
• Check that the float is
functioning correctly.
40
Poor vacuum
performance
Floor remains
wet
Soiled solution
not picked up
The float closes the
inlet opening at the
suction unit (overfill
protection for recove-
ry tank)
• Check the recovery
tank is not full
39
• Check the functionality
of the float
40
The suction filter is
clogging due to “fluff”.
• Check whether the va-
cuum air filter is clean
and clean if necessary
39
Hose or nozzle blo-
cked, for example by
a piece of wood or
material scraps
• Remove the foreign
body
The blades do not ad-
just well to the floor
consistancy
• Clean the squeegee
• Check that the squee-
gee suspension is
functioning correctly
Worn blades
• Change/turn the bla-
des
40
Dirt sieve full (yellow)
• Remove the coarse
sieve
• Clean out the sieve by
tapping it, and rinse it
out under running wa-
ter
39
Insufficient output
of cleaning soluti-
on
Solution tank empty
• Fill the solution tank
37
Solution tank filter blo-
cked
• Clean the solution tank
filter
39
Caution:
This machine can only be lifted and transported with the use of
aids, such as a lifting platform!


