
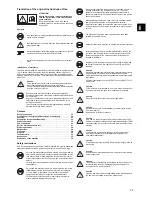
27
I25
I24
I23
I22
I21
I20
I19
I18
I17
I16
I15
tr
sv
p
t
p
l
n
o
n
l
it
fr
fi
es
en
d
e
cz
cn
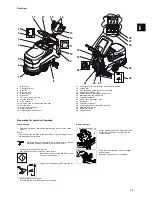
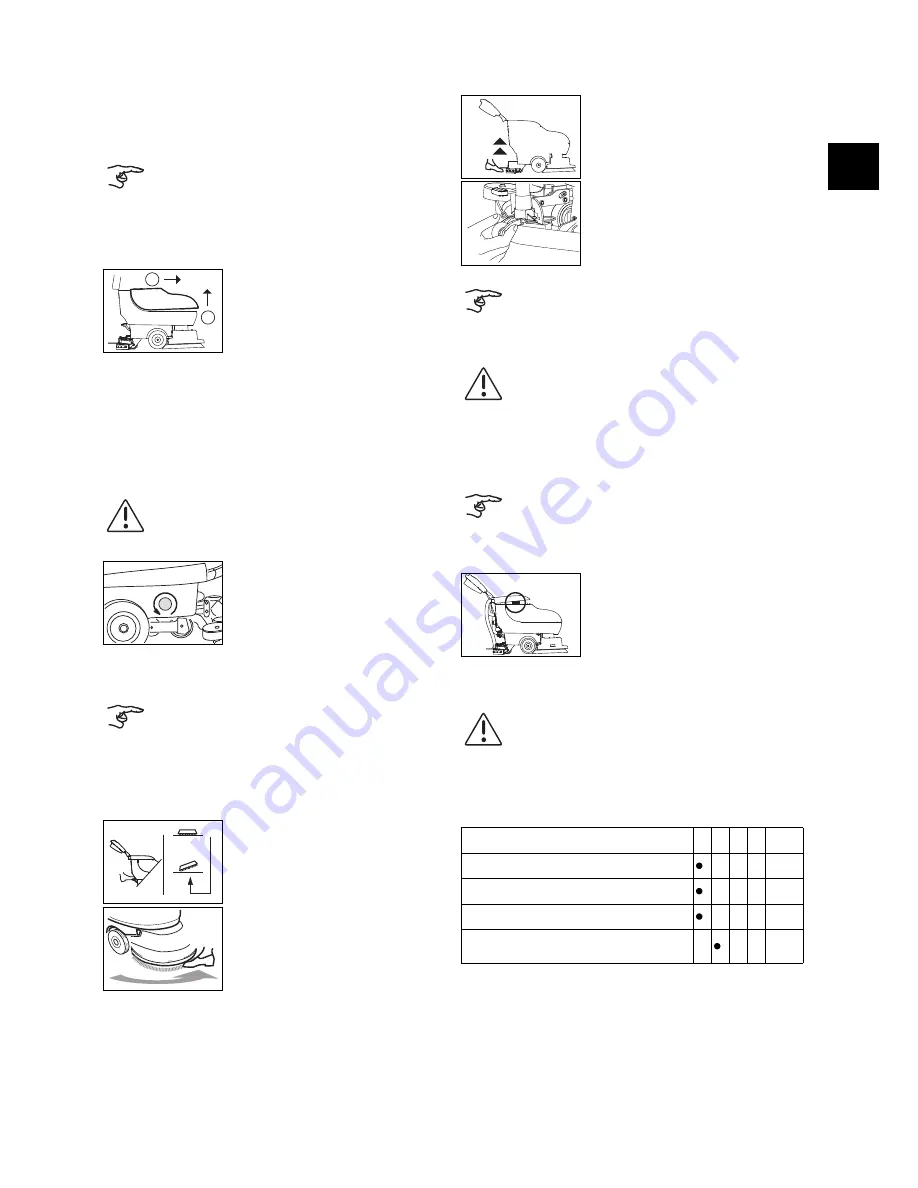
Drain the recovery tank / solution tank
The disposal of the soiled solution or the cleaning solution must be carried out
in accordance with the appropriate national regulations.
Proceed as follows for both tanks:
Clean the recovery tank / solution tank
Clean solution tank filter
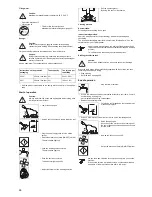
Cleaning the tool
Removing and cleaning the squeegee
Cleaning the machine
Storage / parking of machine (machine is idle)
Store the machine with the tank cap slightly open, by:
• lifting the tank cap, unscrewing the sieve, and placing it in the hollow
provided.
Service, maintenance and care
The machine's maintenance is a pre-condition for trouble-free running and a
long life.
• Switch the machine off and pull the power supply cord out of the mains
socket.
• Remove the drainage hose from its holder.
Open the red or blue cap situated near the handle and lower the
end of the hose slowly to drain the solution out.
• Switch the machine off.
• Open the tank lid.
• Remove the coarse dirt sieve (yellow), empty and clean it.
• Remove the recovery tank and clean it under
running water.
The tank can be completely drained via the
drainage hole.
• Replace the recovery tank on the machine.
• Then thoroughly rinse out the solution tank with clean water.
• Check that the float is functioning correctly and that the suction filter (yellow)
is clean.
In case of damage or soiling of the float and suction filter, please refer to
page 28.
• After draining and cleaning, screw the red and blue caps on again, and hang
the hoses from their holders again.
Caution:
Clogged filters reduce the flow of the cleaning solution and
thereby lead to damage to the floor coating.
• Switch the machine off.
• Once the solution tank has been drained, screw
the yellow cap from the solution tank filter and
pull it away from its holder.
• Rinse the filter under running water.
If necessary, the filter should be descaled with a 10% TASKI calcacid
solution.
The filter is lower than the tank outflow. A residual amount of
solution will flow out once the filter cap has been unscrewed.
• Refit the filter and screw the yellow cap firmly into place.
• Switch the machine off and pull the power supply cord out of the mains
socket.
• To raise the tool, press down the foot pedal until
it latches into place.
• Turn the tool anticlockwise away from the tool
coupling using your foot.
• Clean the tool under running water.
1
2
• Switch the machine off.
• Pull the suction hose away from the squeegee support.
• Lift the squeegee by its foot.
• Press the locking springs together. The
squeegee will thereby be released and can be
removed.
• Clean the squeegee under running water using
a brush.
Optimal result can only be obtained with clean and intact blades!
Caution:
Never clean the machine with high water pressure or a water
hose.
The ingress of water into the machine might cause considerable
damage to mechanical or electrical parts.
• Wipe down the machine with a damp cloth.
We recommend disconnecting the plug from the mains socket
during storage / parking of the machine.
The coarse sieve holds the tank lid slightly open,
allowing the tank to dry out. As a result, the
formation of mould and unpleasant smells can
be reduced.
Caution:
Only TASKI branded spare parts must be used, otherwise
warranties and liabilities will be omitted!
Symbols:
= After use,
= every week,
= every month,
⊗
= Service light
Activity
⊗
page
Clean all parts marked yellow
Drain and clean the tanks
27
Clean the machine with a damp cloth
27
Clean the tank lid seal, check for cracks and
replace if necessary


