


11
12
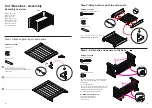
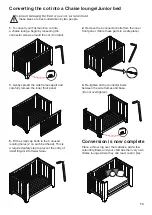
Step 5 - Attach base frames as shown below:
Note: Do not cut the fabric
webbing that holds the slats
together.
Fit the lattice base frames
between the bed rails. To
secure the frames, stretch
the first and last slat of the over
the corresponding dowel pins.
Repeat this step for all
remaining sides.
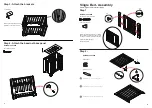
Step 4 - Attach the bed rails to the corner post
Temporarily attach the
bed rails to the corner
posts, aligning the
dowel pins at the ends
of the bed rails with the
corresponding locating
holes on each corner post
Secure each corner
with the lunar washer
and connector bolts.
Lightly hand tighten all
initial assembly, fully
tighten all bolts but
do not overtighten.
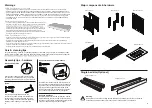
Step 3 - Attach the corner posts to the end panels
Hardware needed
4 x 50mm connector bolts
4 x lunar washers
M6 x 20mm cap screw x 16
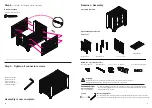
Hardware needed
A:M6 x 60mm connector bolt x 8
B:Camlock x 4
C:Locking pin x 4
A
B
C
Attach the corner posts to end panels.
Use canlocks and locking pins attached the
end panels as shown.
x 8
x 4
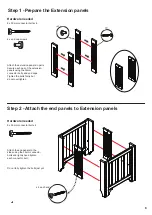
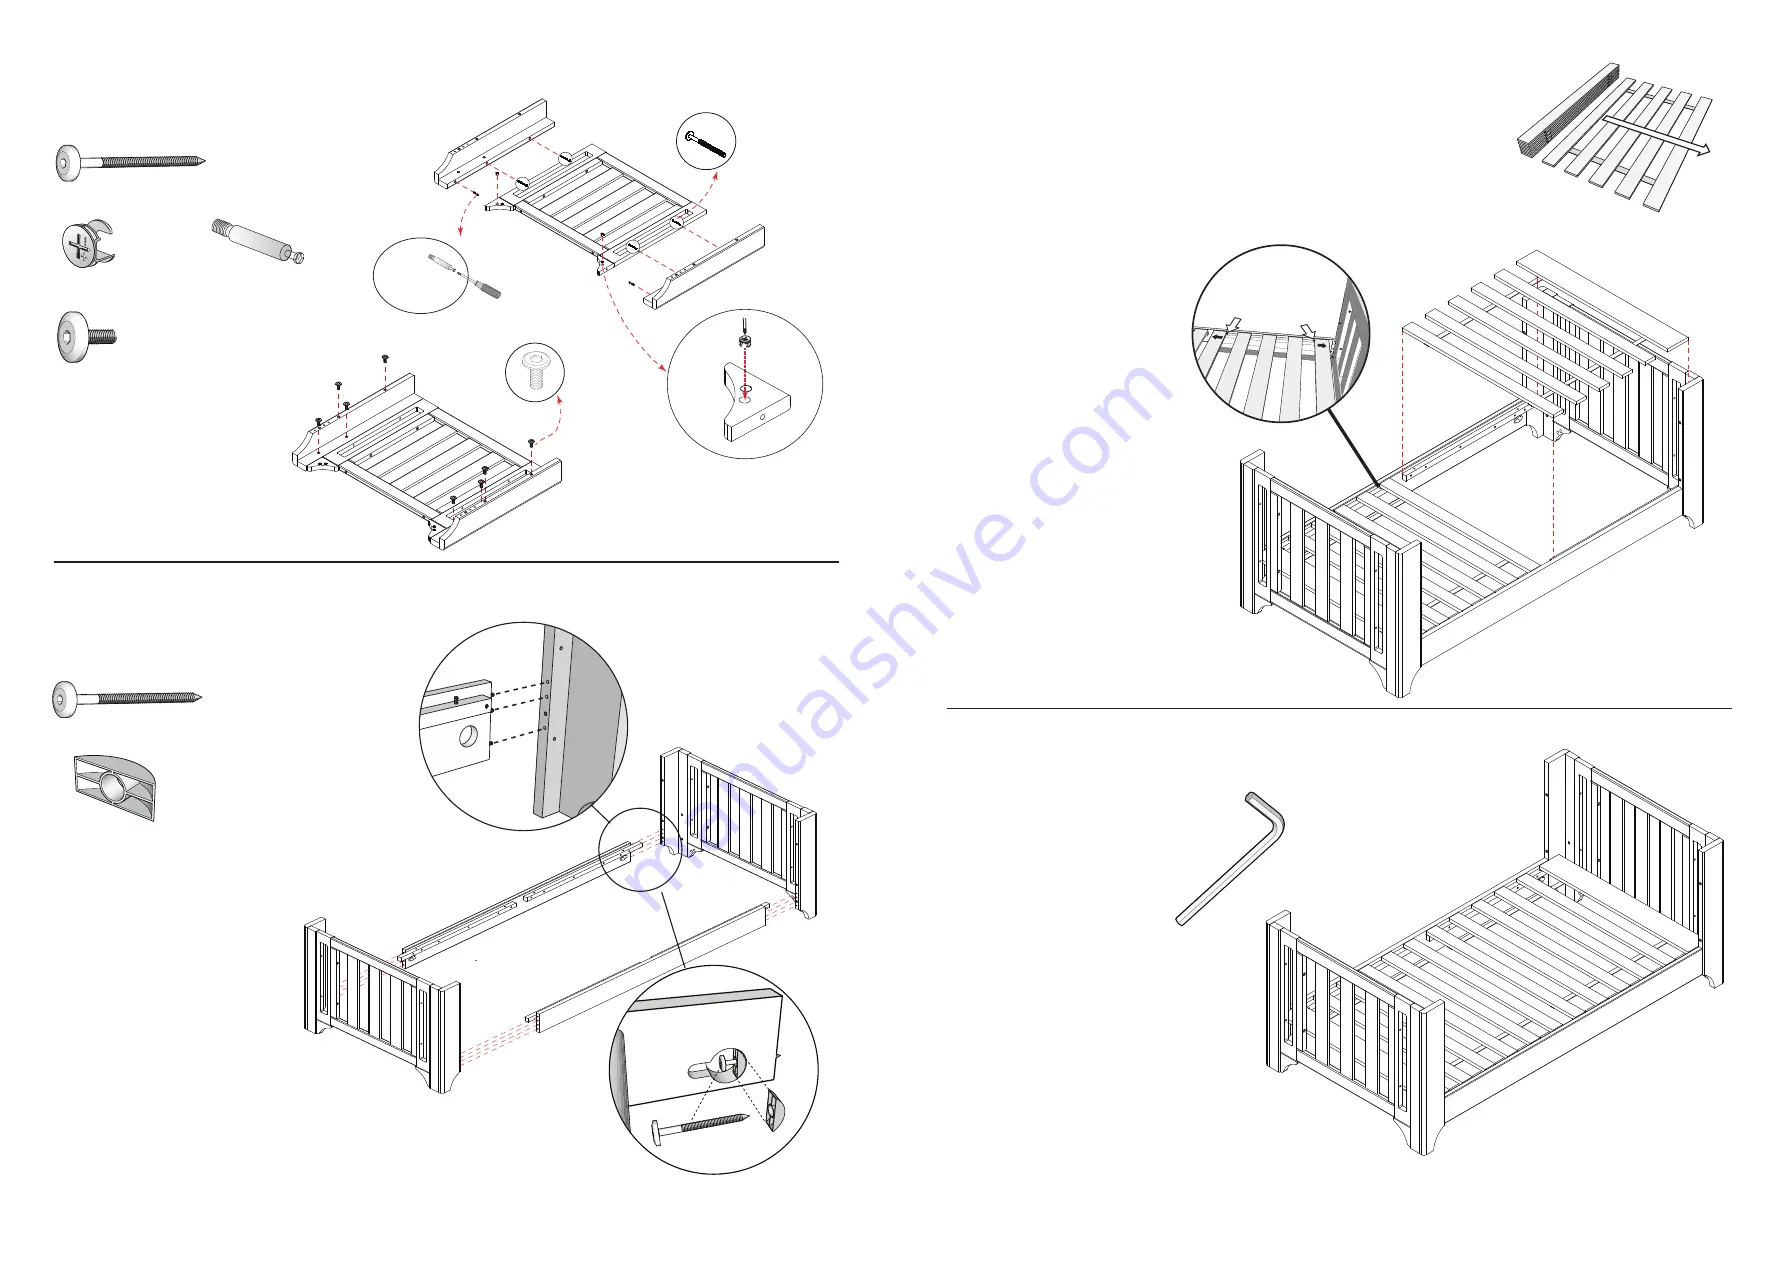
Step 6 - Tighten all connector bolts
Assembly is now complete
To complete assembly,
tighten all connector
bolts around the bed.
bolts first, then after
Tighten the bolts firmly
but do not overtighten.


