background image

4.4   Insert camera into waterproof case 

1. Ensure the case is dry and clean. 

2. Insert the camera and make sure the lens fits neatly in the lens cavity. 

3. Close the locking clamps. 

4. T67 can be mounted using the accessories provided. 


4.5  Shoot Video  

Press Shutter button(B) when powered on, LED B turns green and keep blinking  

twice a second; Press again to stop, and LED B light turns off. 


4.6  Shoot a Single Picture 

Press Shutter button(B) once to shoot a single picture, LED B flashes green. 


4.7  Mode Shift 

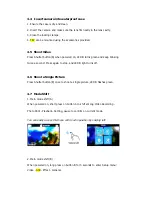
1. Main mode shift (A) 

When powered on, short press on button A to shift among Video Recording -  
 
Photo Shot - Playback- Setting, pause to confirm on current mode. 


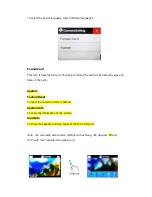
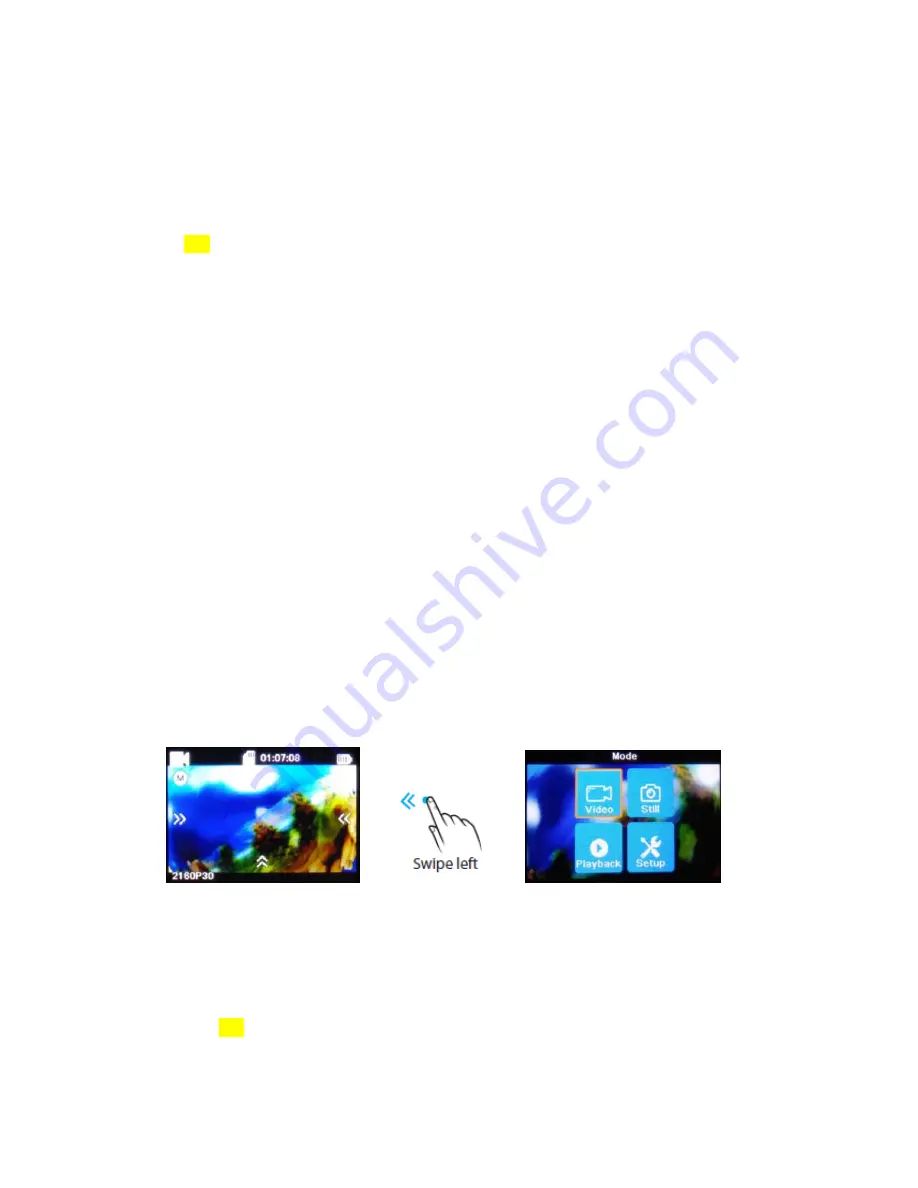
You can easily access this menu with touch operation by swiping left.  


2. Main mode shift (B) 

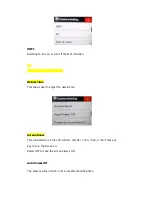
When powered on, long press on button B for 3 seconds to enter Setup menu: 

Video - Still - Effect - General. 

Summary of Contents for T67

Page 1: ...User Manual Model T67 Real 4K Action Camera with Touch Panel Made by Shenzhen TAT Electronics Co Ltd Version V1 01...

Page 2: ...removable Lithium ion battery Support Wi Fi connection range up to 20 meters Customized App Android iOS Support 2 4G RF Remote Controller Support EIS on 4K 30fps with good quality Support Micro SD Car...

Page 3: ...amera x 1 Spanner x 1 Waterproof case x 1 Lock bolt x 2 Remote controller x 1 3M adhesive for curved x 1 Quick release mount x 1 3M adhesive for flat mount x 1 Flat mount x 1 Portable case x 1 Curved...

Page 4: ...3 Camera Diagram...

Page 5: ...4 Using Your Camera Indicators...

Page 6: ...o insert the SD Card into the slot Do not force the card into the card slot as it may damage both the SD Card and camera 3 A new Micro SD Card should be formatted before using 4 3 Charge the battery B...

Page 7: ...twice a second Press again to stop and LED B light turns off 4 6 Shoot a Single Picture Press Shutter button B once to shoot a single picture LED B flashes green 4 7 Mode Shift 1 Main mode shift A Whe...

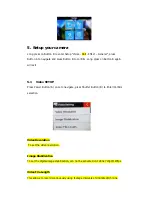
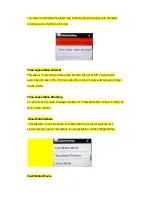
Page 8: ...again will exit 5 1 Video SETUP Press Power Button A once to navigate press Shutter Button B to Enter Confirm selection Video Resolution To set the video resolution Image Stabilization To set the dig...

Page 9: ...Sec 5 Sec 10 Sec 30 Sec 1 Min The final video file in the currently selected video format will be stored Time Lapse Video Shooting To determine the video Timelapse duration of Unlimited 5 Min 10 Min 1...

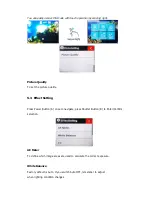
Page 10: ...Reduction To reduce the wind noise Scene Mode To set different scene mode Manual Water Riding Winter Diving Night You can easily access this mode with touch operation by swiping right Date Stamp To de...

Page 11: ...To determine the photo Timelapse duration of Unlimited 5 Min 10 Min 15 Min 20 Min 30 Min 60 Min Photo Burst This allows you to shoot 3 shots 1s 7 shots 2s 15 shots 4s 30 shots 8s Delay Timer When this...

Page 12: ...uality 5 3 Effect Setting Press Power Button A once to navigate press Shutter Button B to Enter Confirm selection AE Meter To define which image areas are used to calculate the correct exposure White...

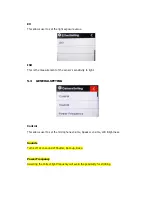
Page 13: ...he sensor s sensitivity to light 5 3 GENERAL SETTING Control This allows user to set the microphone volume Speaker volume LCD Brightness Sounds Turns off or on sound of Shutter Boot up Beep Power Freq...

Page 14: ...is allows user to adjust the date time Screen Saver This will determine if the LCD will turn off after 1 min 3 min 5 min Press any key to turn the screen on Select OFF to keep the screen always ON Aut...

Page 15: ...r not included to achieve the same result 1 Select the file s you want to transfer to your computer by highlighting them 2 Either drag the files to the desired place on your computer this will make a...

Page 16: ...l permanently erase all data on the card System Factory Reset To reset the camera in factory default System Info To show the information of the system Card Info To show the capacity and free space of...

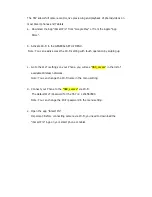
Page 17: ...he screen 7 Remote Control 7 1 Paring Procedure Turn on the RF in camera setting menu press power Remote Control button and hold on for 3 seconds to turn on the controller and pair The LED Indicator w...

Page 18: ...it does the red LED indicator flickers once per second You need to replace with a new button battery How to replace a button battery Step 1 Step 2 Step 3 1 Begin by purchasing a replacement battery f...

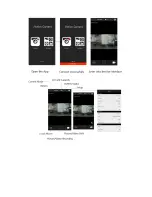
Page 19: ...operation by swiping up c Go to the Wi Fi settings on your Phone you will see SBC_xxxxxx in the list of available Wireless networks Note You can change the Wi Fi name in the menu setting d Connect you...

Page 20: ......

Page 21: ...te You will need an extra Mini HDMI to HDMI cable which is not included in the standard package Turn the camera on Connect Mini HDMI end to the port on camera and HDMI end to HDMI port on the TV Selec...

Page 22: ...attery via the USB cable The camera should not be in heat over 55 Do not use the camera when it is low power Do not use the camera while it is in charging Do not attempt to open the case of the camera...

Page 23: ...ff and on the user is encouraged to try to correct the interference by one or more of the following measures Reorient or relocate the receiving antenna Increase the separation between the equipment an...

Reviews: