34
Make the row spacing change in a clean,
plane and stable place.
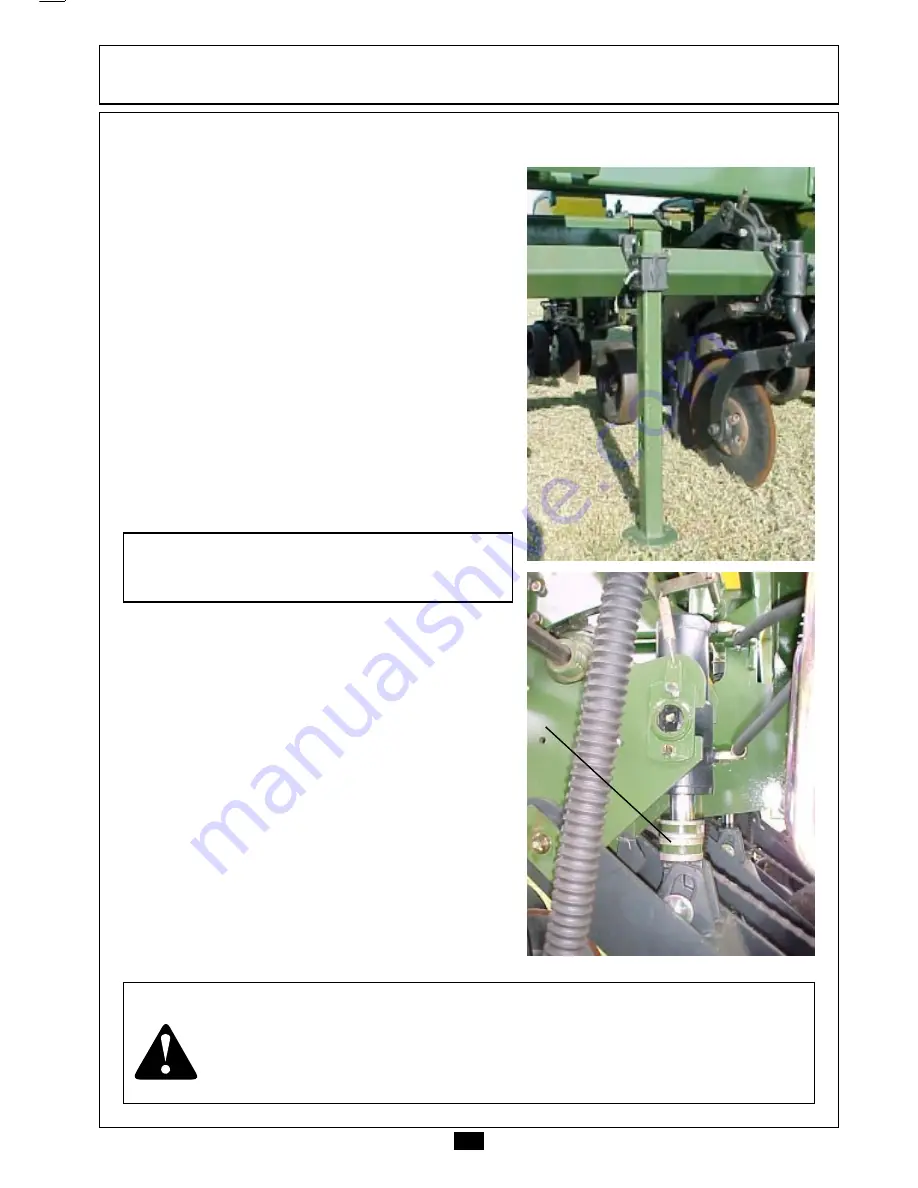
1st)
- Lower the parking stands.
First, try to place them among the new row
spacing that it will take place.
Notes:
- READ HOW TO TIGHTEN THE ROW UNITS ON THE PAGE 36.
- INSPECT THE PLANTER FOR PROPER SUPPORTING. AVOID ACCIDENTS.
- THE INSTRUCTIONS ON THE NEXT PAGE ARE NECESSARY ONLY WHEN SOME
ROW UNIT IS ADDED TO OR REMOVED FROM THE PLANTER.
Procedures for Changing the Row Spacings
SET
SET
SET
SET
SET-UP INSTRUCTIONS
-UP INSTRUCTIONS
-UP INSTRUCTIONS
-UP INSTRUCTIONS
-UP INSTRUCTIONS
A
For models 7/4 to 7/7
2nd)
For changing the row spacing, lower
the planter to rest the row units on the ground
until alleviating the wheels. Dislocate the
carrying wheels in the chassis as well as the
driving components until the desired positions.
Raise the planter and place the threaded
adjusting rods (A) in the cylinders, being this way
locked and free for the row units displacement.
Note: - READ HOW TO TIGHTEN THE ROW UNITS
ON THE PAGE 36.
For models 9/4 to 19/19
For changing the spacing among the row
units, raise the planter totally and immobilize the
internal wheels with the threaded adjusting rods (A).
Lower the planter to alleviate the pressure
of the cylinders.
Dislocate the external carrying wheels as
well as the driving components to the desired
position. If some row unit is in the space of the
wheel, it must be moved at first.
With the planter supported on the external
wheels, by the threaded adjusting rods "A";
adjust the positions of the row units and of the
internal carrying wheels.


