23
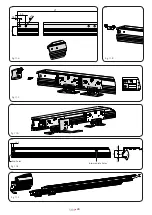
4) Fit the front beam tightening all the screws. Then fit the opening limit stop extension and the closing limit stop on the front
carriages and then fit them onto the front beam
(fig. 12-D)
5) Fasten the gearmotor, control unit, two-belt pulley transmission and single pulley transmission with their relative tighteners
and the opening limit stops to the front beam according to the door configuration.
(fig. 12-E)
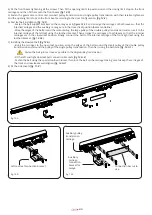
6) Fast leaf belt installation
(fig. 12-F)
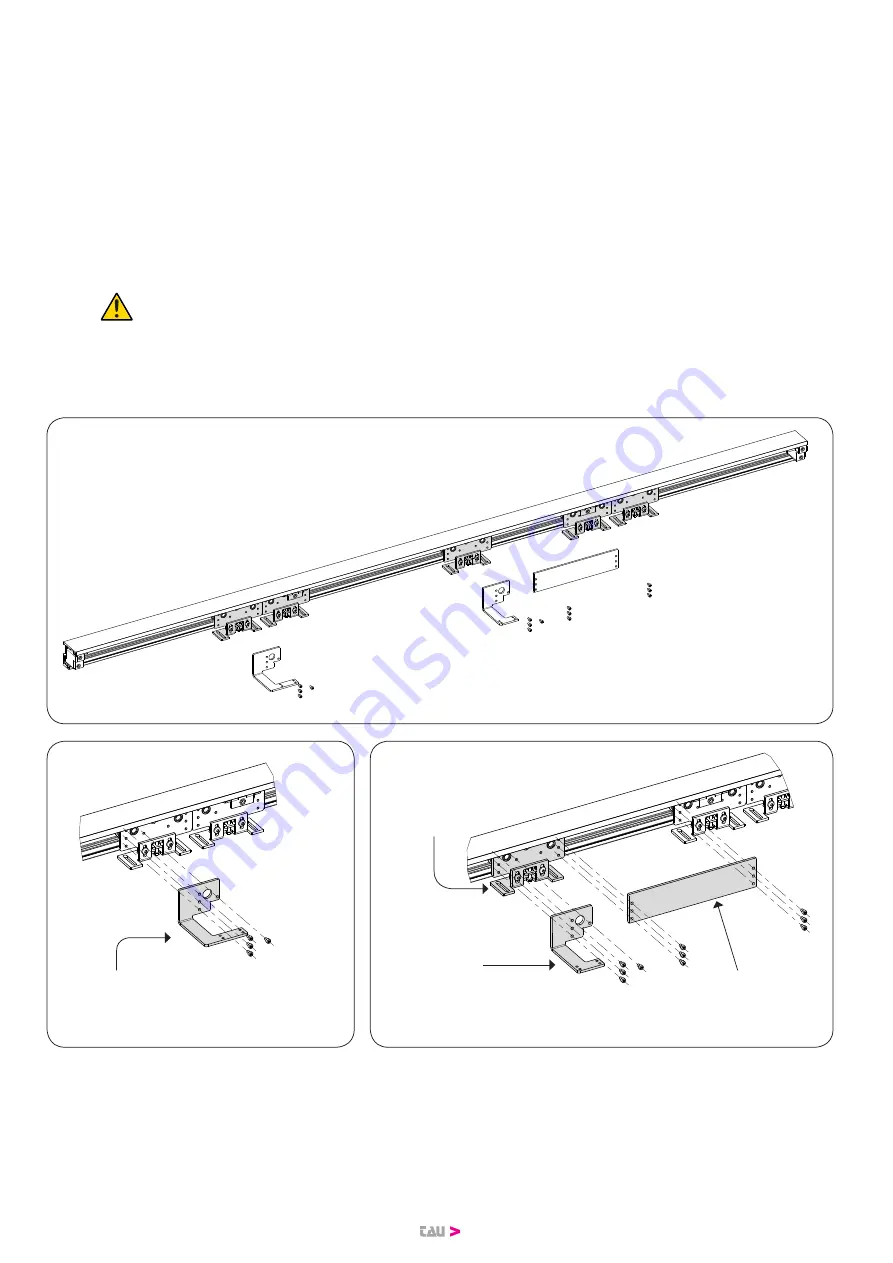
- Fasten the belt support brackets on the carriages as in
figure 12-F.1
and arrange the carriages of both leaves so that the
internal carriages and the auxiliary carriage are in the closed leaf position (beam centreline)
- Wrap the edges of the belt around the motor pulley, the large pulley of the double pulley transmission and secure it to the
internal carriage of the left leaf using the toothed bracket. Then arrange the carriages of both leaves so that the internal
carriages are in the closed leaf position. Finally, connect the belt to the internal carriage of the front right leaf using the
toothed bracket.
(fig. 12-F.2)
7) Installing the slow leaf belt
(fig. 12-G)
- Bring the carriages to the open leaf position, wrap the edges of the belt around the small pulley of the double pulley
transmission and around the pulley of the single pulley transmission. Then fix it using the belt joint.
(fig. 12-G.1)
Fasten the belt joint as close as possible to the single pulley transmission
- Fit the left and right slow leaf belt connection brackets
(fig, 12-G.2)
- Fasten the belt using the special toothed bracket, then lock the belt on the carriages taking care to keep the carriages of
the front and rear leaves well aligned
(fig, 12-G.3)
8) Fit the side covers
(fig. 11-K)
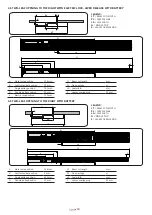
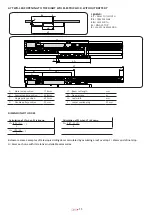
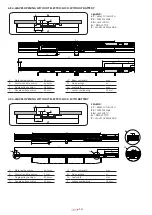
fig. 12-A
fig. 12-B
fig. 12-C
Left rear leaf connection bracket
Auxiliary pulley
transmission
carriage
Auxiliary
carriage
connection
bracket for
t-way4
Connection bar cut to
size

