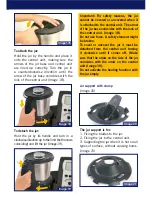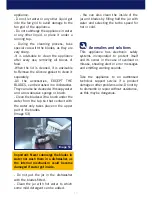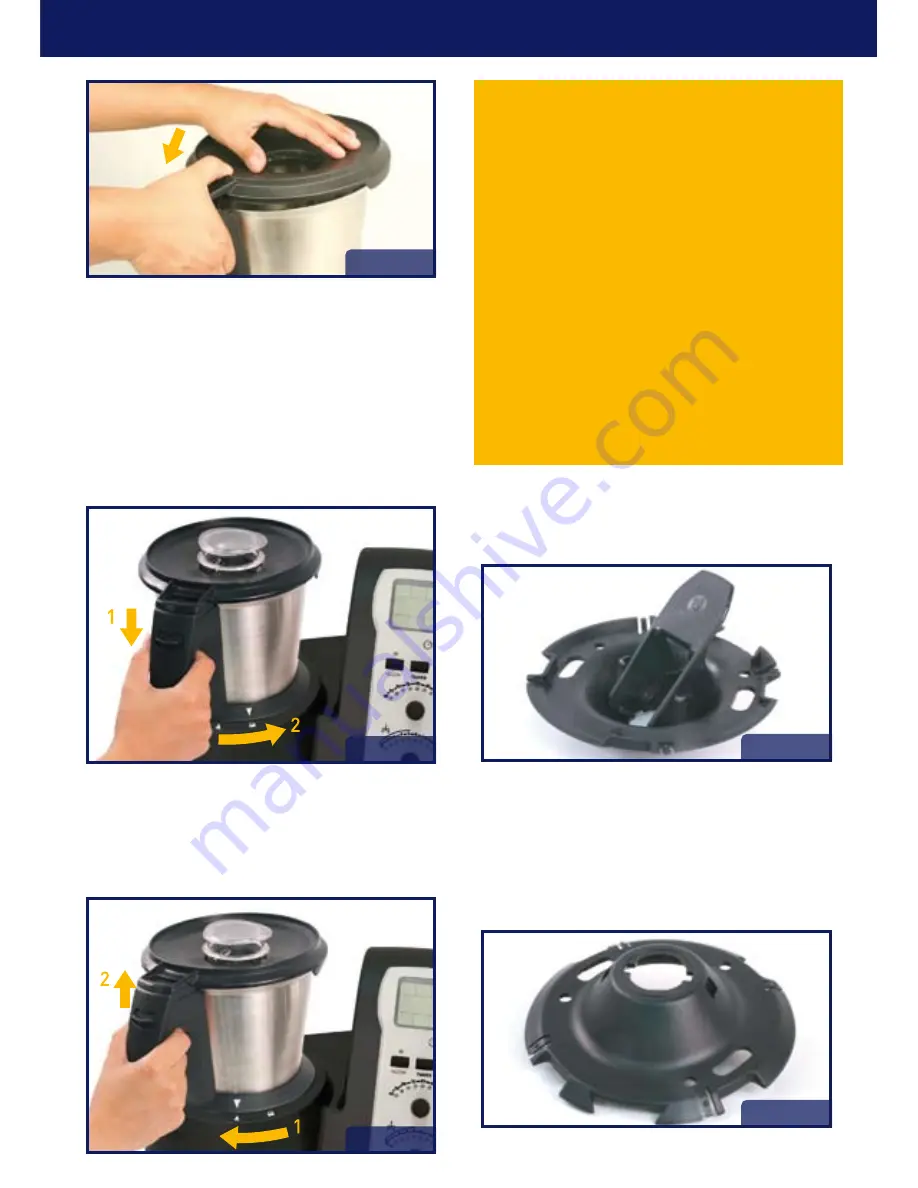
To attach the jar:
Hold the jar by the handle and place it
onto the central unit, making sure the
arrows of the jar base and central unit
are lined up correctly. Turn the jar in
a counterclockwise direction until the
arrow of the jar base coincides with the
lock of the central unit (Image 18).
7
Image 17b
Image 18
Image 19
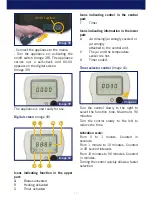
To detach the jar:
Hold the jar by its handle and turn in a
clockwise direction up to the limit (both arrows
coinciding) and lift the jar (Image 19).
Important: For safety reasons, the jar
cannot be covered or uncovered when it
is attached to the central unit. The arrow
of the jar base coincides with the lock of
the central unit. (Image 18)
Do not use force. A safety element might
be broken.
To cover or uncover the jar it must be
detached from the central unit turning
it clockwise until it comes off. (Make
sure that the arrow on the side of the jar
coincides with the arrow on the central
unit (Image 19).
Do not activate the heating function with
the jar empty.
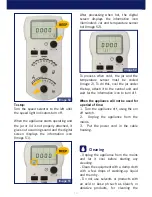
Jar support with clamp
(Image 20)
Image 20
Image 21
The jar support is for:
1. Fixing the blades to the jar.
2. Fixing the jar to the central unit.
3. Supporting the jar when it is hot on all
types of surface, without causing burns.
(Image 21)
Summary of Contents for MYCOOK 1.8
Page 1: ...MYCOOK 1 8...


