C RIC K E T
®
www.taxaoutdoors.com
1830 west 15th street houston, tx 77008 usa (rev.11292018)
46
SITE SELECTION AND SET UP
With time and experience, you will get better at spotting and identifying good camping sites. Although they will vary to some degree, all
good sites will (a) be level and (b) have a firm, not soft, ground that will support the weight of jacks and/or other support devices. There are
also many public camping sites that provide electrical and other useful hook-ups or services. Once you have chosen your site, we suggest
that you refer to the following important tips for your set-up:
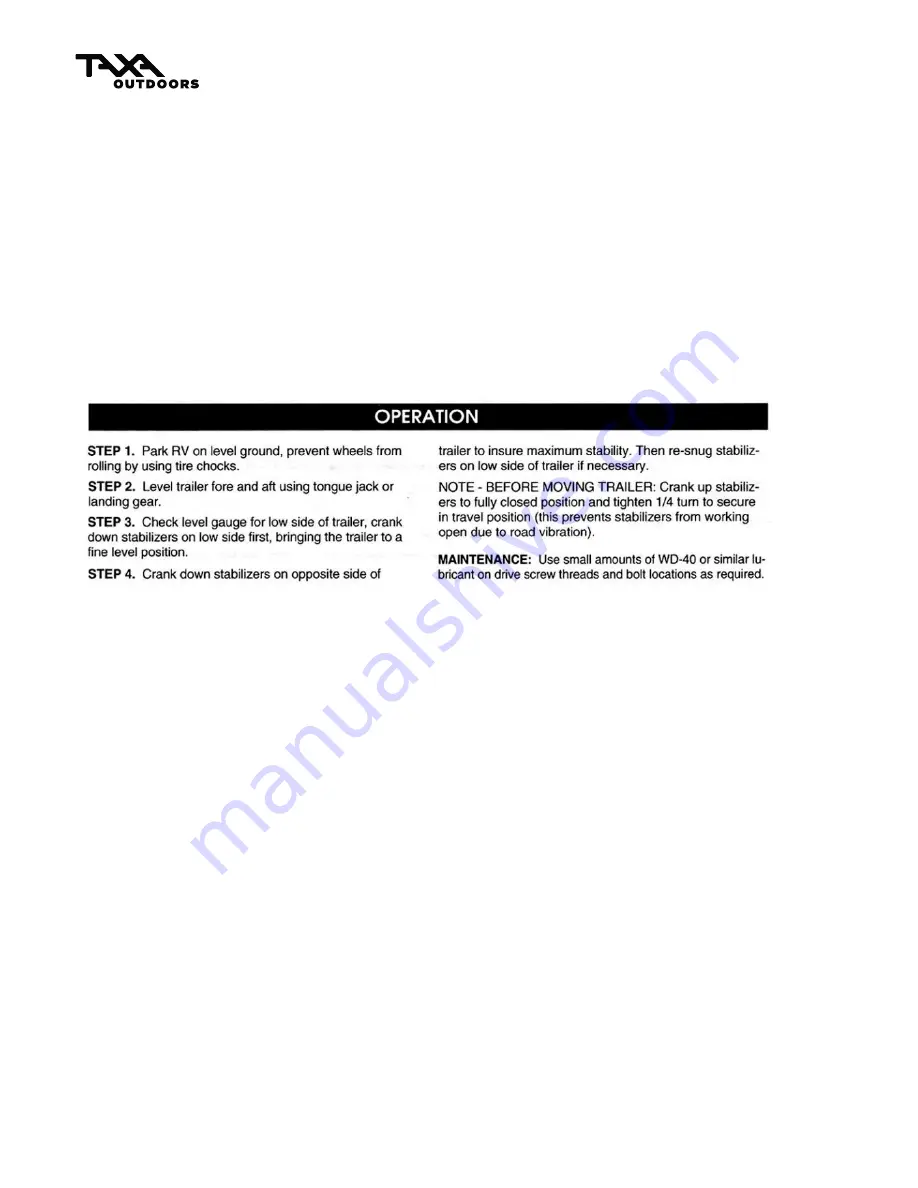
level and stable
…. (1) Before uncoupling, level the unit from side to side if desired with wood or plastic leveling blocks. Place the blocks
on
the ground forward of the wheels and tow the unit onto the blocks. Use wheel chocks to be sure the unit cannot roll;
(2) Lower the jack onto blocks or pad, if necessary;
(3) Use a trailer level to ensure trailer is level;
(4) Once the unit is level, use wheel chocks or blocks to prevent the trailer from moving;
(5) uncouple the trailer from the tow vehicle, unplug 7 pin connector from vehicle; and
(6) Lower the stabilizing jacks until they firmly engage. Be sure all jacks have about the same pressure on them.
Note: Before resuming travel, be sure that the stabilizer jacks are fully retracted/raised and that the trailer has been fully closed.
WARNING: DO NOT ATTEMPT TO USE JACKS STANDS OR STABILIZER JACKS TO JACK UP THE TRAILER OR SUPPORT THE FULL
WEIGHT OF THE TRAILER. DO NOT ATTEMPT TO LEVEL, RAISE OR OTHERWISE PLACE ALL OF THE WEIGHT OF THE TRAILER ON
THE STABILIZER JACKS. STABILIZER JACKS ARE NOT DESIGNED TO BEAR WEIGHT.
set-up cont
. … once the unit is safely leveled and stabilized, continue with set
-up:
(1) open roof (see below listed steps);
(2) connect to shore power , if available;
(3) connect to site water supply, if available, and
(4) set up the remaining features and/or options as needed.
OPENING ROOF
…. follow these simple steps:
1. Unpin and unlatch the exterior safety latch located at the front and center of the trailer;
2. Enter the trailer and unlatch two (2) red-colored interior hold-down latches (located to the left of both the entry door and far-side window),
both of which have a thumb catch.
3. Roof will raise somewhat from power of gas springs; and
4. While inside the unit, push the jointed brace (situated above the kitchen counter) until it
locks in the “up” position (if fabric sides have yet
to be installed, you can do this now.)
(see instructions for removing and installing tent side following)
CLOSING ROOF
…. follow these
simple steps:
1. While inside the trailer, pull the jointed brace (situated above the kitchen counter) toward you until it disengages (feels slightly loose),
roof will remain slightly open supported by gas springs;
2. Pull down the roof
using the brace and or the ‘spine’ of the trailer. This often means th
at one is sitting on top of the frig or on the Vberth
seat by the time the roof is down. Pull the roof down just enough to loosely latch the J-bolts of the latches into their hasps. This will leave
the roof not quite sealed closed but rather leaving 2 to 4 inches of space.
Do NOT secure the latches yet
3. Exit the trailer now to make sure the tent side is tucked into the body of the trailer
–
the roof should seal onto grey fabric only! Tuck in
loose flaps with your fingers. Make sure wooden toggles on tent side windows will not interfere with roof closure. At the same time you
Summary of Contents for Cricket 2019
Page 34: ...CRICKET www taxaoutdoors com 1830 west 15th street houston tx 77008 usa rev 11292018 34...
Page 35: ...CRICKET www taxaoutdoors com 1830 west 15th street houston tx 77008 usa rev 11292018 35...
Page 40: ...CRICKET www taxaoutdoors com 1830 west 15th street houston tx 77008 usa rev 11292018 40...


