Maintenance, Service, and Repair
Transmission
Page 17
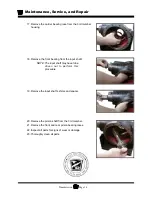
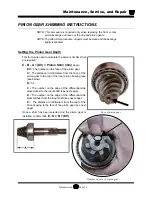
17. Install the locking roll pins into the housing and cover to lock the ring nuts in place.
18. Remove the pinion gear holding tool.
19. Install the primary reduction gear case, axles and housings, motor, and install the complete
drive onto the vehicle.
20. Fill the drive with oil. Refer to the
Lube Chart
section for information regarding type of oil.
Refer to
Change Oil
section for information regarding the proper oil level..
21. Lower the vehicle.
22. Reconnect the main positive and negative cables at the batteries.
23. Remove the blocks from behind the wheels.
24. Test drive the vehicle.
Summary of Contents for B0-T48-48 Taylor Truck T48
Page 2: ......
Page 14: ...TAYLOR DUNN...
Page 30: ...TAYLOR DUNN...
Page 68: ...Maintenance Service and Repair Steering Page 22 Exploded View of Steering Gear...
Page 86: ...TAYLOR DUNN...
Page 112: ...TAYLOR DUNN...
Page 118: ...TAYLOR DUNN...
Page 130: ...TAYLOR DUNN...
Page 140: ...TAYLOR DUNN...
Page 152: ...Illustrated Parts Parts Page 2 Front Axle...
Page 154: ...Illustrated Parts Parts Page 4 Steering Knuckle...
Page 156: ...Illustrated Parts Parts Page 6 Steering Linkage...
Page 162: ...Illustrated Parts Parts Page 12 Rear Suspension View from rear...
Page 164: ...Illustrated Parts Parts Page 14 Transmission Gear Case...
Page 168: ...Illustrated Parts Parts Page 18 Rear Brakes Front Brakes...
Page 170: ...Illustrated Parts Parts Page 20 Brake Lines and Master Cylinder...
Page 172: ...Illustrated Parts Parts Page 22 Motor...
Page 174: ...Illustrated Parts Parts Page 24 Motor Mount Apply 94 421 34 grease to inside of motor coupler...
Page 186: ...Illustrated Parts Parts Page 36 Batteries FRONT OF VEHICLE...
Page 188: ...TAYLOR DUNN...


