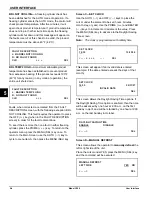
6-10
OPERATING PROCEDURES
Model C300
Operating Procedures
6
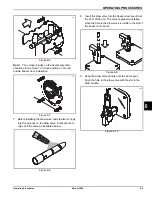
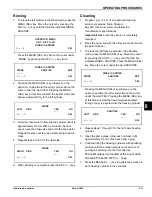
Figure 6-36
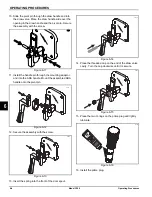
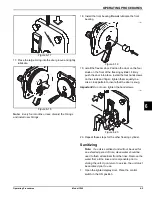
18. Close the lighted display when complete. Replace
the panels and the hood, and attach with screws.
Install the front drip tray and the splash shield on the
front of the freezer.
Figure 6-37
120 Day Closing Procedure
We recommend that the machine be completely
disassembled and cleaned at least every 120 days.
To disassemble the Model C300, the following items
will be needed:
•
Two cleaning pails
•
Necessary brushes (provided with freezer)
•
Cleaner
•
Single-service towels
Draining Product from the Freezing
Cylinder
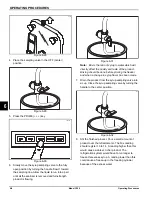
1. With a pail beneath the door spout, press the
BEATER (- - - ) key. This will allow the beater to
operate and CO
2
pressure will be maintained to push
the product from the freezing cylinder. Open the draw
valve and drain the product from the machine until
the CO
2
begins to jet.
Figure 6-38
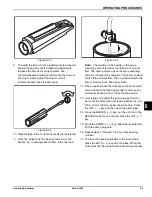
2. When all the product has been drained from the
freezing cylinder, close the draw valve and press the
OFF (<- -) key. Discard this product.
Figure 6-39
3. Repeat
steps
1 and 2
for the other freezing cylinder.
13039a
11505
!
ALWAYS FOLLOW LOCAL HEALTH CODES.
13040
13039
Summary of Contents for C300 NP
Page 14: ...3 4 SAFETY Model C300 Safety 3 Notes...
Page 18: ...4 4 OPERATOR PARTS IDENTIFICATION Model C300 Operator Parts Identification 4 Notes...
Page 26: ...5 8 USER INTERFACE Model C300 User Interface 5 Notes...
Page 40: ...6 14 OPERATING PROCEDURES Model C300 Operating Procedures 6 Notes...
Page 42: ...7 2 OPERATOR CHECKLIST Model C300 Operator Checklist 7 Notes...
Page 46: ...9 2 Model C300 Parts Replacement Schedule PARTS REPLACEMENT SCHEDULE 9 Notes...
Page 52: ...LIMITED WARRANTY ON PARTS 11 4 Model C300 Limited Warranty on Parts 11 Notes...

