5-8
USER INTERFACE
Models C709 & C717
User Interface
5
Note:
A record of Heat cycle data and lockout history
can be found in the Manager's Menu.
Manager's Menu
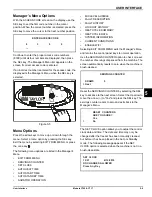
The Manager's Menu is used to enter the operator
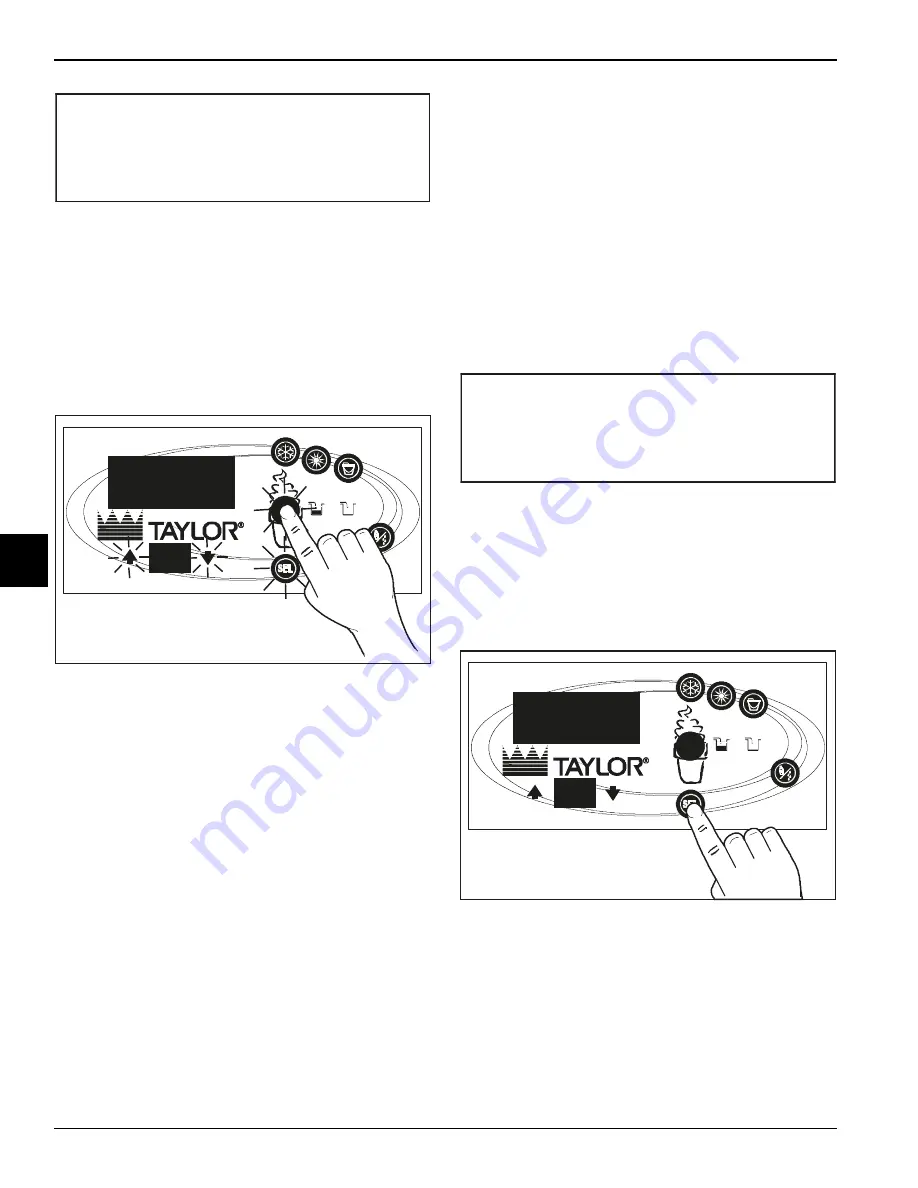
function displays. To access the Manager’s Menu, press
the center of the cone key on the control panel. The
arrow keys, the SEL key, and the cone key are lit when
the Access Code screen appears.
Figure 5-3
In the Manager’s Menu, the arrow keys and the SEL key
function as menu keys.
•
Up Arrow—
increases the value above the
cursor and is used to scroll upward in text
displays.
•
Down Arrow—
decreases the value above the
cursor and is used to scroll downward in text
displays.
•
SEL—
advances the cursor position to the right
and is used to select menu options.
There is a 2-minute timeout when you use the Manager's
Menu. While in the Manager's Menu, if no activity occurs
within a 2-minute period, the display exits to the main
menu. One exception to this timeout is for the Current
Conditions display.
Note:
The machine continues operation in the mode it
was in when the Manager’s Menu was selected.
However, the control keys will not be lit and are
nonfunctional when the Manager’s Menu appears. The
control keys are functional in the Manager’s Menu when
the Current Conditions screen appears.
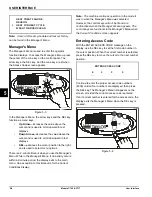
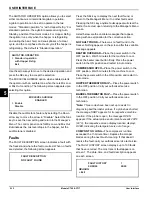
Entering Access Code
With the ENTER ACCESS CODE message on the
display, use the SEL key to set the first code number in
the cursor position. When the correct number is selected,
press the SEL key to move the cursor to the next number
position.
Continue to enter the proper access code numbers
(8309) until all four numbers are displayed, then press
the SEL key. The Manager's Menu list appears on the
screen, provided the correct access code is entered.
If an incorrect number is entered for the access code, the
display exits the Manager’s Menu when the SEL key is
pressed.
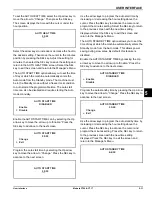
Figure 5-4
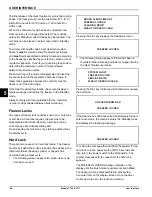
HEAT TREAT FAILURE
REASON
>
HEAT FOR HEAT CYCLE
WASH TO BRUSH CLEAN
13398BR
ENTER ACCESS CODE
8
3
0
9
__
13399BR
Summary of Contents for C709
Page 8: ...1 4 TO THE INSTALLER Models C709 C717 To the Installer 1 Notes...
Page 36: ...5 16 USER INTERFACE Models C709 C717 User Interface 5 Notes...
Page 50: ...6 14 OPERATING PROCEDURES Models C709 C717 Operating Procedures 6 Notes...
Page 56: ...8 4 TROUBLESHOOTING GUIDE Models C709 C717 Troubleshooting Guide 8 Notes...
Page 58: ...9 2 PARTS REPLACEMENT SCHEDULE Models C709 C717 Parts Replacement Schedule 9 Notes...
Page 62: ...10 4 LIMITED WARRANTY ON EQUIPMENT Models C709 C717 Limited Warranty on Equipment 10 Notes...
Page 66: ...11 4 LIMITED WARRANTY ON PARTS Models C709 C717 Limited Warranty on Parts 11 Notes...

