6-2
OPERATING PROCEDURES
Models C709 & C717
Operating Procedures
6
2.
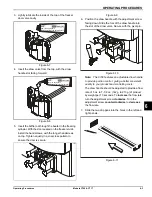
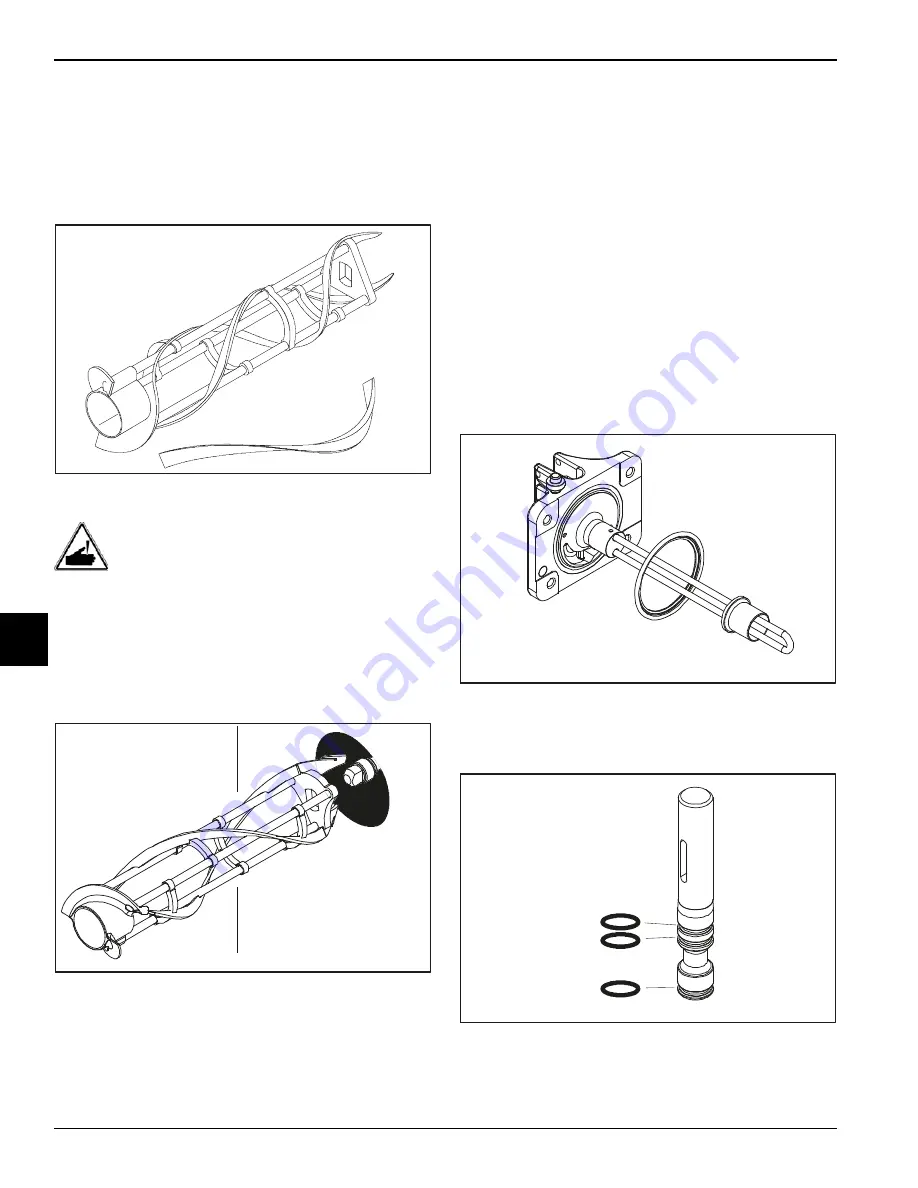
Take one of the scraper blades and slip it under the
hook at the front of the beater. Wrap the blade
around the beater, following the helix and pushing the
blade down onto the helix as you wrap. At the back
end of the beater, slip the blade under the hook.
3.
Repeat step 2 for the second scraper blade.
Figure 6-3
WARNING!
This machine has many sharp
edges that can cause severe injuries.
4.
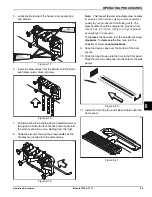
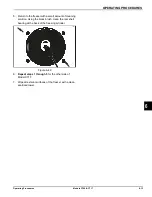
Holding the beater securely, slide the beater one third
of the way into the freezing cylinder. Looking into the
freezing cylinder, align the hole at the rear of the
beater with the flats on the end of the driveshaft.
Figure 6-4
5.
Slide the beater the remainder of the way into the
freezing cylinder and over the end of the driveshaft.
The beater should fit snugly, but not so tightly that the
beater cannot be turned slightly to engage the
driveshaft. If the beater slides in too easily with little
or no resistance, there will not be enough force
against the beater to hold the blades in place.
6.
Repeat steps 1 through 5
for the other side of
Model C717.
Freezer Door Assembly
The assembly of the C709 freezer door is different from
the C717 freezer door. Follow the appropriate
instructions for your machine.
Model C709 Freezer Door Assembly
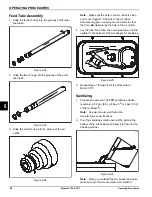
1. Place the door gasket into the groove on the back of
the freezer door. Slide the front bearing over the
baffle rod so the flanged edge is against the door.
Do not l
ubricate the gasket or bearing.
Figure 6-5
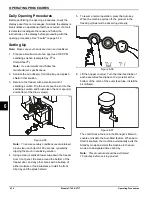
2. Slide the three O-rings into the grooves on the draw
valve and lubricate.
Figure 6-6
11097
11279
11287
10423
Summary of Contents for C709
Page 8: ...1 4 TO THE INSTALLER Models C709 C717 To the Installer 1 Notes...
Page 36: ...5 16 USER INTERFACE Models C709 C717 User Interface 5 Notes...
Page 50: ...6 14 OPERATING PROCEDURES Models C709 C717 Operating Procedures 6 Notes...
Page 56: ...8 4 TROUBLESHOOTING GUIDE Models C709 C717 Troubleshooting Guide 8 Notes...
Page 58: ...9 2 PARTS REPLACEMENT SCHEDULE Models C709 C717 Parts Replacement Schedule 9 Notes...
Page 62: ...10 4 LIMITED WARRANTY ON EQUIPMENT Models C709 C717 Limited Warranty on Equipment 10 Notes...
Page 66: ...11 4 LIMITED WARRANTY ON PARTS Models C709 C717 Limited Warranty on Parts 11 Notes...


