6-8
OPERATING PROCEDURES
Models C709 & C717
Operating Procedures
6
Priming
Note:
Use only
fresh
mix when priming the freezer.
1.
With a pail beneath the door spout(s), open the draw
valve. Pour 2-1/2 gal. (9.5 L) of
fresh
mix into the mix
hopper and allow the mix to flow into the freezing
cylinder. This process forces out any remaining
sanitizing solution. When full-strength mix is flowing
from the door spout, close the draw valve.
2.
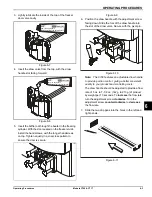
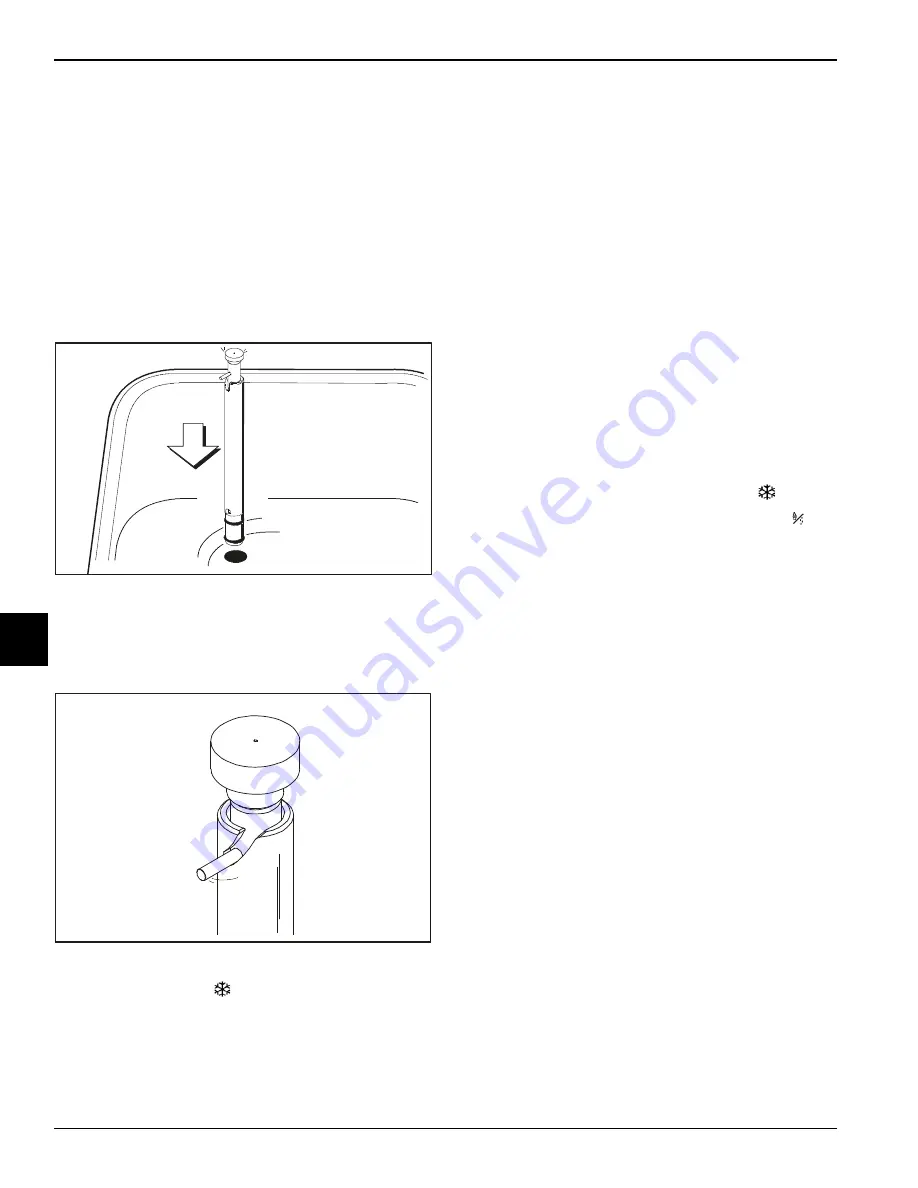
When mix stops bubbling down into the freezing
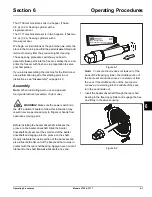
cylinder, install the assembled feed tubes in the mix
inlet hole.
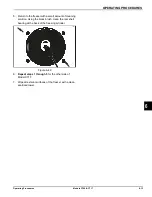
Figure 6-31
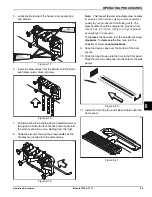
The pin on the inner feed tube should be turned and
positioned at the bottom of the notch in the outer feed
tube. This will align the holes in the feed tubes and
allow mix and air to enter the freezing cylinder.
Figure 6-32
3.
Select the Auto key
.
4.
Fill the hopper with
fresh
mix and place the mix
hopper cover in position.
5.
Repeat steps 1 through 4
for the other side of
Model C717.
Daily Closing Procedures
Perform this procedure once a day.
The function of the Heat Treatment cycle is to destroy
bacteria by raising the temperature of the mix in the
freezing cylinder and the hopper to a specified
temperature for a specified period of time, and then
bringing the temperature back down low enough to delay
spoilage.
The Heat Treatment cycle starts at the time designated in
the Auto Heat Time.
Important!
The level of mix in the mix hopper(s) must be
up to the fill line on the agitator paddle(s)
.
The Mix Low
light must not be on.
Note:
If the BRUSH CLEAN COUNTER display has
counted down to one day, do not add mix. The machine
must be disassembled and brush-cleaned within 24
hours.
The freezer must be in Auto mode (Auto key
illuminated) or in the Standby mode (Standby key
illuminated) before the Heat cycle can be started.
1. Remove the hopper cover(s), drip pan(s), front drip
tray, and splash shield. Take them to the sink for
cleaning and sanitizing.
Note:
Make sure your hands are clean and
sanitized.
2. Remove the air orifice(s), the feed tube
assembly(ies), and the agitator(s) from the mix
hopper(s). Take these parts to the sink for cleaning
and sanitizing.
3. Rinse these parts in cool, clean water.
4. Prepare a small amount of an approved 100 PPM
cleaning/sanitizing solution (example Kay-5
®
or
Stera-Sheen
®
).
Note:
Use warm water and follow the
manufacturer's specifications.
Brush-clean the parts.
5. Place the front drip tray, splash shield, and air
orifice(s) on a clean, dry surface to air-dry overnight
or until the Heating cycle is complete.
6. Prepare a small amount of an approved 100 PPM
cleaning/sanitizing solution (example Kay-5
®
or
Stera-Sheen
®
).
12154
12155
Summary of Contents for C709
Page 8: ...1 4 TO THE INSTALLER Models C709 C717 To the Installer 1 Notes...
Page 36: ...5 16 USER INTERFACE Models C709 C717 User Interface 5 Notes...
Page 50: ...6 14 OPERATING PROCEDURES Models C709 C717 Operating Procedures 6 Notes...
Page 56: ...8 4 TROUBLESHOOTING GUIDE Models C709 C717 Troubleshooting Guide 8 Notes...
Page 58: ...9 2 PARTS REPLACEMENT SCHEDULE Models C709 C717 Parts Replacement Schedule 9 Notes...
Page 62: ...10 4 LIMITED WARRANTY ON EQUIPMENT Models C709 C717 Limited Warranty on Equipment 10 Notes...
Page 66: ...11 4 LIMITED WARRANTY ON PARTS Models C709 C717 Limited Warranty on Parts 11 Notes...


