17
Models C709 & C717
Important: To the Operator
130819
IMPORTANT: Make sure the level of mix in the
hopper is below the mix delivery hole in the feed
tube.
Failure to follow this instruction may result in
lower product quality when normal operation is
resumed.
To resume normal operation, press the AUTO
symbol
. When the unit cycles off, the product in
the freezing cylinder will be at serving viscosity. At
this time, turn the inner feed tube so the pin fits into
the groove of the outer feed tube. Install the air
orifice.
Wash Symbol
The WASH symbol
(Model C709) or
(Model C717) will illuminate when it is touched.
This indicates beater motor operation. The
STANDBY or AUTO modes must be cancelled first
to activate the Wash mode.
Auto Symbol
The AUTO symbol
will illuminate when it is
touched. This indicates that the refrigeration system
has been activated. In the AUTO mode, the WASH
or STANDBY functions are automatically cancelled.
Note:
An indicating light and an audible tone will
sound whenever a mode of operation has been
selected. To cancel any function, touch the key
again. The light and the mode of operation will shut
off.
Reset Mechanism
The C709 reset button is located in the service panel
on the left side of the machine. The C717 reset
buttons are located in the rear panel of the machine.
Reset button(s) protect the beater motor(s) from an
overload condition. Should an overload occur, the
reset mechanism will trip. To properly reset the
freezer, place the power switch in the OFF position.
Press the reset button firmly. Turn the power switch
to the ON position. Touch the WASH symbol
/
and observe the freezer's performance.
Note:
To clear the fault, refer to page NO TAG.
WARNING: Do not use metal objects to
press the reset button.
Failure to comply may
result in severe personal injury or death.
If the beater motor is turning properly, touch the
WASH symbol
/
to cancel the cycle. Touch the
AUTO symbol
to resume normal operation. If the
freezer shuts down again, contact your authorized
service technician.
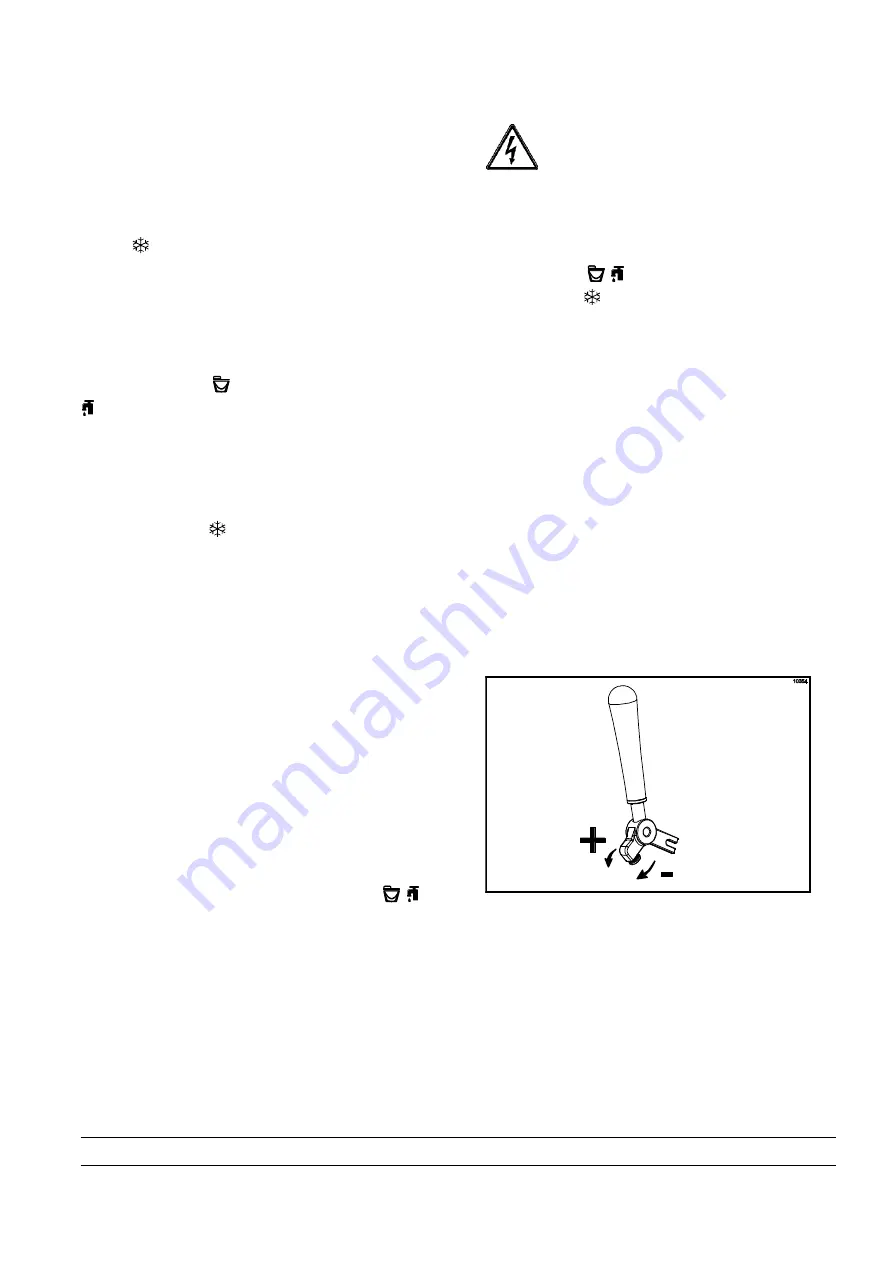
Adjustable Draw Handle
These units feature an adjustable draw handle(s) to
provide the best portion control, giving a better,
consistent quality to your product and controlling
costs. The draw handle(s) should be adjusted to
provide a flow rate of 5 to 7-1/2 oz. (142 to 213 g.)
of product by weight per 10 seconds. To INCREASE
the flow rate, turn the screw CLOCKWISE, and
COUNTERCLOCKWISE to DECREASE the flow
rate.
Figure 9


