OPERATING PROCEDURES
6-11
Models C709 & C717
Operating Procedures
6
Manual Brush-Cleaning
These procedures must be completed according to the
frequency specified by your federal, state, or local
regulatory agencies. Consult your governing food code to
determine the maximum number of days allowed
between brush-clean cycles.
To disassemble and brush-clean the machine, the
following items are needed:
•
Two cleaning and sanitizing pails
•
Sanitizer/cleaner
•
Cleaning brushes (provided with freezer)
•
Single-service towels
Draining Product from the Freezing
Cylinder
1.
Press the Auto key
, canceling the compressor
and beater motor operation.
2.
Remove the hopper cover, agitator paddle, and
assembled feed tube. Take these parts to the sink for
cleaning.
3.
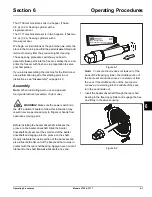
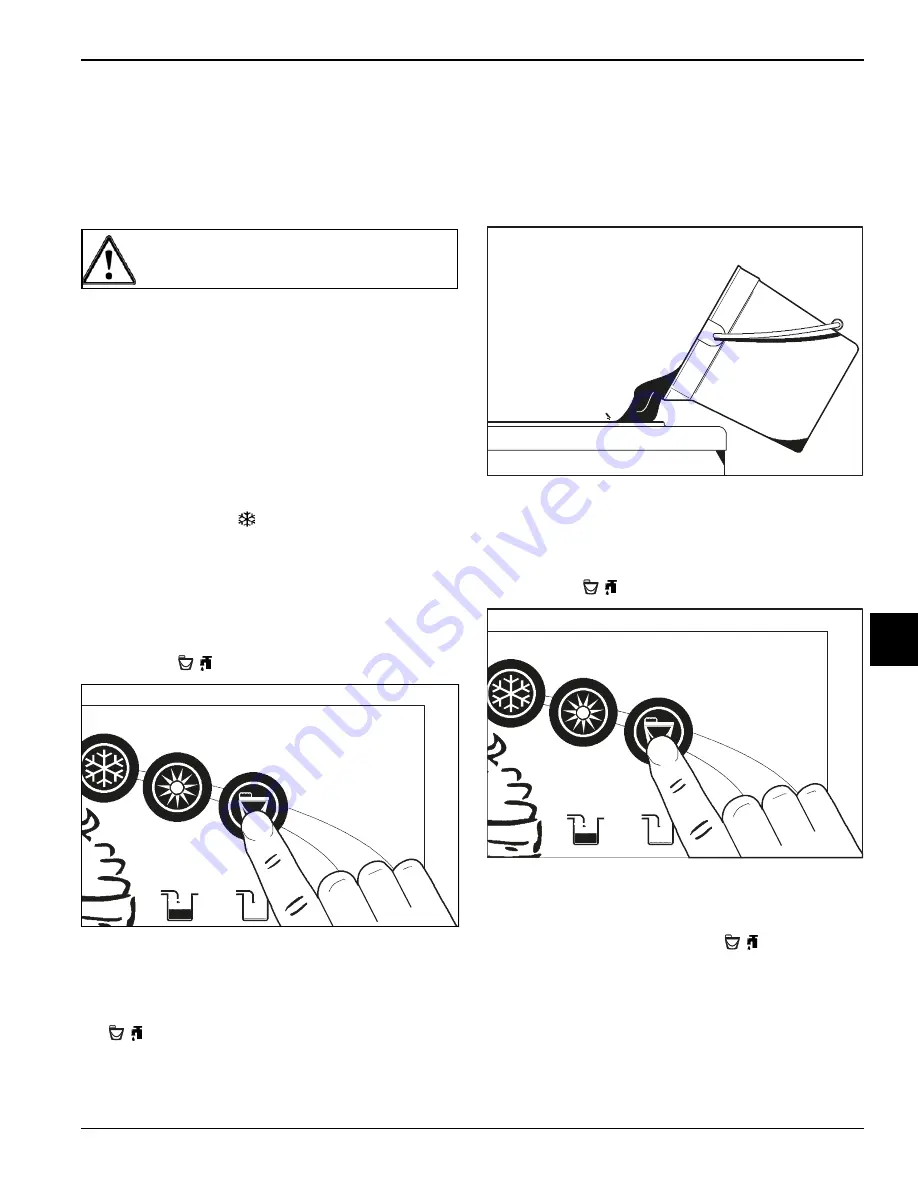
With a pail beneath the door spout(s), press the
Wash key
/ and open the draw valve.
Figure 6-38
Drain the product from the freezing cylinder and mix
hopper and properly dispose of the mix.
4.
When the flow of product stops, press the Wash key
/ , canceling the Wash mode. Close the draw
valve.
5.
Repeat steps 1 through 4
for the other side of
Model C717.
Rinsing
1. Pour 2 gal. (7.6 L) of cool, clean water into the mix
hopper. With the white hopper brush, scrub the mix
hopper mix-level sensing probes and the outside of
the agitator driveshaft housing. Using the
double-ended brush, brush-clean the mix inlet hole.
Figure 6-39
Note:
Do not brush-clean the mix inlet hole while
the machine is in the Wash mode.
2. With a pail beneath the door spout(s), press the
Wash key
/ .
Figure 6-40
3. Open the draw valve on the freezer door. Drain all the
rinse water from the door spout, close the draw
valve, and press the Wash key,
/ canceling the
Wash mode.
4.
Repeat steps 1 through 3
using clean, warm water,
until the water being discharged is clear.
5.
Repeat steps 1 through 4
for the other side of
Model C717.
ALWAYS FOLLOW LOCAL HEALTH CODES.
13406BR
12029
13406BR
Summary of Contents for C709
Page 8: ...1 4 TO THE INSTALLER Models C709 C717 To the Installer 1 Notes...
Page 36: ...5 16 USER INTERFACE Models C709 C717 User Interface 5 Notes...
Page 50: ...6 14 OPERATING PROCEDURES Models C709 C717 Operating Procedures 6 Notes...
Page 56: ...8 4 TROUBLESHOOTING GUIDE Models C709 C717 Troubleshooting Guide 8 Notes...
Page 58: ...9 2 PARTS REPLACEMENT SCHEDULE Models C709 C717 Parts Replacement Schedule 9 Notes...
Page 62: ...10 4 LIMITED WARRANTY ON EQUIPMENT Models C709 C717 Limited Warranty on Equipment 10 Notes...
Page 66: ...11 4 LIMITED WARRANTY ON PARTS Models C709 C717 Limited Warranty on Parts 11 Notes...

