6-4
OPERATING PROCEDURES
Model 8756
Operating Procedures
6
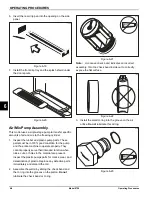
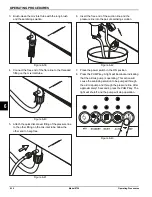
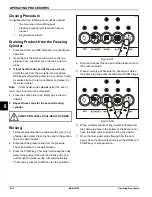
5. Insert the prime plugs into the holes at the top of the
freezer door and push down.
Figure 6-11
6. Insert the baffle rods through the beaters in the
freezing cylinders.
Figure 6-12
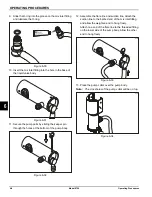
7. With the door seated on the freezer studs, install the
short handscrews on the bottom and the long
handscrews on the top. Tighten the handscrews
equally in a crisscross pattern until the door is
secured.
Figure 6-13
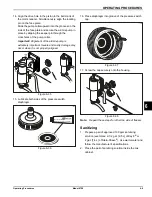
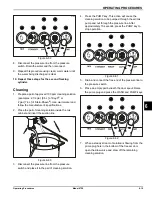
Draw Valve
1. Slide the two O-rings into the grooves on the draw
valves and lubricate each O-ring.
Figure 6-14
11431
11432
101180
11428
Apply the appropriate
Taylor approved food safe lubricant.
Summary of Contents for Horizon 8756
Page 18: ...4 6 OPERATOR PARTS IDENTIFICATION Model 8756 Operator Parts Identification 4 Notes ...
Page 22: ...5 4 USER INTERFACE Model 8756 User Interface 5 Notes ...
Page 40: ...6 18 OPERATING PROCEDURES Model 8756 Operating Procedures 6 Notes ...
Page 46: ...8 4 TROUBLESHOOTING GUIDE Model 8756 Troubleshooting Guide 8 Notes ...
Page 48: ...9 2 PARTS REPLACEMENT SCHEDULE Model 8756 Parts Replacement Schedule 9 Notes ...
Page 52: ...10 4 LIMITED WARRANTY ON EQUIPMENT Model 8756 Limited Warranty on Equipment 10 Notes ...
Page 56: ...11 4 LIMITED WARRANTY ON PARTS Model 8756 Limited Warranty on Parts 11 Notes ...
Page 58: ...12 2 WIRING DIAGRAMS Model 8756 Wiring Diagrams 12 Notes ...

