Section 6
6-1
Model SB25
Operating Procedures
6
Operating Procedures
These instructions are at the point where you enter the
store in the morning and find the parts disassembled and
laid out to air-dry from the previous night's cleaning.
These opening procedures will show you how to install
the parts onto the machine in preparation to serve the
first beverage.
If you are disassembling the machine for the first time or
need information to get to the starting point in our
instructions, turn to page 6-4 and start there.
Assembly and Setup
Important!
Make sure your hands are clean and
sanitized before performing these steps.
1.
Install the ice hopper, splash guard, and ice chute.
2.
For machines equipped with the Rinse Station:
Install the Rinse Station assembly (grates, actuator
rod, and actuators).
3.
Gather ice in a sanitized container.
4.
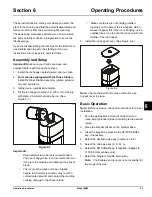
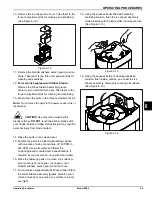
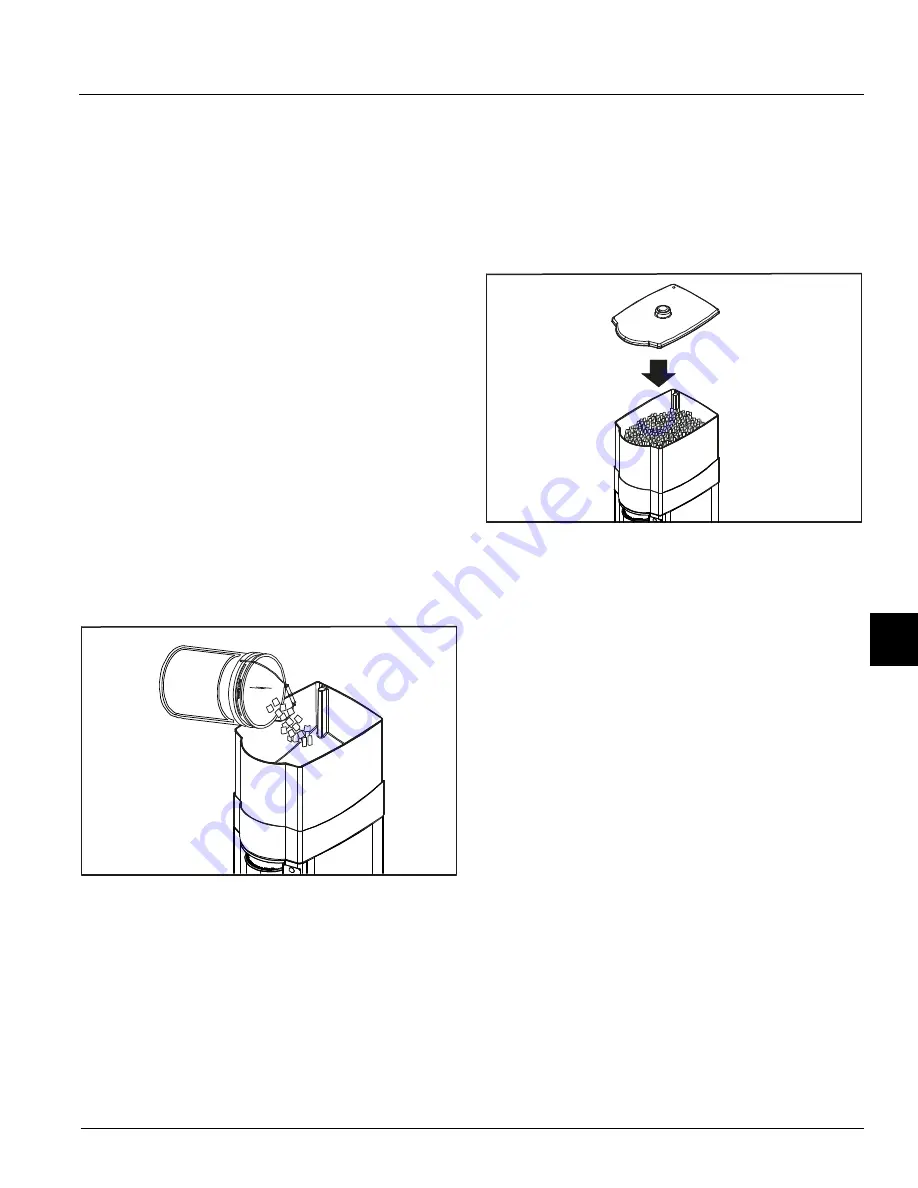
Fill the ice hopper to within 1 in. (25 mm) of the top
with clean, drop/commercial cube ice. (See
Figure 6-1
Important! :
•
Drop/commercial cube ice is recommended.
The use of bagged ice is not recommended, as
it can jam the machine and damage the shaver
blade.
•
The ice must be clean and free of debris.
Failure to follow this instruction may result in
contaminated product and can jam the machine,
causing damage to the shaver blade.
•
Make sure the ice is not bridging (melted
together) on the side of the ice hopper, which
makes it appear full. If the ice is bridging, use a
sanitized ice scoop to push the ice down into the
middle of the ice hopper.
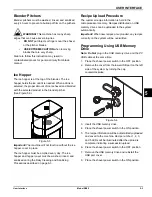
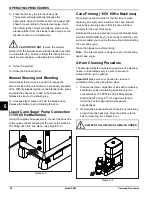
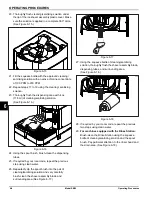
5. Install the ice hopper cover. (See Figure 6-2.)
Figure 6-2
Note:
The machine will not function without the ice
hopper cover in place.
Basic Operation
Note:
Before operation, check all connections for proper
installation.
1. Pour the appropriate amount of drink mix into a
clean, empty blender pitcher according to the desired
recipe.
2. Place the blender pitcher on the blender base.
3. Clear the keypad by pressing the STOP/CANCEL
key, if necessary.
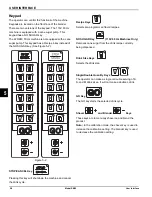
4. Select the desired recipe key (numbers 1 to 5 ).
5. Select the drink size key (K, S, M, L).
6. Select the NO SUGAR key, if required. (Applies to
115V 60 Hz machines only).
7. Select the Single or Double serving key.
Note:
The Double serving option is not available for
the Large drink size.
101509
101510
Summary of Contents for SB25
Page 8: ...1 4 TO THE INSTALLER Model SB25 To the Installer 1 Notes...
Page 10: ...2 2 TO THE OPERATOR Model SB25 To the Operator 2 Notes...
Page 16: ...4 4 OPERATOR PARTS IDENTIFICATION Model SB25 Operator Parts Identification 4 Notes...
Page 28: ...6 8 OPERATING PROCEDURES Model SB25 Operating Procedures 6 Notes...
Page 30: ...7 2 OPERATOR S CHECKLIST Model SB25 Operator s Checklist 7 Notes...
Page 34: ...9 2 PARTS REPLACEMENT SCHEDULE Model SB25 Parts Replacement Schedule 9 Notes...
Page 40: ...11 4 LIMITED WARRANTY ON PARTS Model SB25 Limited Warranty on Parts 11 Notes...


