TBK-NVR2100 Network Video Recorder User Manual V2
37
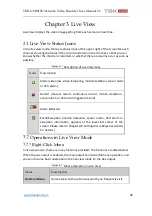
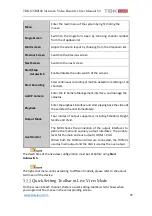
Menu
Enter the main menu of the system by right clicking the
mouse.
Single Screen
Switch to the single full screen by choosing channel number
from the dropdown list.
Multi-screen
Adjust the screen layout by choosing from the dropdown list.
Previous Screen
Switch to the previous screen.
Next Screen
Switch to the next screen.
Start/Stop
Autoswitch
Enable/disable the auto-switch of the screens.
Start Recording
Start continuous recording or motion detection recording of all
channels.
Add IP Camera
Enter the IP Camera Management interface, and manage the
cameras.
Playback
Enter the playback interface and start playing back the video of
the selected channel immediately.
Output Mode
Four modes of output supported, including Standard, Bright,
Gentle and Vivid.
Aux Monitor
The NVR checks the connection of the output interfaces to
define the main and auxiliary output interfaces. The priority
level for the main and aux output is HDMI > VGA
When both the HDMI and VGA are connected, the HDMI is
used as main output and the VGA is used as the aux output.
The
dwell time
of the live view configuration must be set before using
Start
Autoswitch
.
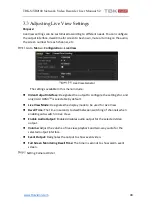
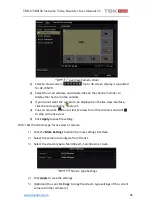
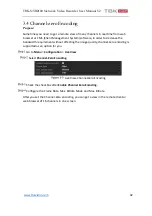
The right-click menu varies according to different models, please refer to the actual
GUI menu of the device.
Quick Setting Toolbar in Live View Mode
On the screen of each channel, there is a quick setting toolbar which shows when
you single click the mouse in the corresponding screen.


