background image

4

CLARITY M/CLARITY M STEREO User Manual

1.  Introduction

Clarity M and Clarity M Stereo

This manual covers two versions: Clarity M and Clarity M Stereo. Clarity M 

supports stereo and 5.1 via plug-in and AES. Clarity M Stereo supports stereo 

operation only. Most of the features described in this manual apply to both 

models, unless otherwise noted in the text. 
The Clarity M provides a comprehensive set of precision tools essential to the 

success of any audio producer. Ideally suited to stereo and 5.1 mixing, mastering 

and post-production, Clarity M’s 7" high-resolution LCD display provides a wealth 

of monitoring information at-a-glance via a single screen. Metering options 

include the legendary LM6 Loudness Radar Meter, a state-of-the-art true peak 

meter, vector scope meter, downmix compliance, stereo/surround correlation 

meters and an RTA (Real Time Analyzer).
Source inputs come in a vast array of options including: USB for hassle-free VST*, 

Audio Units* and AAX* plug-in metering, 6 channels of unbalanced AES3 digital 

audio on 75 Ohm BNC connectors for broadcast-grade 5.1 metering, and stereo 

optical for maximum flexibility.
Continue through this manual to learn about the functionality and operation of 

the Clarity M. 

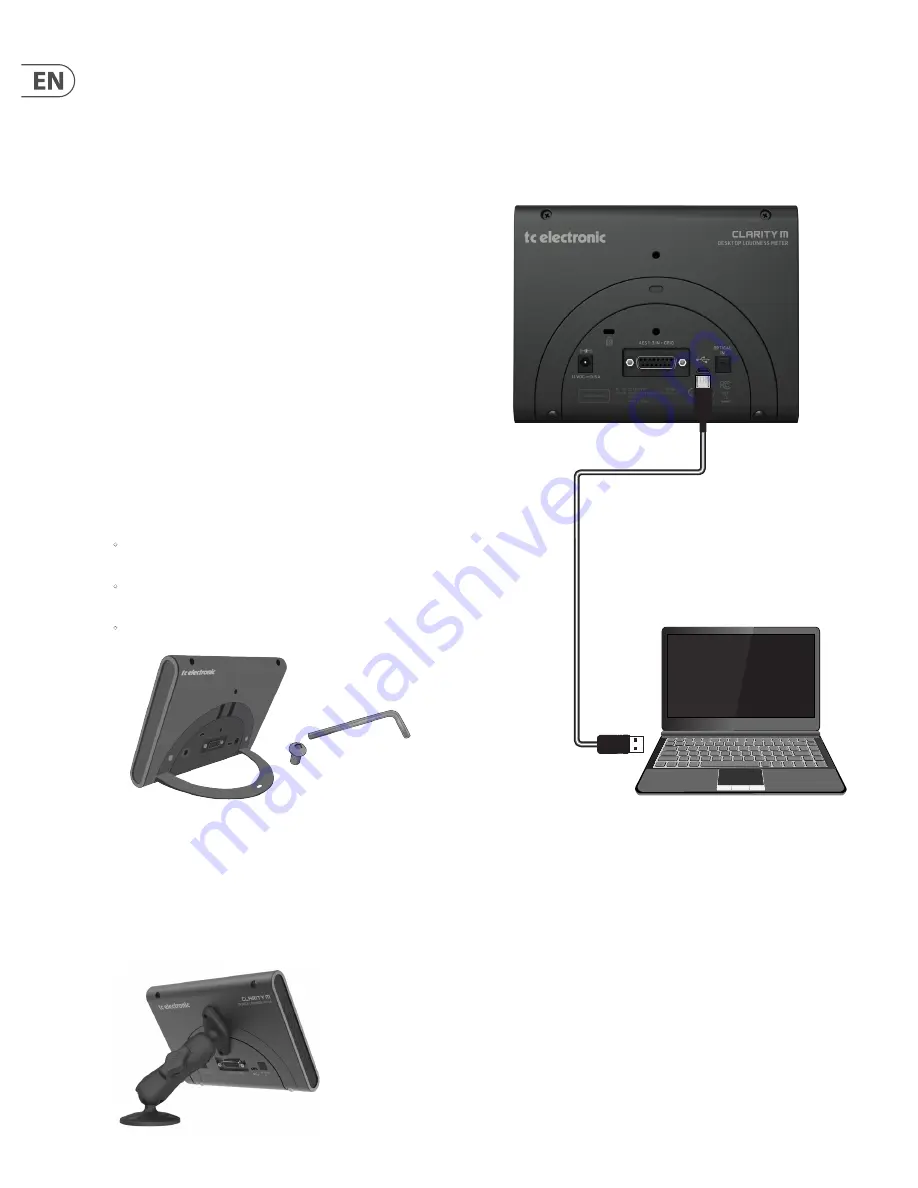
2.  Mounting

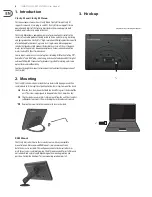
The Clarity M includes a built-in stand that can be installed during use and then 

reverted back to its storage/travel position. Follow these steps to mount the stand:

• 

Remove the 2 hex screws that hold the stand flat against the back of the 

unit. The screws are designed to be operated with a 2.5 mm hex key.

• 

Flip the stand around so that it sticks outward from the unit. The stand has 

rubber pads to prevent it from scratching the surface where it is placed.  

• 

Replace the screws into the same holes to secure the stand. 

RAM Mount

The Clarity M also has 2 holes that are ready to use with any compatible  

mount solution. We recommend RAM mounts (www.rammount.com),  

but others are also available. These allow convenient attachment to desks or 

walls for easy access and ideal viewing. The M5 screws needed for installation are 

not included, and vary in length depending on the mounting solution you 

purchase.  Follow the directions for your mounting solution to install. 

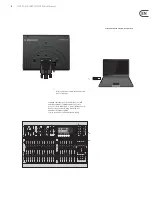
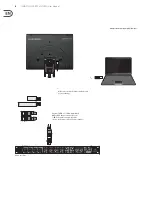
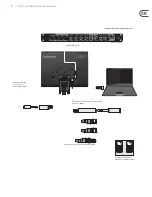
Plug-in metering - connecting to a computer

3.  Hook-up

Summary of Contents for Clarity M

Page 1: ...User Manual CLARITY M CLARITY M STEREO Desktop Audio Meter with 7 High Resolution Display and USB Connection for Plug In Metering 2018 09 27 Version 2 0...

Page 2: ...Legal Disclaimer 3 Limited warranty 3 1 Introduction 4 2 Mounting 4 3 Hook up 4 4 Controls and Connectors 8 5 SUB D Cable 9 6 General Operation 9 7 Editing Presets 12 8 Library 14 9 System 15 10 Plug...

Page 3: ...tusduringlightningstormsor whenunusedforlongperiodsoftime 14 Referallservicingtoqualifiedservicepersonnel Servicingisrequiredwhentheapparatushasbeen damagedinanyway suchaspowersupplycordorplug isdamag...

Page 4: ...audio on 75 Ohm BNC connectors for broadcast grade 5 1 metering and stereo optical for maximum flexibility Continue through this manual to learn about the functionality and operation of the Clarity M...

Page 5: ...ion for firmware updates and preset exchange Included cable that goes from SUB D 15 to 3 AES unbalanced inputs on BNC female connectors plus a stereo 2 GPI and 1 8 mono GPO connector Connect to an ext...

Page 6: ...diointerface digitalS PDIFinput USB connection for firmware updates and preset exchange Custom SUB D 15 cable with included BNC to RCA adapter connects to the S PDIF output of an audio interface Stere...

Page 7: ...ce digitalTOSinput GPIO USB connection for firmware updates and preset exchange Indication of peaks or overloads to external equipment Optical TOS cable Audio interface 2 button footswitch for Play Pa...

Page 8: ...ence and measurements below 0 indicate out of phase material 6 Adjustment knob allows various parameters to be controlled 7 These selection buttons access the corresponding functions listed in the LCD...

Page 9: ...ickly when you adjust your mix making it a helpful indicator of where your loudness is in relation to the target value 6 7 8 1 2 3 5 4 Press the 1st button to start or pause the loudness measurement T...

Page 10: ...e Loudness Descriptors Section Regardless of the Main Section view on the left side the screen will show various levels and metering feedback on the right hand side of the screen This information can...

Page 11: ...lanced and the base will appear narrower to indicate less width A center balanced mono signal with no width will appear as a single line Source Section Above the descriptors is a display for the curre...

Page 12: ...left surround right surround with 2 bar graphs Phase issues can result in audible loss of low frequencies unintended alterations to a mix among many other problems Readings toward the positive end of...

Page 13: ...um or compensated level 3 dB Sum is intended for specific broadcast situations where for example a mono signal is presented in both left and right channels 22 Sets the Loudness metric used for the Dev...

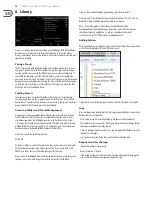
Page 14: ...dicated folder will appear for those files Preset names have the following structure _NAME indicates 2 digits such as 06 for preset 6 and an underscore must be placed between the number and name with...

Page 15: ...B Mode is set to Plug in the input will automatically be changed to Plug in Note that changing the input causes the meters to reset 3 In case you work in surround this parameter determines in which or...

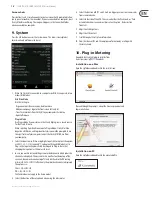
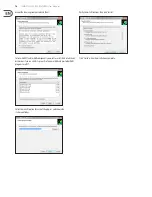
Page 16: ...ents you want to install Only select the 64 bit versions if you run a 64 bit system Pro Tools uses AAX and most other DAW programs use VST Select the install location for each of the plug ins and choo...

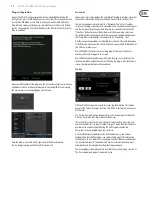
Page 17: ...ompanied by Connecting text All other connection problems are indicated by a red circle This could be happen if the USB cable is disconnected the Clarity M unit is powered off USB Mode is set to Disk...

Page 18: ...or further instructions on how to make offline processing in that DAW When Clarity M goes into offline mode a pre set fixed screen layout will be displayed Only metering types that are relevant for of...

Page 19: ...A 12 V DC 0 5 A Physical Dimensions H x W x D 140 x 182 x 38 mm 5 5 x 7 2 x 1 5 140 x 182 x 38 mm 5 5 x 7 2 x 1 5 Weight 1 2 kg 2 6 lbs 1 2 kg 2 6 lbs Accessories Included Accessories 2 5 mm HEX key 2...

Page 20: ......

Reviews: