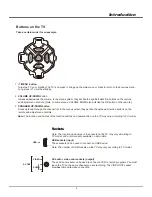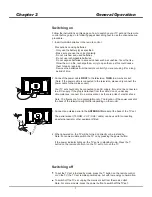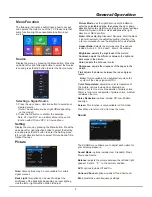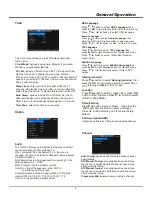
Option
English
Russian
Off
English
Russian
OSD Language
Audio Languages
TTX Language
Subtitle Language
Hearing Impaired
Default Setting
Software Update(USB)
Lock
Option
General Operation
Time
Clock
On Time
Sleep Timer
Auto Sleep
Time Zone
01 Jan 06:50
Off
Off
Off
Teheran
Clock Mode
Manual
Time
The Time menu allows you to set the sleep timer and
turnon time.
Clock Mode:
options include Auto, Manual. If you select
Manual, you may adjust the time.
9
Auto Sleep:
options include On, Off. Select On, the TV
will enter standby mode at the specific time that you set.
Note: it turns off automatically without signal in 10 minute.
Time Zone:
selects the time zone you stay.
Sleep Timer:
sets a period of time after which the TV
set goes into standby mode, use the up or down direction
button to set the period. To disable this function, select Off.
changed, the options include Set Password, Block program,
Set Password: sets a new password for operating TV. the
This function allows you to effectively stop anyone without
the correct password from watching TV.
When you select the Lock System is On, the menu is
Parental Guidance
.
default password is
0000
.
“
”
Block Program: lock the program you set.
Note:If you forget the password, enter 0812 to
override any existing codes.
Parental Guidance: limits the age watching TV. Options
include Off,4,5,6,7,8,9,10,11,12,13,14,15,16,17,18.
Note: It is only available in digital mode.
Lock
OSD Language
OSD language.
press the
OK
or
button to enter sub-menu.
Press /
◄ / ► button to select
right direction
Press button to select
then
OSD Language
,
/
◄
►
/
◄
►
Audio Languages
Press button to select
Audio Languages
then
press the
OK
or
button to enter sub-menu.
Press /
◄ / ►
button to select. (Only in DTV mode)
right direction
/
◄
►
/
◄
►
TTX Language
Press button to select
TTX
then
Language
,
press the
OK
or
button to enter sub-menu.
Press button to select. (West, East, Russian,
Arabic, Farsi)
right direction
/
◄
►
/
◄
►
On Time:
selects a time to turn on the TV at a specific time.
Options include Hour, Minute, Source mode, Volume.
If the source mode is ATV or DTV or Radio, Channel item will
appear. If you select Off, Channel, Volume, Hour, Minute and
Source will not display.
Subtitle Language
Press button to select
Subtitle Language
then
press the
OK
or
button to enter sub-menu.
Press
/
◄ / ► button to select. (
Only in DTV
mode)
right direction
/
◄
►
/
◄
►
Hearing Impaired
Press button to select
Hearing Impaired
, then
press the
OK
button to select On or
Off.
or
right direction
/
◄
►
(It is only available in DTV mode.)
Software Update(USB)
Update the software by USB with downloading software.
Default setting
Press button to select Reset , then press the
OK
button to enter a dialogue.
Press ◄ button selecting
or
right direction
Yes to restore factory
/
◄
►
default.
Channel
ATV Manual Tuning
DTV Manual Tuning
Programme Edit
Auto Tuning
Auto Tuning:
searches and stores the active channel
automatically.
DTV Manual Tuning:
manually searches and stores
the channel in digital mode that have not been stored
after automatic tuning.
ATV Manual Tuning:
manually searches and stores
the channel in analog mode that have not been stored
after automatic tuning.
Programme Edit:
deletes,moves or skips a channel.
Channel
SELECT
OK
MENU
EXIT
SELECT
OK
MENU
EXIT
SELECT
OK
MENU
EXIT
Location
Home
Press button to select Location then , press
OK
button to enter sub-menu.Press button to select.
(Home or Shop Mode)
Location
/
◄
►
/
◄
►
Summary of Contents for D2700 SERIES
Page 1: ......


