background image

Advanced Functions

12

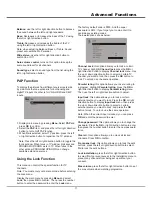
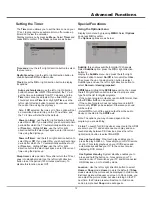
The 

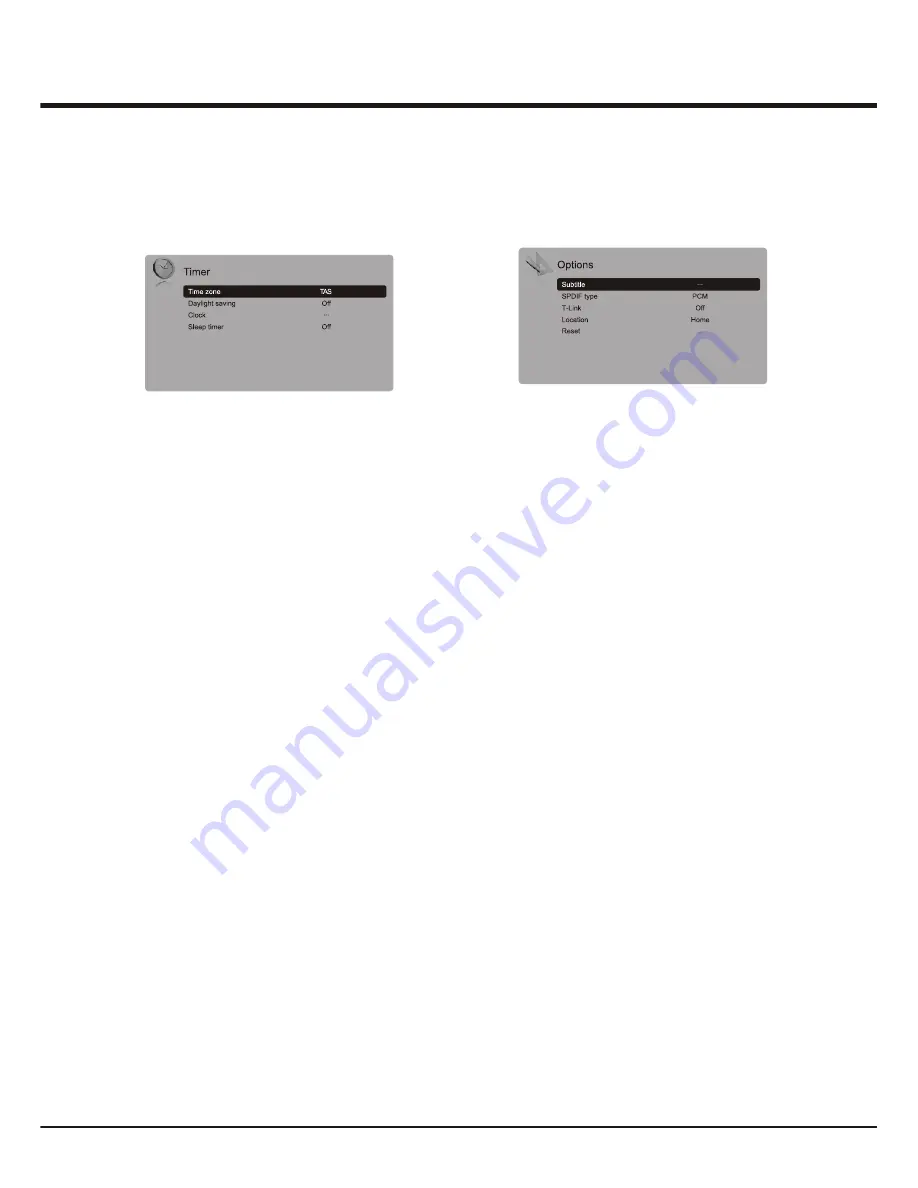
Timer 

menu allows you to set the time zone on your 

TV set, to programme an automatic turn-off or wake-up 
timer and to view the calendar.   
Display main menu by pressing 

Menu

. Select 

Timer

 and 

press 

OK

 to confirm. The 

Timer

 options are as below:

Time


zone

: Use the left or right direction button to select 

the local zone.

Daylight


saving

: Use the left or right direction button to 

choose between 

Off

 and 

On

 modes. 

Clock

: press the 

OK 

or right direction button to display 

its options:

Auto

-

synchronization

: use the left or right direction      

button to select 

On

 or 

Off

. If 

On

 selected, the TV will 

get the time automatically from DTV signals, and the 

Time

 item cannot be adjusted. If you select 

Off

, you 

should set time at 

Time 

item. Highlight 

Time

, use the 

left or right direction button to select input space, enter 
the current time using the digit keys.   

   Note: If 

Off 

selected, the time set in Time option will not 

be memorized when turning on the TV next time, and 
the TV 's time will start from the default.

   Power


on


timer

: use the left or right direction button to 

select 

On

 or 

Off

. If you select 

On

, you should set a time 

period after which the TV automatically switches to on 
at 

Time

 item. Highlight 

Time

, use the left or right 

direction button to select input space, enter the current 
time using the digit keys.  

   Power


off


timer

: use the left or right direction button to 

select 

On

 or 

Off

. If you select 

On

, you should set a time 

period after which the TV automatically switches to off 
at 

Time

 item. Highlight 

Time

, use the left or right 

direction button to select input space, enter the current 
time using the digit keys. 

Sleep


timer

: sets a period of time after which the TV set 

goes into standby mode. Use the left or right direction 
button to set the period (120 minutes maximum). To
disable this function, select Off. 
 

Setting the Timer

Special Functions


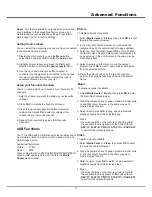
Display main menu by pressing 

MENU

. Select 

Options


and press 

OK

 to confirm.

The 

Options

 options are as below:

Subtitle

: this enables subtitle for digital TV channels. 

Select 

Subtitle

 option, press the 

OK

 or right direction 

button to
display the 

Subtitle

 menu. And press the left or right 

direction button to select 

On/Off 

to turn on/off subtitles. 

Then press the up or down direction button to select 
Subtitle type and use the left or right direction button to 
select 

Normal

 or 

Hearing


impaired

.   

SPDIF


type

: Highlight the 

SPDIF


type

 option, then press 

the left or right direction button to select a proper sound 
type from the list for digital programs. 
- If the current program outputs sound in 

AC3

 format, then 

either 

PCM

 or 

AC3 

can be selected. 

- If the current program does not output sound in 

AC3 

format, only 

PCM

 can be selected. Otherwise no sound 

will be output.    
- Select 

Off

 to turn off the audio output from the audio 

device connected to the 

SPDIF


out

.  

Note: The options you may choose depend on the 
program you are watching.

T

-

Link

: To search for CEC devices connected to the HDMI 

sockets in your TV and enable one-touch play and one-
touch standby between CEC devices, press the left or 
right direction button to select 

On

 or 

Off

.

  Use


one

-

touch


play

: One-touch play enables you to   

  press the play button on,  for example, your DVD remote    
  control. This starts playback on your DVD device and 
  automatically switches your TV to the correct source,
  displaying DVD content.


Use


System


standby

: System standby enables you to  

  press and hold the button on, for example, your TV 
  remote control. This switches your TV and all connected
  HDMI devices on or to standby mode.   

Location

:  Use the left or right direction button to select 

Home 

or 

Shop 

mode. 

Home

 mode is the default. If 

Shop


mode selected, the picture will be displayed in Vivid mode, 
E-sticker picture will appear on screen. In Shop mode, you 
can adjust the picture mode, but when turning on the TV 
next time, the Picture preset will restore to Vivid mode, 
and a prompt about 

Shop

 mode will appear.

Using the Options menu

Summary of Contents for L32P11FZE

Page 1: ...L32P11FZE L40P11FZE L46P11FZE L55P11FZE ...

Page 2: ...Signal Cable Use Environment Cleaning Hanging the TV Set on the Wall Bottom Panel Buttons Sockets Remote Control Functions Important Information Switching on Switching off Using Menu System Automatic Channel Set up Automatic Update Digital Test Reception Initial Set up Analog Manual Installation Adjusting the Picture Adjusting the Sound PAP Function Setting the Timer Using the Lock Function Specia...

Page 3: ...ing trampled Do not overload the power cord or the power outlet Do not expose the power cord and the signal cable to moisture Do not place the set on an unstable cart stand or table Use Environment Place the set on a place that allows good ventilation Do not use the set near damp and cold areas Protect the set from overheating Keep the set away from direct sunlight The set shall not be exposed to ...

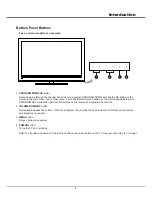
Page 4: ...right direction buttons on the remote and adjust menu controls 2 MENU button Brings up the menu system 4 POWER button Turns the TV on or standby VOLUME DOWN UP button Decreases increases the volume In the menu system they act like the down up direction buttons on the remote and adjust menu controls 3 Bottom Panel Buttons Take a certain modelfor an example Note The location and names of the functio...

Page 5: ...ier optical ANTENNA INsocket input at the side bottom This socket can be used to connect to an external antenna VGA socket input at the side bottom This socket can be used to connect a computer 5 AUDIO in adapter AUDIO in adapter socket input at the W t and And t side bottom hen using the CMP adapter socket he socket can be used to connect the attached AUDIO in adapter cable with audio L R sockets...

Page 6: ...uide Toggles the Electronic Programme Guidebetween on and off Only available for digital channels Return Returns you to the previous channel In USB function returns to the previous menu Subtitle Toggles between On to display thesubtitle and Off in DTV mode Text Purple button Toggles teletextbetween on and off Coloredbutt ons Red Green Yellow Blue T o select tasks and teletext pages Starts fast rev...

Page 7: ...t The aerial socket 75 OHM VHF UHF cable can be used for connecting an external aerial or other equipment fitted 4 When powered on the TV will be turned on directly If the power indicator lights up the TV set is in standby mode Press the button on the remote control or at the bottom of the TV set to turn on the TV 2 Connect the power cable FIRST to the television THEN to a mains socket Your TV set...

Page 8: ...the main menu 2 Press the up down left right direction button to select the desired item then press the OK button to open the corresponding submenu 3 In submenus use the up or down direction button to select menu options use the left or right direction button to set functions or change values Use the OK button to activate a setting Use the OK or right direction button to open the corresponding sub...

Page 9: ...he Menu button 3 When the search is completed press Menu to return or press OK to restart Digital Test Reception If using digital broadcasts you can check the signal quality of digital channels This allows you to reposition the antenna for the best reception Display the Channel install menu press the up or down direction button to highlight Digital Test reception then press the OK or right directi...

Page 10: ...tion And when turning on the TV next time a prompt will appear Note The Natural light option is available only when the Picture preset is Personal Adjusting the Picture palette of picture colors Note For some models the Color temperature option cannot be available Screen mode Use the left or right direction button to select the picture size 4 3 format cinerama 14 9 zoom 16 9 zoom 16 9 zoom up and ...

Page 11: ...ht direction button to display Parental rating menu Then use the left or right direction button to adjust Input lock this option allows you to lock a certain external source you want to lock Press the OK or right direction button to display Input lock menu then press the up or down direction button to select a certain external source you want to Lock and press the OK button to lock To unlock use t...

Page 12: ...tions Display main menu by pressing MENU Select Options and press OK to confirm The Options options are as below Subtitle this enables subtitle for digital TV channels Select Subtitle option press the OK or right direction button to display the Subtitle menu And press the left or right direction button to select On Off to turn on off subtitles Then press the up or down direction button to select S...

Page 13: ...icture To display pictures if available 1 Select Media Center Picture then press OK to enter the main file content browser 2 In the main file content browser you can press the red green key on the remote control to page up down 3 Select an inner file folder press OK to enter a subfile content browser User can also press red green key to page up down in the sub browser in the same way as mentioned ...

Page 14: ...GA mode Perhaps the TV can not recognize the resolution set by the PC Suggest to change to the best resolution or other standard resolutions of the Windows system Snowy dots and interference If the antenna is located in the fringe area of a television signal where the signal is weak the picture may be marred by dots When the signal is extremely weak it may be necessary to install a special antenna...

Page 15: ......

Page 16: ......

Reviews: