background image


'

"#

"##*+##+#7+


+;#5,+*#5#"#5!

 %#&

6",;+*#+"##!

65

'"#


2#,"#" 

"!


##,#,!


2#8#,##"!


2#"#<"##,!

."

=#"

"###


###"#"!

 %#&

)#;"

*

#,>757

5# 7!

2#+"

6 *,*,#+#"


*"#;,#!


.5;,7*5#!)#*7"+7


"!


?;,#;

2#+#">+#


###;,!

"#

shelves

2"7";*#


helves

,#"#!27#


+<"5#

shelf

#


#+*#>!

15

Summary of Contents for P220TMW

Page 1: ...st Free Refrigerator Operating Instructions P220TMW P220TMS Please carefully read the operation instructions before powering on and keep them safe Product specifications subject to change without noti...

Page 2: ......

Page 3: ...Technical detail...

Page 4: ...ade by children without supervision 4 WARNING Keep ventilation openings in the appliance enclosure or in the built in structure clear of obstruction 5 WARNING Do not use mechanical devices or other me...

Page 5: ...ng use of the appliance in a safe way and understand the hazards involved Children should be supervised to ensure that they do not play with the appliance Cleaning and user maintenance shall not be ma...

Page 6: ...Risk of fire flammable materials Do not place multiple portable socket outlets power boards or power supplies at the rear of the appliance 3...

Page 7: ...ust not be re frozen once it has been thawed out 11 Store pre packed frozen food in accordance with the frozen food manufacture s instructions 11 Appliance s manufactures storage recommendations shoul...

Page 8: ...ure that the mains plug is accessible after the installation of the appliance Service Any electrical work required to do the servicing of the appliance should be carried out by a qualified electrician...

Page 9: ...onsequences for the environment and human health which could otherwise be caused by inappropriate waste handling of this product For more detailed information about recycling of this product please co...

Page 10: ...Shelf Shelves Crisper Leveling Feet Door Shelves Door Shelves Temperature control knob Temperature control knob 7 Note Above picture is for reference only Product specifications subject to change...

Page 11: ...head Upper door left aid stopper x1 Lower door left aid stopper x1 Before reversing the door please prepare the following tools Flat Head screwdriver Philips Head screwdriver spanner and components i...

Page 12: ...middle hinge using a Philips head screwdriver then remove the lower door as shown below 7 6 Laying down the refrigerator remove the adjusting feet as shown below then unscrew the lower hinge using a...

Page 13: ...to the upright position and refit the bottom door Please note as the fridge has been lied down please allow several hours after completion of the door reversal before connecting to mains power 9 Rever...

Page 14: ...Door Reversal 1 2 i the 11...

Page 15: ...135 980mm 910mm Leveling the unit To do this adjust the two leveling feet at front of the unit If the unit is not level the doors and magnetic seal may not be properly aligned 12...

Page 16: ...8 6 6 6 5 00 7 2 13...

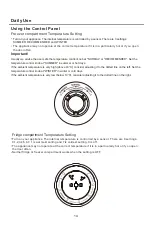
Page 17: ...ys If the ambient temperature is very high above 43 consider adjusting it to the dotted line on the left Set the temperature control knob at WINTER in winter or cold days If the ambient temperature is...

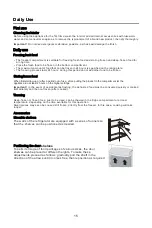
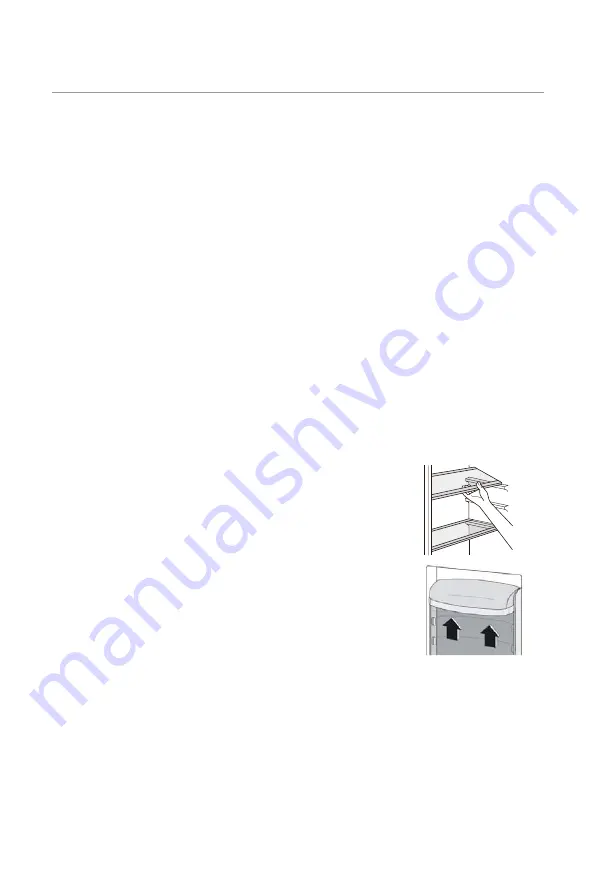
Page 18: ...7 5 5 5 6 6 5 2 2 8 2 7 5 7 5 7 2 6 5 7 5 7 7 2 shelves 2 7 helves 2 7 5 shelf 15...

Page 19: ...2 5 7 5 5 5 A A 5 5 5 5 6 8 5 2 6 6 5 7 5 5 5 5 5 5 7 5 5 5 5 8 7 7 7 2 5 7 8 5 A 7 3 A 5 5 5 A 5 5 7 5 5 5 A 5 7 7 A 5 A 5 A A 5 5 7 A 7 5 5 7 A 7 5 7 16...

Page 20: ...5 5 2 5 6 7B 7 3 7B 2 5 7 7 5 6 6 5 0 7 7 5 5 5 7 17...

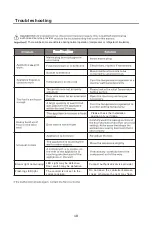
Page 21: ...lease check the installation position of your fridge Interior light not working LED Light may be defective Contact Authorized service provider Door switch may be defective 18 Flashing LED light The co...

Page 22: ......

Page 23: ......

Page 24: ...TCL Electronics Australia Pty Ltd ABN 83 111 032 896 Telephone 1300 738 149 sales au tcl com www tcl com au CKTCL U12...

Reviews: