Test and Alignment Specification for RT2841 Series (v0.01).docx
Page 16 of 27
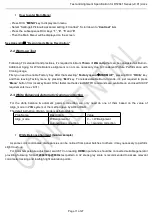
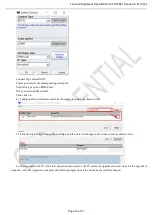
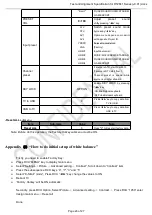
Connect Type select RS232;
Comm port selects the corresponding serial port;
Set-Status type option ROM Code;
IC Type Selection Macarthur5;
Then click ok.
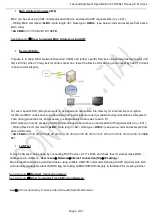
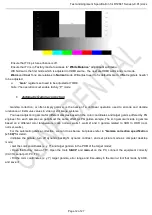
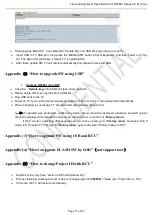
4) Configure Burn parameters and select bootcode load path, as shown below.
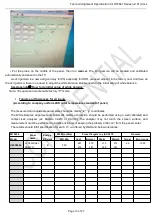
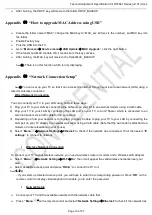
5) Click the Start button to enter the boot state and the state will change to the connect state as shown below.
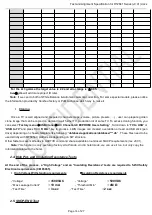
6) Then power on the TV. After the connection is successful, the TV enters the upgrade state and waits for the upgrade to
complete. After the upgrade is complete, the following figure shows the bootcode successfully burned.
Summary of Contents for RT41VS-EU
Page 32: ...Test and Alignment Specification for RT2841 Series v0 01 docx Page 27 of 27...
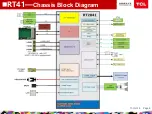
Page 33: ...11 Oct 18 Page 8 nRT41 Chassis Block Diagram...
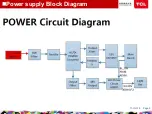
Page 34: ...11 Oct 18 Page 9 nPower supply Block Diagram...
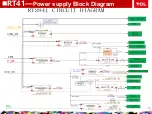
Page 35: ...11 Oct 18 Page 10 nRT41 Power supply Block Diagram...
Page 46: ...11 Oct 18 Page 23 nTrouble Shooting...
Page 47: ...nTrouble Shooting 11 Oct 18 Page 24...
Page 48: ...nTrouble Shooting 11 Oct 18 Page 25...
Page 49: ...11 Oct 18 Page 11 nKey Test Point Main Power Supply 12V 12V Test point...
Page 51: ...11 Oct 18 Page 13 nKey Test Point LDC1 1V5_DDR UDC1 3V3_STB to 1V5_DDR 3V3_STB STR Enable...
Page 52: ...11 Oct 18 Page 14 LDB1 CORE 1V0 nKey Test Point 12V UDDB 12V TO 1V0...
Page 53: ...11 Oct 18 Page 15 LDA1 5V nKey Test Point UDA1 12V TO 5V...
Page 57: ...11 Oct 18 Page 19 nKey Test Point PANEL_VCC 12V Q900 PANEL_VCC...
Page 58: ...11 Oct 18 Page 20 Main Chip 1 SOC Config 2 24MHz CRYSTAL nKey Test Point Test Point...

