RECORDING TO THE INTERNAL HARD DRIVE
The DA-9000 enables “ripping” (transferring) music from CD to the internal hard drive.
The unit also allows recording from external sources to the internal hard drive.
When you record to the internal hard drive, you have the option of choosing the recording
option. The options are as follows:
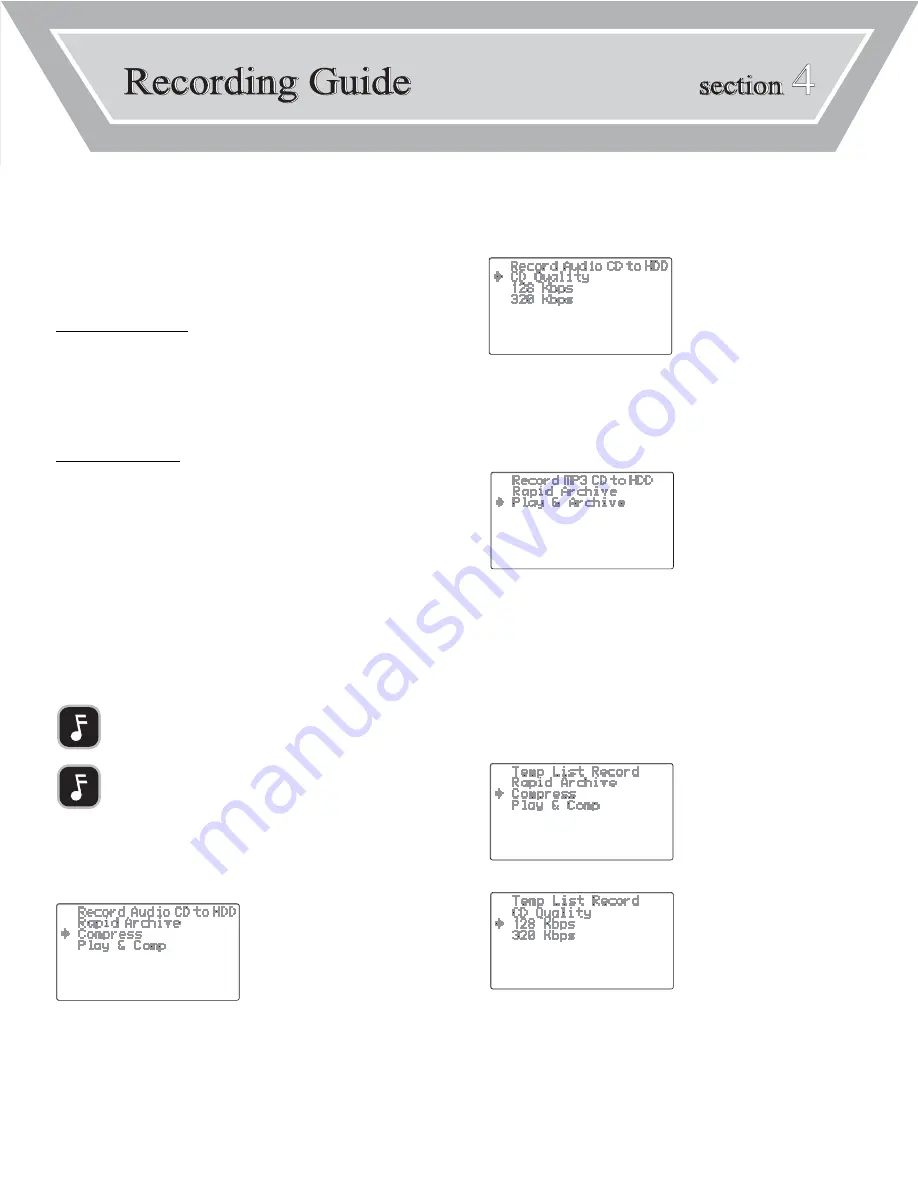
AUDIO CD RECORDING OPTIONS
RAPID ARCHIVE:
The tracks will quickly be ripped to the internal
hard drive. Encoding to the MP3 format will be
performed when the unit is in stand-by mode.
COMPRESS:
The tracks will be simultaneously ripped and
encoded to the MP3 format.
PLAY AND COMPRESS:
The tracks will be simultaneously played, ripped
and encoded to the MP3 format.
MP3 CD RECORDING OPTIONS
RAPID ARCHIVE:
The MP3 tracks will quickly be archived to the
internal hard drive.
PLAY AND ARCHIVE:
The MP3 tracks will be simultaneously played,
archived to the internal hard drive.
After setting the recording option, you have the option of setting the bit-rate
(amount of compression). The choices are as follows:
128 KBPS:
The tracks will be converted to the MP3 format.
This is the lowest quality option, but the tracks
will have the smallest file sizes.
320 KBPS:
The tracks will be converted to the MP3 format,
medium quality and file sizes.
CD QUALITY:
:
The tracks will remain non-compressed and will
have the same audio quality as the original CD.
The tracks will have the largest file sizes.
To rip (transfer) an entire AudioCD to the DA-9000’s hard drive:
1.
In the Main Menu, select CD.
2.
Press
REC
.
3.
Select the desired recording option.
SECTION 4:
RECORDING GUIDE
7
•
The DA-9000 will display a menu of available bit rates.
4.
Select the desired bit rate.
5.
Press
REC.
to begin ripping the CD to the internal hard drive.
To rip (transfer) an entire MP3 CD to the DA-9000’s hard drive:
1.
In the Main Menu, select CD.
2.
Press
REC
.
3.
Select the desired RECORDING option.
4.
Press
REC
. to begin ripping the CD to the internal hard drive.
To rip (transfer) specific tracks from an Audio CD to the DA-9000’s internal hard
drive:
1.
In the Main Menu, select CD.
2.
Press
ENTER
.
3.
Select a desired track and press
MARK
.
•
Repeat until all desired tracks have been marked.
•
Marked tracks will have a dot [•] after the title.
4.
Press
PROG
.
5.
Press
REC.
6.
Select the desired recording option.
7
. The DA-9000 will display a menu of the available bit rates.
8
. Select the desired bit rate.
9
. Press
REC.
to begin ripping the CD to the internal hard drive.
NOTE:
MP3 CDs will be recorded to the internal hard drive as is. The bit rate
cannot be selected.
NOTE:
The CD QUALITY option is not available when the COMPRESS recording
option has been selected.


