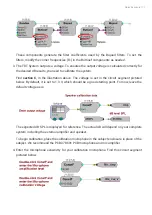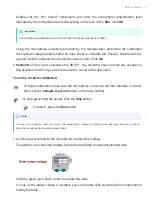
Double-click the
fi
rst ConstF component and enter the microphone ampli
fi
cation level
indicated by the microphone Gain knob setting on the face of the
RZ6
. Click
OK
.
Using the microphone sensitivity provided by the manufacturer, determine the calibration
microphone voltage (usually listed on spec sheet in millivolts per Pascal). Double-click the
second ConstF component and enter the value in volts. Click
OK
.
Section B
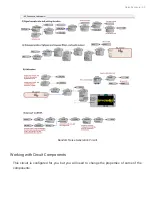
of the circuit, calculates the dB SPL. You shouldn't need to make any changes in
this segment, but this a good time to save the circuit with a new name.
To run the circuit for calibration:
To begin calibration, make sure the microphone is in place and the chamber is closed,
then click the
Compile, load, run
button on the main toolbar.
To stop presenting the sound, click the
Stop
button.
To restart, press the
Run
button.
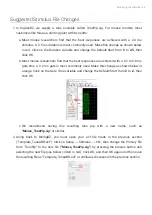
Use the level recorded by the microphone to adjust the voltage.
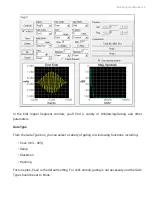
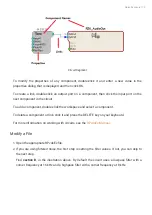
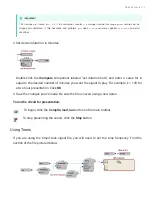
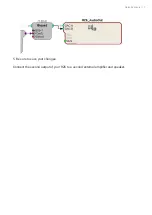
To update to the corrected voltage, locate the DataTable component pictured here.
Click the green up or down arrows to adjust the value.
If none of the preset values is suitable, you can double-click the DataTable component to
modify the table.
The microphone ampli
fi
cation switch on the RZ6 front panel must be set to AMP.
Important
5.
Both Run and Compile, Load, Run restart the presentation, however, Compile Load, Run also restarts the circuit
timer. Run resumes from current value in timer.
Note
1.
Noise Exposure | 72

