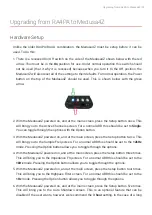
ABR paradigm, the 1 hour setting may be too short and the PreAmp may shut off while the
experiment is ongoing. Setting this to 5 Hours or Never can result in unnecessary battery
drain. Pressing the Option button allows you to toggle through the options.
The shutdown counter resets any time the user presses any button on the top of the
Medusa4Z. For example, when they check the impedance of their next subject the counter
will reset.
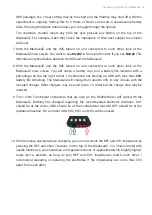
With the Medusa4Z and the RZ6 turned on and connected to each other, look at the
Medusa4Z main screen. You want to see
Med4Z
in the top left corner. If you see
NoOpt!
This
indicates an optical failure between the RZ6 and the Medusa4Z.
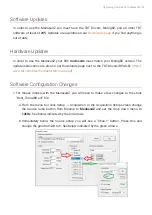
With the Medusa4Z and the RZ6 turned on and connected to each other, look at the
Medusa4Z main screen. You will notice a battery icon and a battery life indicator with a
percentage on the top right corner. I recommend not starting an ABR with less than
20%
battery life remaining. The Medusa4Z will charge from dead to 90% in only 4 hours with the
included charger. Other chargers may be used (up to 12 volts) but the charge time may be
reduced.
The 1.5mm Touchproof connectors that are also on the RA4PA/RA4LI will work with the
Medusa4Z. Nothing has changed regarding the recommended electrode locations, CH1
should be at the vertex, GND should be at the contralateral mastoid, REF should be at the
ipsilateral mastoid. For a normal ABR, CH2, CH3, and CH4 will be unused.
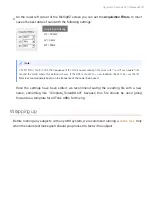
With the setup outlined above complete, you can now check the REF and CH1 impedance by
pressing the REF and Chan-1 buttons on the top of the Medusa4Z. In a mouse model with
needle electrodes, you should see an impedance values of approximately
1k
. Slightly higher/
lower isn’t a problem as long as your REF and CH1 impedances match each other. I
recommend reseating or replacing the electrodes if the impedances are more than 20%
apart from each other.
7.
8.
9.
10.
Upgrading from RA4PA to Medusa4Z | 79


