Hardware Setup
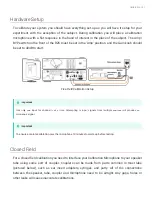
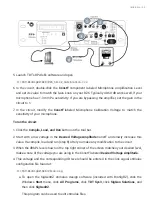
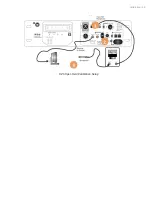
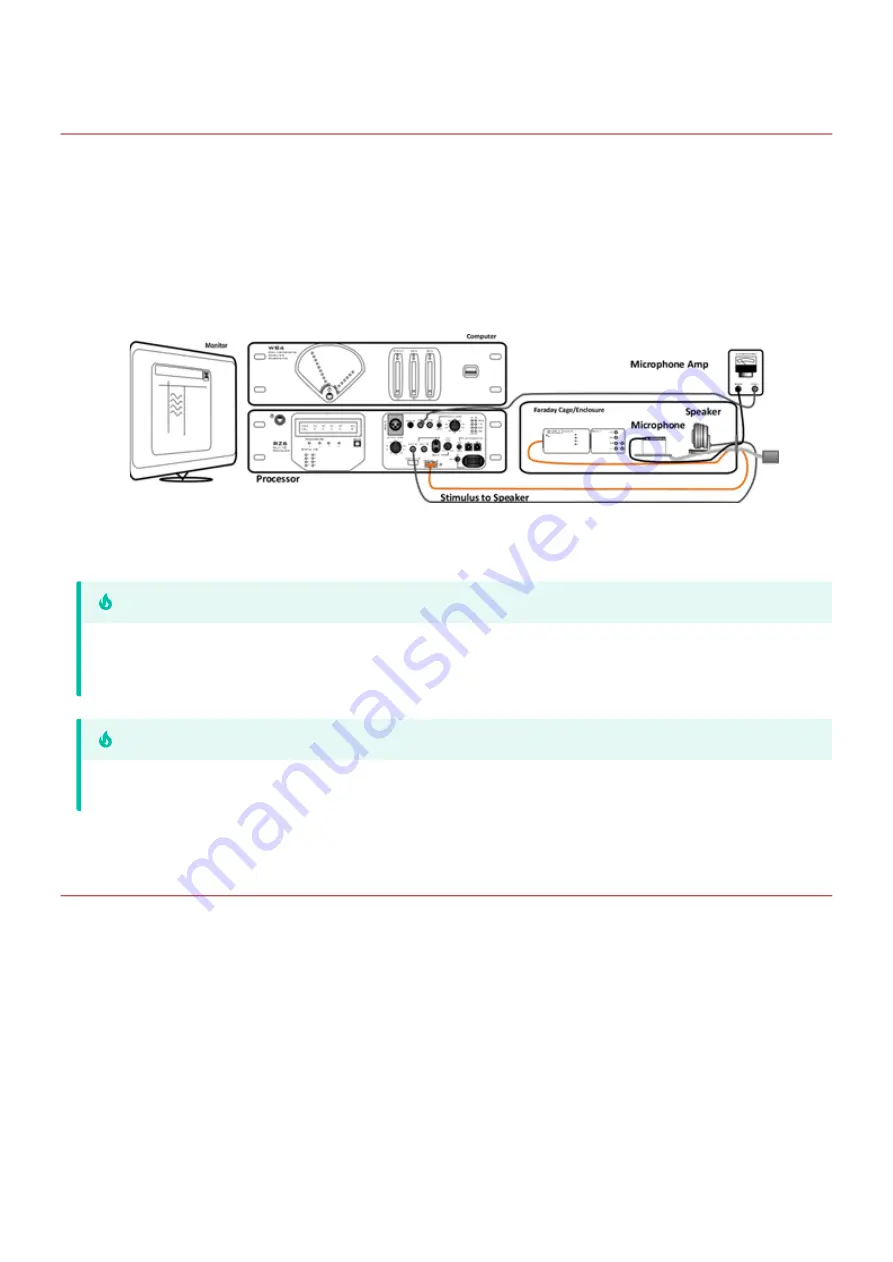
To calibrate your system you should have everything set-up as you will have it setup for your
experiment, with the exception of the subject. During calibration you will place a calibration
microphone with a
fl
at response in the band of interest in the place of the subject. The Amp/
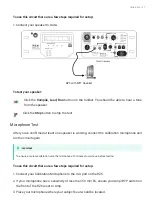
BYP switch on the front of the RZ6 must be set in the 'Amp' position, and the Gain knob should
be set to 40dB to start.
Free-Field Calibration Setup
Closed Field
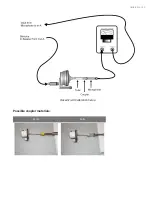
For a closed
fi
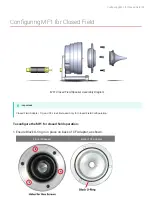
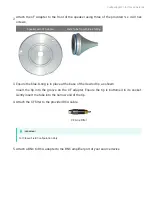
eld calibration you need to interface your Calibration Microphone to your speaker
tube using some sort of coupler. Couplers can be made from parts common in most labs
(pictured below), such as ear insert adapters, syringes, and putty. All of the connections
between the speaker, tube, coupler and microphone need to be airtight. Any gaps, holes or
other leaks will cause inaccurate calibrations.
Use only one input for channel A at a time. Attempting to input signals from multiple sources will produce an
erroneous signal.
Important
To ensure accurate calibration, give the microphone 10 minutes to warm-up before testing.
Important
Calibration | 41


