6-4
System 3
PZ2 PreAmp
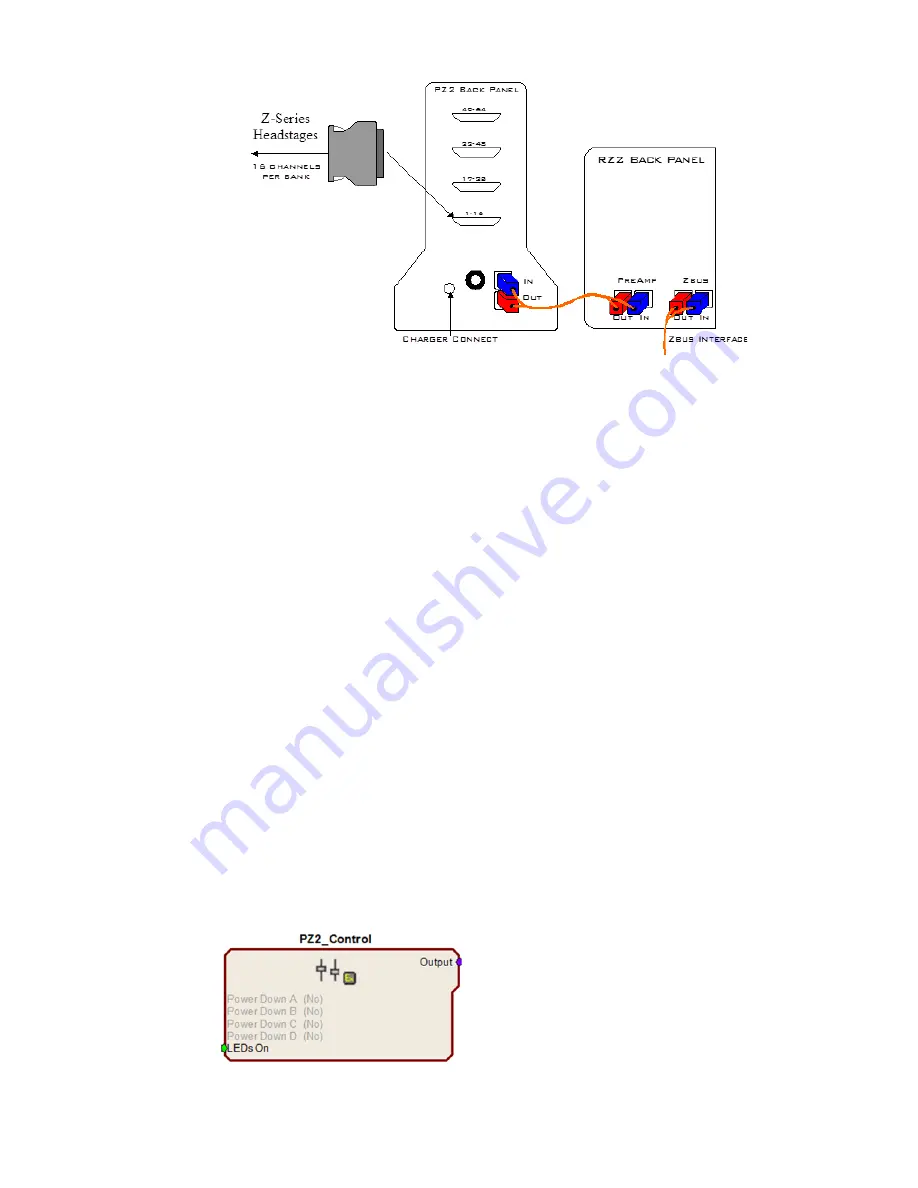
One or more Z-Series headstages can be connected to the input connectors on the
PZ2 back panel. A 5-meter paired fiber optic cable is included to connect the
preamplifier to the base station. The connectors are color coded and keyed to ensure
proper connections. The PZ2 battery charger connects to the round female connector
located on the back panel of the PZ2 preamplifier.
Important!
To avoid introducing EMF noise, DO NOT connect the charger to the PZ2 while
collecting data.
Powering
ON
To turn the preamplifier on, move the three position battery switch located on the
front panel of the PZ2, to either the Bat-A or Bat-B position.
Powering
OFF
To turn the preamplifier off, move the three position battery switch located on the
front panel of the PZ2, to the OFF position.
Important!
Channels are grouped by 16-channel banks and each bank will only power up when
a headstage is connected. This design helps to increase battery life.
PZ2
Software
Control
The preamplifier’s hardware operation (power options and indicator LEDs) can be
configured using the PZ2_Control macro within the RPvdsEx control circuits running
on the RZ2 base station.
Summary of Contents for PZ2
Page 8: ...6 10 System 3 PZ2 PreAmp...


