background image

For more information: te.com/energy

Please dispose of all waste according to  

environmental regulations.

The Information contained in these installation instructions is for use only by installers trained to make electrical power installations and is 

intended to describe the correct method of installation for this product. However, TE Connectivity has no control over the field conditions which 

influence product installation.

It is the user’s responsibility to determine the suitability of the installation method in the user’s field conditions. 


TE Connectivity’s only obligations are those in TE Connectivity’s standard Conditions of Sale for this product and in no case will TE Connectivity 

be liable for any other incidental, indirect or consequential damages arising from the use or misuse of the products.

Raychem, TE, TE Connectivity and TE connectivity (logo) are trademarks. © 2022 TE Connectivity. All Rights Reserved.

Tyco Electronics Raychem GmbH

a TE Connectivity Ltd. Company

Finsinger Feld 1

85521 Ottobrunn/Munich, Germany

Tel: +49-89-6089-0

Fax: +49-89-6096-345

Operation Manual

EPP-4024-7/22

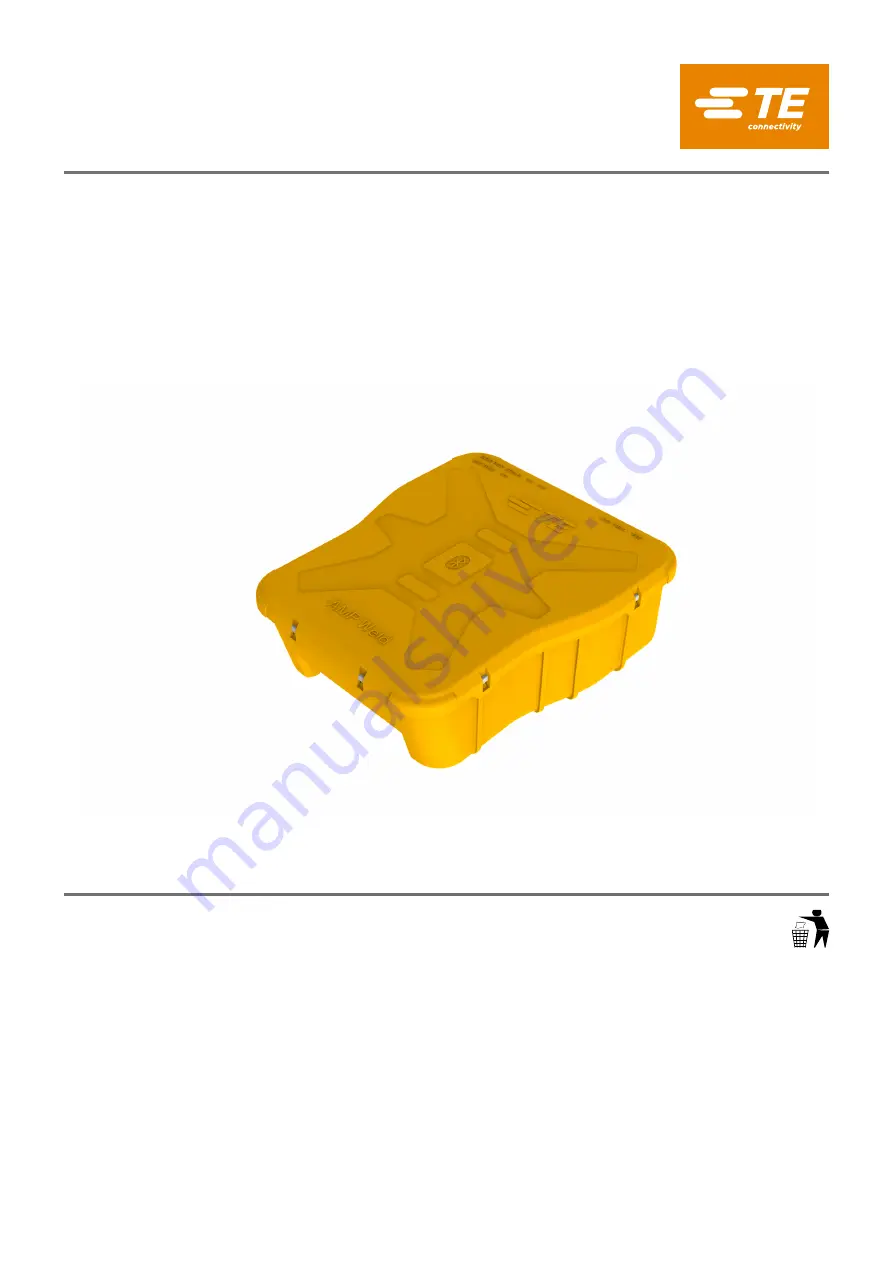
AMP Weld Smart E Controller

Summary of Contents for EPP-4024-7/22

Page 1: ...determine the suitability of the installation method in the user s field conditions TE Connectivity s only obligations are those in TE Connectivity s standard Conditions of Sale for this product and i...

Page 2: ...Safety 3 1 1 Important Instructions 3 1 2 Product Compliance 3 2 Introduction 4 3 What s in the Box 4 4 Technical Specifications 5 5 Product Features 6 6 Operation 7 6 1 Connect the Controller 7 6 2 P...

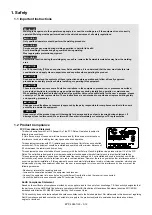
Page 3: ...ructions are not intended to supersede or replace existing safety and operating procedures CAUTION Changes or modifications not expressly approved by the party responsible for compliance could void th...

Page 4: ...18V 2415598 2 Introduction This manual contains information on the setup and operation of the AMP Weld Controller The AMP Weld Controller is designed to perform the exothermic welding operation remote...

Page 5: ...y 0 5 sec Tungsten Output Voltage 18 Vdc 22 Vdc Tungsten Output Current 26 A 35 A Tungsten Length 0 015 0 25 inch Operating Temp 20 C 50 C Operating Humidity 90 RH 4 1 AMP Weld Application Minimum Req...

Page 6: ...arness Controller side connector 5 Connection harness Weld side connector 6 Battery 18V 5 1 Power Switch The power switch is a push button with green LED indicator which is used to power ON ARM and po...

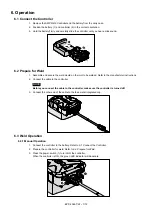
Page 7: ...oint to be welded Refer to the manufacturer instructions 2 Connect the cable to the controller NOTE Before you connect the cable to the controller make sure the controller is turned off 3 Connect the...

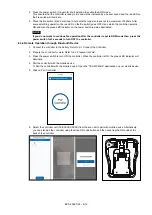
Page 8: ...set to ARM mode then press the power switch for 3 seconds to turn OFF the controller 6 3 2 Remote Operation through Bluetooth Device 1 Connect the controller to the battery Refer to 6 1 Connect the Co...

Page 9: ...e controller and select pair NOTE The pairing code is the last six digits of the TE ID imprinted on the product For example if the TE ID is TE 0123456789 then the pairing code is 456789 9 After succes...

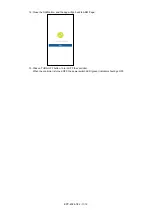
Page 10: ...etooth device then the arm and fire functionality is disabled on the application Turn OFF the manual mode to enable the bluetooth functionality 11 Slide the Slide to fire button to fire After successf...

Page 11: ...22 11 12 12 Close the Notification and the app will go back to ARM Page 13 Click on TURN OFF button to turn OFF the controller When the controller is turned OFF the power switch LED green indicator sh...

Page 12: ...EPP 4024 7 22 12 12...

Reviews: