Help Hot Line (U.S. only): 1-800-530-9960
7-43
D-620616-0-20 Rev F
CONFIDENTIAL
Fusion Wideband Installation Procedures
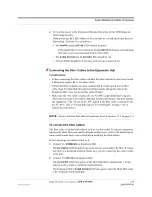
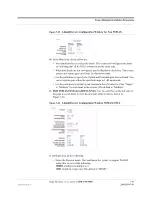
12.
Use the scroll bar on the left side of the window to scroll down to view the rest of
the window as shown below.
13.
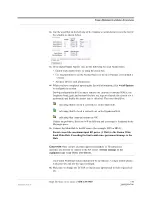
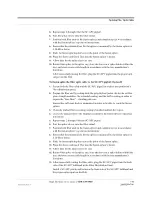
In the Input/Output Alarms area, do the following for each Alarm Sense:
• Enable each Alarm Sense by using the check box.
• Use the pull-down to set the Normal State to Closed or Opened. (The default is
“Closed.”
• Assign a label to each alarm sense.
14.
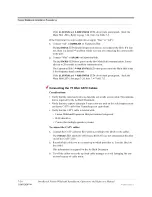
When you have completed inputting the desired information, click
Install System
to configure the system.
During configuration all disconnect statuses are cleared for attached RAUs; the
frequency band, gain, and system label are set; logs are cleared; the system test is
performed; and finally the system tree is refreshed. The icons should be:
Indicating that the band is correctly set on the Main Hub.
Indicating that the band is correctly set on the Expansion Hub.
Indicating that communications are OK.
If there are problems, the icons will be different and a message is displayed in the
Messages pane.
15.
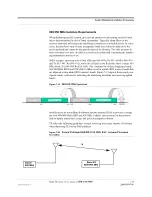
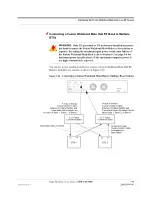
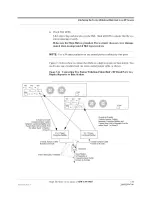
Connect the Main Hub to the RF source (for example, BTS or BDA).
Do not exceed the maximum input RF power (1 Watt) to the Fusion Wide-
band Main Hub. Exceeding the limit could cause permanent damage to the
Hub.
CAUTION:
Only carriers and their approved installers or TE-authorized
installers are allowed to connect to the RF source.
Serious damage to the
equipment can occur if it is over-driven.
The Fusion Wideband system should now be operational. Using a mobile phone,
walk your site and test the signal strength.
16.
Make sure to change the TCP/IP setting in your laptop back to their original val-
ues.

