– 10 –
AUDIO OPERATIONS
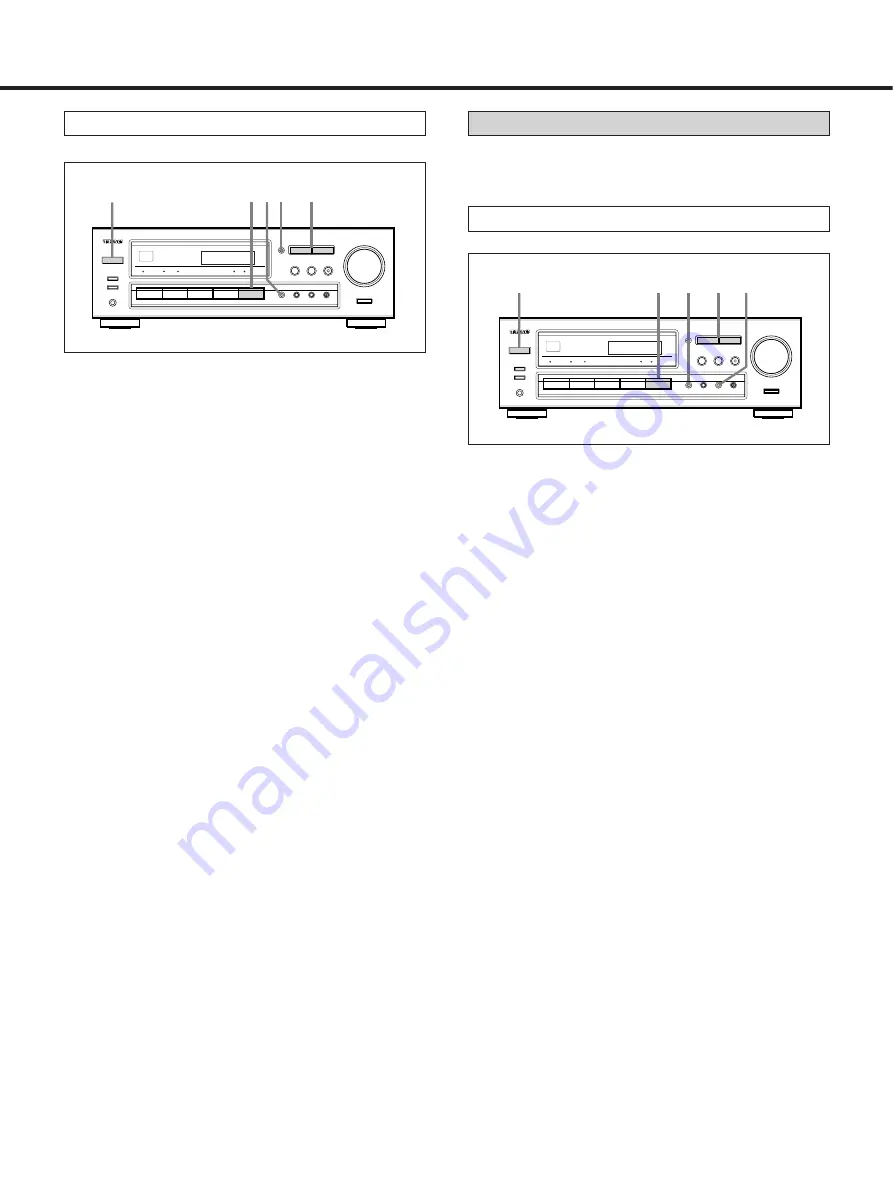
Manual Tuning
Manual Tuning is generally used to tune to stations
broadcasting a signal that is too weak to be received
by Auto Tuning.
1. Select the TUNER function.
2. Select the AM or FM by pressing the BAND selector
button.
3. Press the TUNING MODE button to change to
TUNING mode.
(The Preset CH indicator disappears from the
display.)
4. When the UP or DOWN TUNING/PRESET button is
pressed momentarily (0.5 second or less), the
frequency changes by a fixed step (see STEPS
below).
STEPS
FM: 50-kHz steps
AM: 9-kHz steps
POWER ON
2 3 4
1
Preset Tuning
Automatic Memory Presetting
This facility is used to store FM, AM broadcasting from
Channel 1 to 30 respectively.
POWER ON
2
3
4
1
1. Select the TUNER function.
2. Select the AM or FM by pressing the BAND selector
button.
3. Press the MEMORY button for a while (for more than
1.5 seconds).
1
The start frequency will show in the display.
●
87.5 MHz in FM, 522 kHz in AM.
2
The frequency and display will automatically scan.
●
50 kHz steps for FM, 9 kHz steps for AM.
3
The frequency shown in the display will rapidly
change. As each station is located a preset
number will appear in the display indicating which
preset MEMORY button has been assigned to the
station located. The scanning process will
continue to operate in this fashion until 30
stations have been found and entered into the
preset memory or when there are no more
stations to be found on the waveband chosen.
The memory indicator will extinguish and let you
hear the last station to be memorized.
●
To listen to the memorized station select the band
required and press the TUNING/PRESET buttons.
4. The last memorized channel of each band will be
displayed when Auto Memory is completed. Check
the programmed frequencies with TUNING/PRESET
UP, DOWN button.
Summary of Contents for AG-680
Page 6: ...6 CONTROLS AND INDICATORS Front Panel 8 9 0 q w e 7 3 4 5 6 3 2 1...
Page 24: ...COMMANDES ET INDICATEURS 24 Panneau avant 8 7 3 4 5 6 3 2 1 9 0 q w e...
Page 42: ...42 ANZEIGE UND BEDIENUNGSELEMENTE Ger te Vorderseite 8 9 0 q w e 7 3 4 5 6 3 2 1...
Page 61: ...60 CONTROLLI E INDICATORI Pannello frontale 8 7 3 4 5 6 3 2 1 9 0 q w e...
Page 78: ...78 MANDOS E INDICADORES Panel frontal 8 7 3 4 5 6 3 2 1 9 0 q w e...


